Project Guides
Bathroom
Basement
Deck & Patio
Electrical
Exterior
Flooring
Furniture
Garage
Gardening
Hardware
HVAC
Kitchen
Lawn
Plumbing
Roof
Shed
Trim
Walls & Ceiling
Woodworking
Workshop
Tools
Tools by Brand (A-D)
Black & Decker
Bosch
Campell Hausfeld
Carhartt
Channellock
Craftsman
DeWALT
Duo-Fast
Tools by Brand (E-P)
Gladiator
Graco
John Deere
Johnson
Kobalt
Kreg
Milwaukee
Paslode
Porter Cable
Tools by Brand (Q-Z)
Racor
Ridgid
Rockwell
Senco
Skil
Steel City
Troy Bilt
Wagner
Wilton
Coupons
Home Depot Coupons
Sears Coupons
Lowes Coupons
AJ Madison Coupons
Target Coupons
The Better Half
Girl Power DIY
Essential Oils
Hand Lettering
Printables
Recipes
Keep up with the latest in tool news and reviews!
Like having the right tools for the job? We're constantly reviewing the latest tools on the market from the brands you love. Sign up for our mailing list and we'll keep you up to date on the latest tools to make your job easier!
I am a...
DIYer
Professional
Our Latest Blog Posts
How to Build a Basement Home Theater in a Non-Dedicated Space
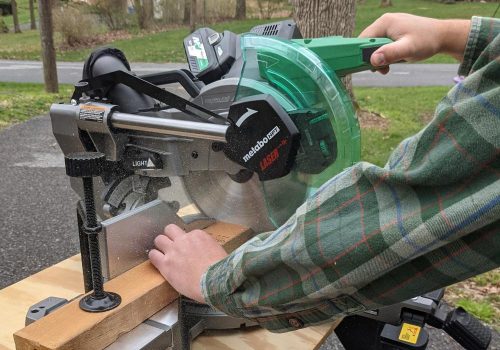
Matabo HPT MultiVolt 10-in 36-Volt Sliding Compound Hybrid Miter Saw Review
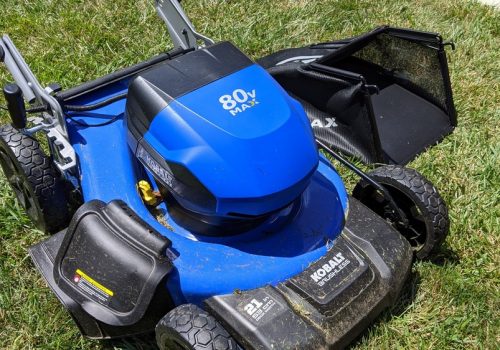
KOBALT 80v Max Brushless Lithium Ion Lawnmower Review
Tools & Accessories Reviews
KOBALT 80v Max Brushless Lithium Ion Lawnmower Review
DIY Car Maintenance: Oil Change Tips and Tricks
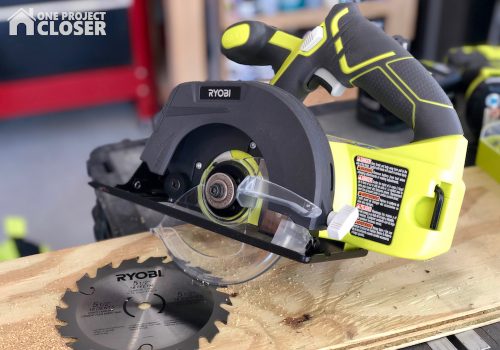
RYOBI ONE+ 6pc Combo Kit and 60pc Bit Set Review
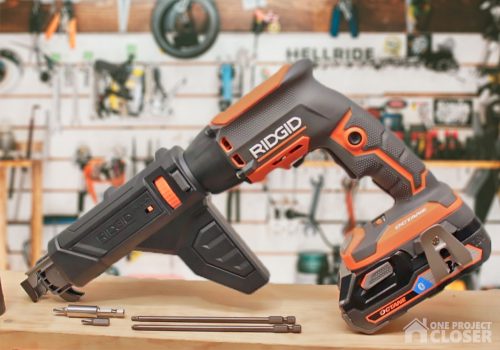
Tool Review: Ridgid 18-Volt Cordless Brushless Drywall Screwdriver
Complete Project Guides
How to Build a Basement Home Theater in a Non-Dedicated Space
DIY Car Maintenance: Oil Change Tips and Tricks
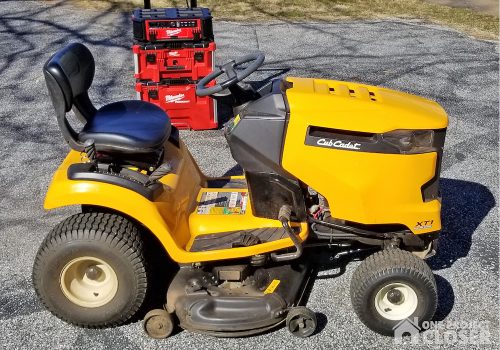
How to Change the Blades on a Riding Mower
DIY Modern Dining Table Plans + Tutorial
Popular Store Coupons
Home Depot Coupons, Coupon Codes, 10% Off Sales – FALL/WINTER 2020-2021
AJ Madison Coupons, Sales, Coupon Codes, 40+% Off – FALL/WINTER 2020-2021
Lowes Coupons, Sales, Coupon Codes, 10% Off
Target Coupons, Sales, Coupon Codes, 10%-60% Off – FALL/WINTER 2020-2021
Sears Coupons, Sales, Coupon Codes, 10% Off – FALL 2020/WINTER 2021