
This easy clay craft for kids tutorial was originally posted in the Fall of 2012. But as fall approaches, I am excited to make these again this year and wanted to share it with you! Don’t the girls look so young?!
This was a wonderful craft to do with the girls and made great table decor for the grandparents. Also, it was CHEAP!!!! We used clay left over from making ornaments last Christmas and other supplies we already had around the house.
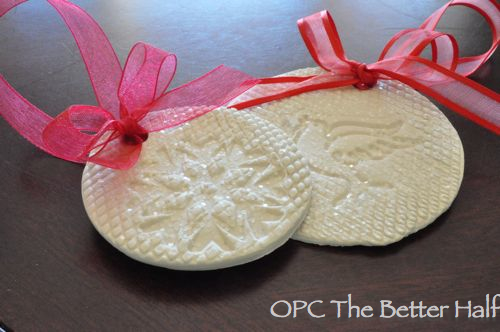
Izzie and Lucy both had a blast and it looks way better than the typical kid craft.
Materials:
- Leaves
- Air-dry or Oven-bake clay
- Rolling pin
- Acrylic Paint
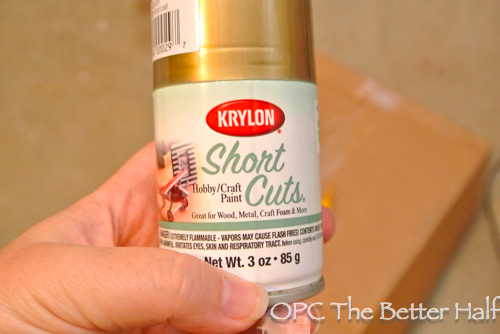
- Gold spray paint
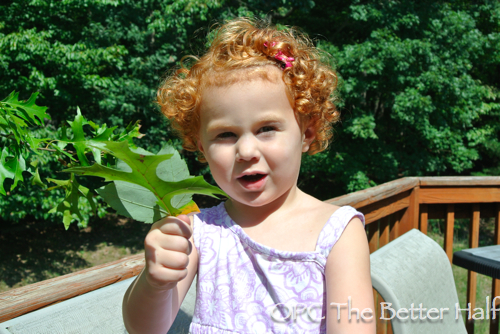
Izzie and Lucy had a blast picking leaves off the trees and searching for all different kinds. The bigger the leaf, the bigger the bowl. The more intricate leaves, like from a maple tree, were my favorite, but really any leaf will do. Also, we used leafs just off the tree since they are less brittle and will keep their shape when making the bowls.
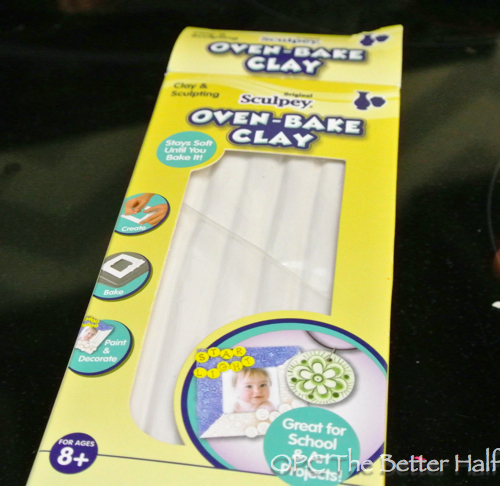
We used oven-baked clay, cheap and easy to find!
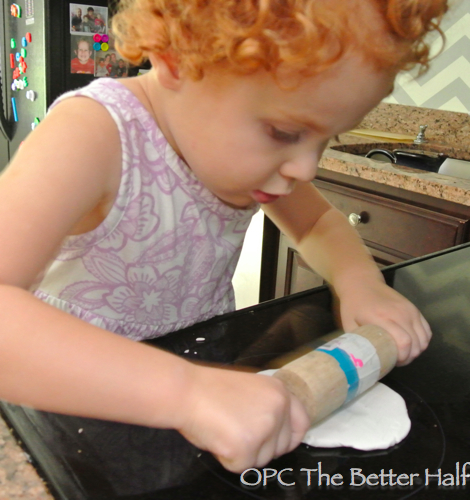
We worked the clay until it was warm and soft, then rolled out the clay, thin and even.
Izzie and Lucy each picked out their favorite leaves and placed them, centered on the clay and used the rolling-pin to press the leaf into the clay..
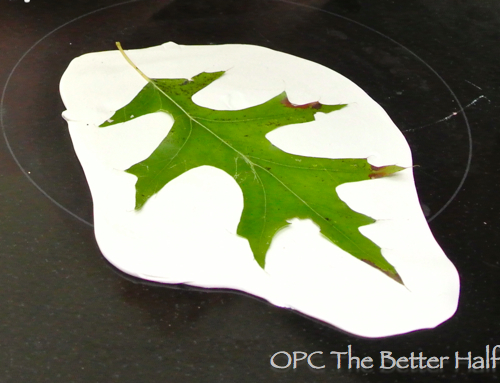
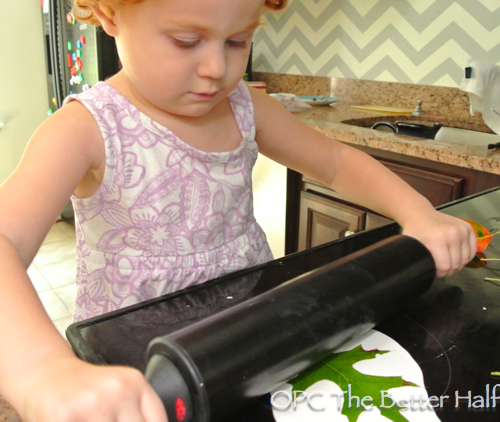
I used the rolling-pin to press it in so deep that the clay actually covered the stem and leaf in some places. Press harder than you think you need to.
We then very carefully lifted up the leaf, starting with the stem.
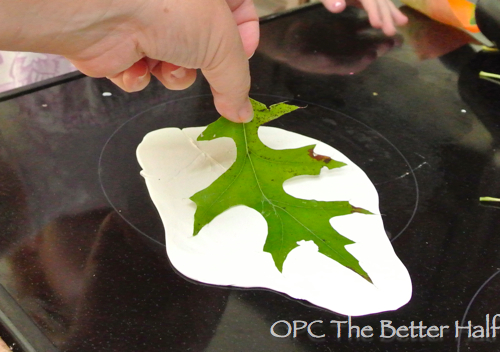
I rolled more clay than I want use for the bowl so, using a sharp, pointed knife, I cut an oval around the leaf. For another, I cut the outline of the leaf.
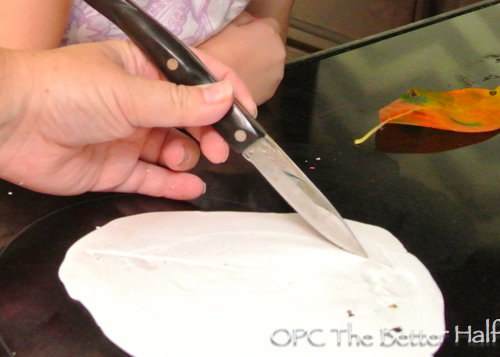
Once the girls removed the excess clay, I lifted the clay leaf and placed it in one of my stoneware bowls, since they are oven-safe.
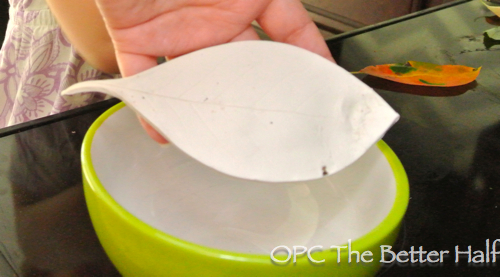
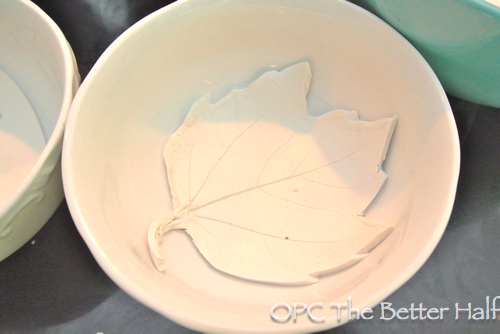
I baked the clay as directed on the package, removing from the oven and allowing to completely cool before removing the clay leaf from the bowl.
I was kinda worried that if I let them paint the bowls, they may not be pretty enough to display. I let that go and embraced the process! (It turned out that they bowls looked awesome and not at all painted by kids).
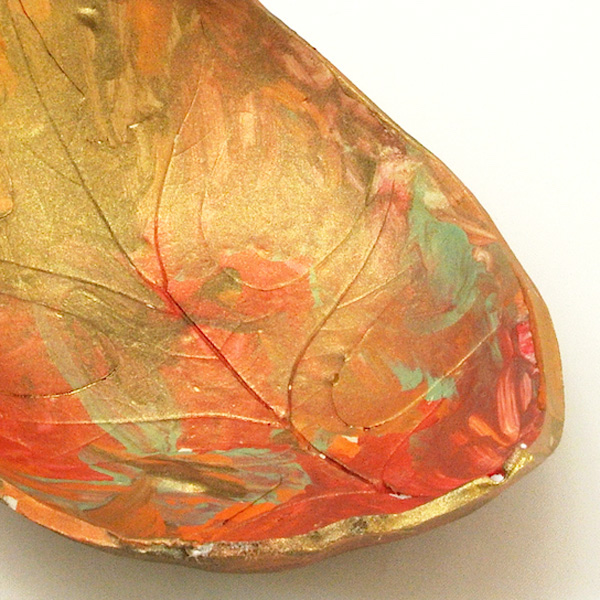
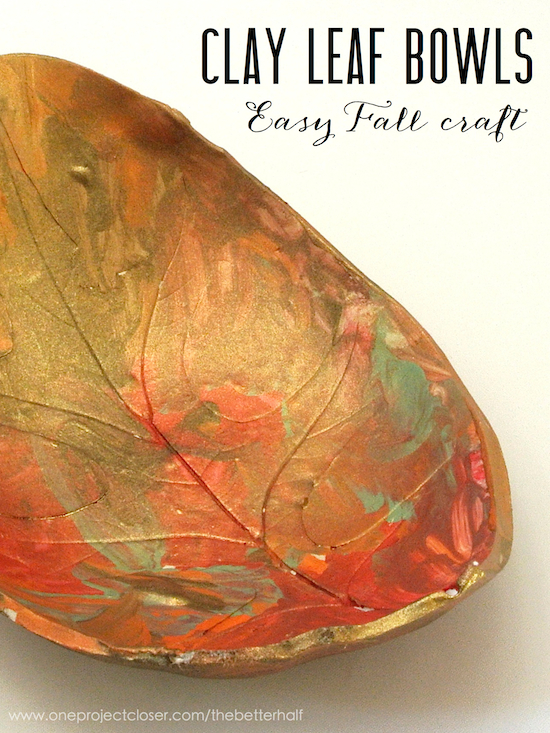
I gave the girls four different pools of acrylic paint, in fall colors, and Q-tips for each color and let them go at it! Tip: Yellow and gold paint did not look as good on the final product, so we stayed clear of those colors.
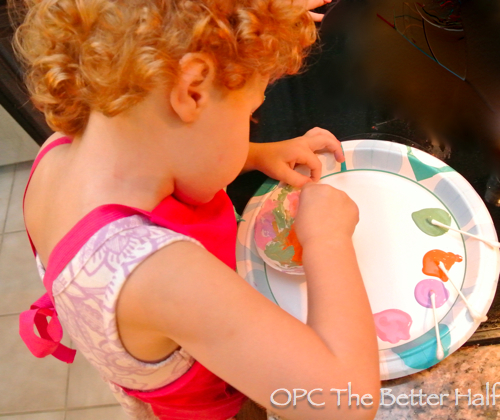
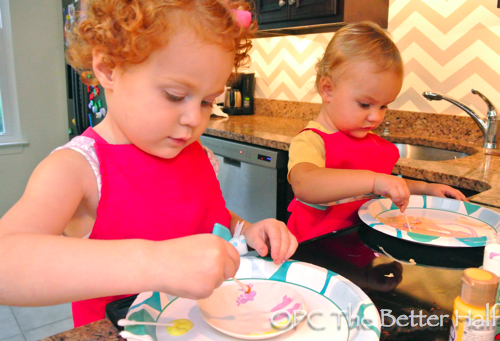
Then, after the acrylic had dried, I lightly spray painted the bowls with gold metallic spray paint.
Done and beautiful!
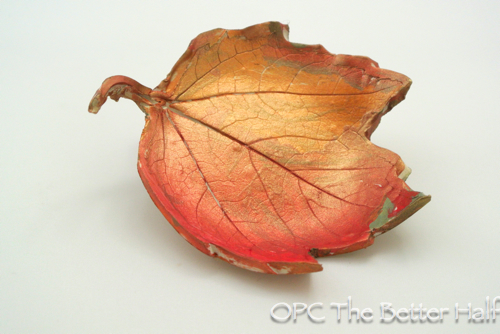
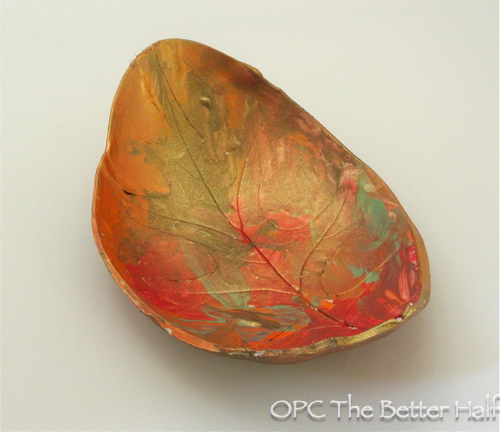
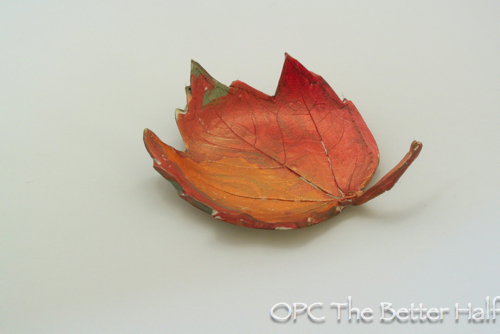
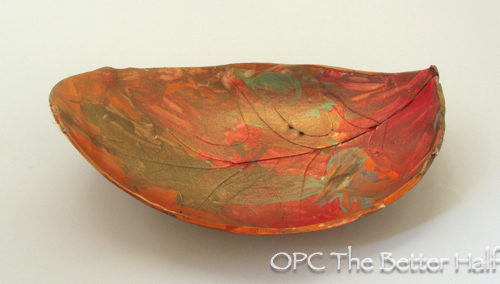
What do you think? Where would you put an autumn leaf?
As Always, thanks for reading!




WOW!!! These honestly look like something you would find in a high end home decor shop. I cannot say enough, they turned out amazing and would make for amazing gifts and home warming parties. Cannot wait to pin and try:)
Thanks, Jen! I was really pleased with how they turned out too!
Very cool looking! I think I’d use one to hold keys… that way I’d see it every day!
thanks, Poiboybf. Keys would be a great idea!
Those look great. I really like the maple leaf and how you cut out the shape of the leaf.
The maple leaf was my fav too!
What about holding some M&M’s or something? The big, curved one looks like it could be good for that
m&ms are good no matter where you put them! lol!
My sister-in-law has a rhubarb leaf bowl on her deck. It is huge and way cool.
Yours turned out great. I love that you involved your little ones.
a rhubarb leaf – how cool! did she make it herself? 🙂
Nope- she bought it at a craft fair. The maker used luminescent paint so it changed colors in the light.
These are awesome! I absolutely love them, and how sweet that your girls painted them! 🙂
Thanks so much Ashley! I had such a good time with the girls making them too! 🙂
Jocie, what a pleasure to watch your little girls craft these very pretty leaves. They are just adorable. And so are the leaf bowls.
Thanks JustME, they are pretty adorable for sure….the bowls too. 🙂
♥
So beautiful!
Oh I love these! What a great project for the girls! I would have had a hard time letting them paint – maybe I could have been as patient as you – only maybe! They turned out beautifully!
This is a super project and is perfect for working with young children.
Thanks Katie, and thanks so much for visiting and commenting. Hope to keep seeing you back! 🙂
Izzie was so cute when she presented it! Thanks!
Nice work. Great bonding time. Nice to get these sorts of ideas when looking to building a family in the near future.
LOVE this! Seriously-they turned out amazing!!!
Those are GOREGOUS, Jocie! And you are super-smart with allowing them to paint them and then spray paint the gold over them! I’ve never seen a “kid-craft” look so sophisticated and chic!
Jocie – these are SO awesome and that gold spray paint is genius!! Pinning for sure!
I love this project, the girls did an awesome job!
These look so cool! I love them! Great idea!
Hi! These are so pretty. I have a couple of questions, though. Is the finish food safe? Not sure I’d want to put unwrapped candies on a spray painted finish. Also, approximately how many bowls can one make from one package of clay?
Thanks!
I am doing this with my girls. perfect fall craft. they get so excited when a rolling pin comes out. and paint- painting is their favorite!
These are beautiful! I am curious about what Tricia a(above) asked–whether these are food-safe and/or washable. Also, what colors did you end up using? On my screen, it looks like green, orange, pink, and purple–is that correct?
Thanks so much for sharing this project!
they are not food safe or washable, but would make a great little candy dish for wrapped candies or jewelry holder. 🙂 those were the colors we used, but i think any would have been pretty with the light gold spray over top. happy crafting!
I love your bowls and especially love your Cutco paring knife!
Awesome !! Love this and the girls did a great job painting! Isn’t there some type of “food safe”, clear finish you could put on them?? Those would make great fall serving dishes for a piece of pecan or pumpkin pie!!
Oh my gosh Joci, you would never know two young children made these bowls! What a fabulous idea and they really are gorgeous.
Just wanted to thank you for this craft idea. My 3 year old wants to make one everyday!
I just posted a story on my blog about making these and linked to your page. Hope more people find your site.
aww thanks so much allison! so glad you both enjoyed it!
[…] Clay Leaf Bowls- These easy bowls (seriously, it’s ridiculously easy) from One Project Closer turn into beautiful autumn […]
Looks absolutely gorgeous! Going to make these with my two girls asap as gifts for family..I was just wondering if bronze spray would be ok instead of gold..what do you think? Is shiny gold better? And when you spray it on, do you spray evenly or do you spray at a distance trying to make it uneven? Thanks!
I’m making these with the grandkids for them to give to parents, aunts, uncles, etc. Is it easy to get their names & year etched on back before baking?
I practiced on a couple of leaf bowls before getting kiddos involved. While painting I broke a stem and leaf tip. Can you suggest how to judge thickness? I noticed from pics that you let your girls roll out the clay. My dither is whether thin bakes harder or if too thick bakes too soft. Thanks!
We tried this at a cabin for girls weekend and everyone loved it. The perfect fall project!
[…] Clay Leaf Bowls […]
[…] Instructions: Clay Leaf Bowls […]
[…] of-a-kind coaster sets for affordable holiday gifts. And those fall leaves can also be made into beautiful bowls with the help of oven bake clay and […]