
Installing new windows is a great DIYer task, and it’s a topic we’ve touched on in the past. However, OPC is all about showing pros in action so that you have the best possible resources for tackling home improvement projects, and this is a task that professional contractor and carpenter Steve Wartman and his crew have just completed. If you followed along on the in-law addition, this was one of the last items on his punch list. Read on for details on installing a new window, sealing and weatherizing a window, and installing window casing and molding.
New Work Windows vs. Replacement Windows
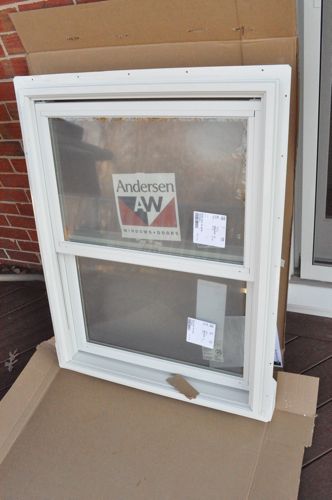
Much like recessed lighting, windows come in two varieties depending on application. Replacement windows are used to swap out old windows, and most tutorials focus on replacement windows. These are easier to install because they utilize existing framing, sill and exterior window stops. The result is a window with less glass area and less actual window. For that reason the guys are installing a new work window, and it’ll enable them to match the look of the new patio doors. If you’re more interested in learning about replacement windows, check out this guide for installing replacement windows.
Materials
- New window
- Construction Adhesive
- Caulk
- Foam sealant
- Pressure-treated wood
- PVC trim
- Stool and apron trim
- Window casing
- Screws and plugs
- Roofing nails
- Shims
- Wood glue
Pro-Tip: Every contractor I’ve worked with insists on Andersen brand windows because they feel Andersen makes a superior product, and accessories and support will be readily available. Steve and his crew are installing an Andersen 200 series, double-hung window.
Step 1: Remove Old Window
Since this isn’t a “replacement” window, the guys didn’t need to worry about preserving the sill, any stops or framing. Also, they won’t be reusing any of the window casing so removing the old window was quick and easy.
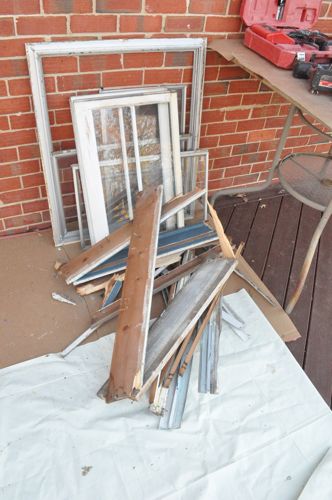
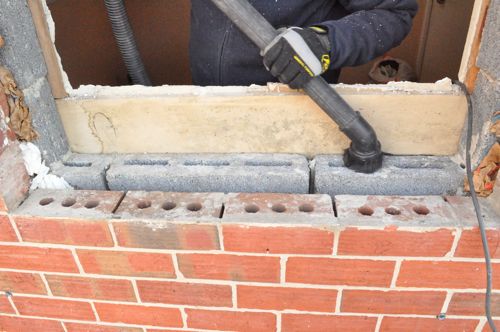
The guys cut everything back to the brick and block wall.
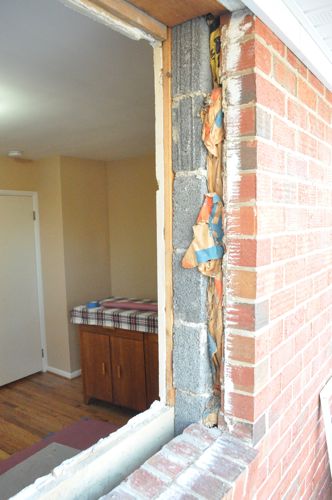
Normally Steve and his crew would have left the brick sill intact. However, they removed it for this project to better match the patio doors.
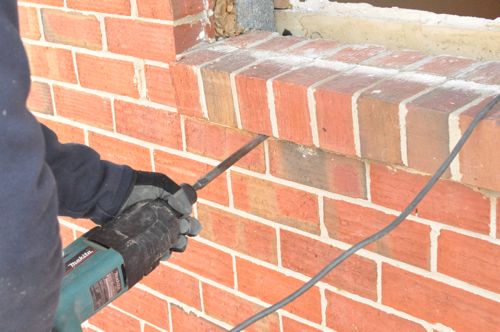
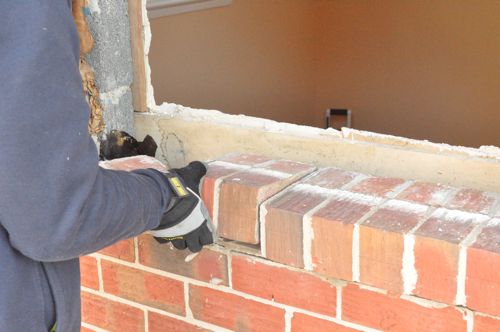
Once the demo was completed, the guys vacuumed up any loose debris.
Step 2: Install new Sill
The new sill is a piece of 1x PVC board, and it had a slight outward slope (matching the bricks the guys removed) to divert water away from the window.
Pro-Tip: PVC boards are great for this application because they will not rot or warp, and they provide a beautiful finish.
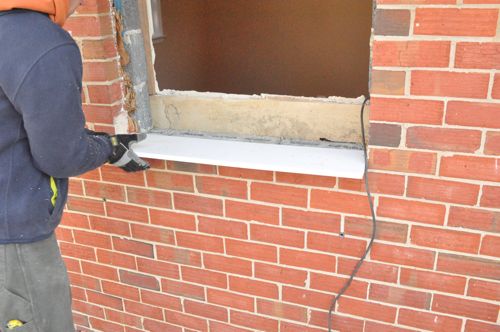
One of the challenges for installing this window was that the bricks and block wall were not even with each other or plumb, and Steve notched the sill to fit the space. The front edge was flush with the brick.
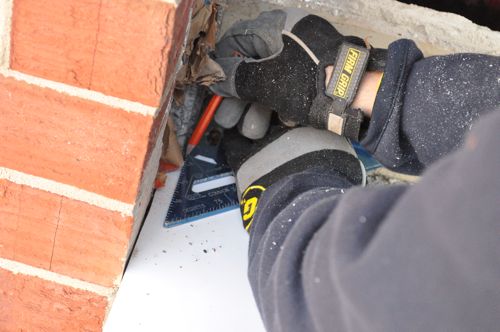
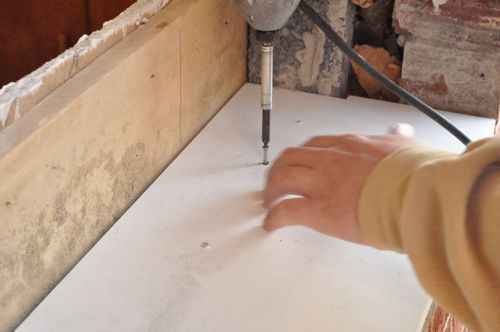
The guys predrilled holes through the PVC into the block wall, and used plugs to provide better hold for the screws.
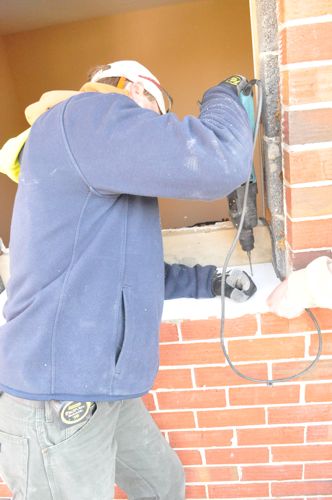
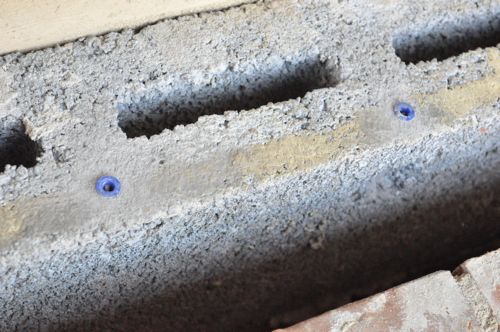
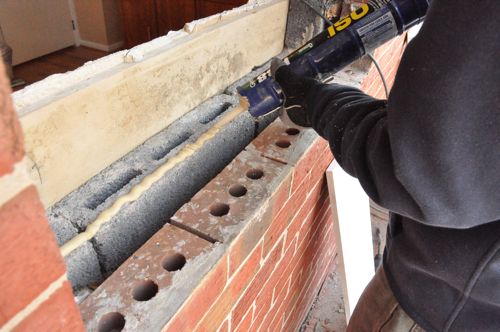
Before installing the sill, Steve put down a heavy bead of construction adhesive along the front and in the corners.
Pro-Tip: Be sure to use exterior rated (and sometimes pressure-treated wood approved) screws for this project.
Step 3: Frame Rough-In
Next, the guys got started on framing the opening to the necessary size indicated by the manufacturer. For this step they’re using a combination of PVC and pressure-treated wood because they had some leftover from another project. Typically, they’d only use PVC, and they attached it all to the block wall.
Steve started by checking the block wall for plumb, and he shimmed it accordingly.
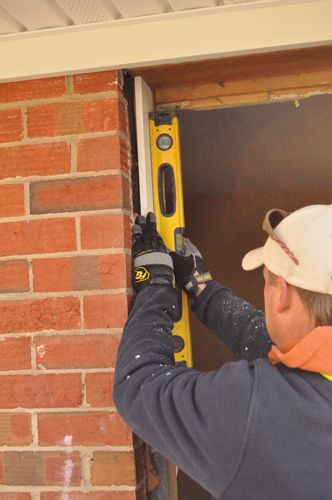
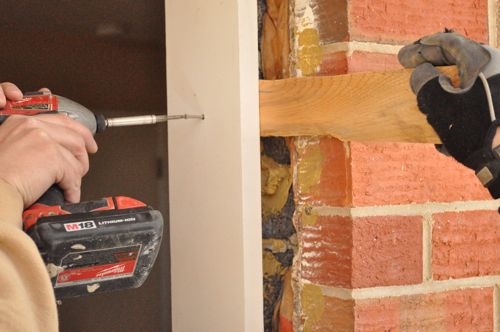
Again, the guys used construction adhesive before securing the PVC with plugs and screws.
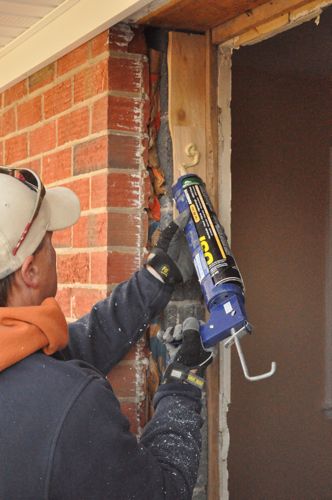
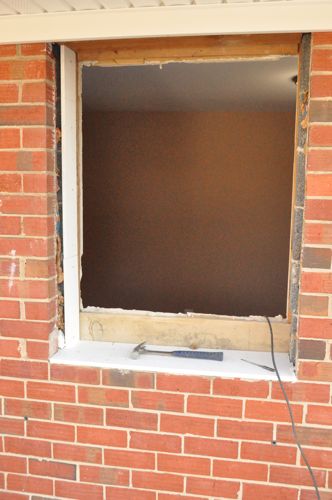
The guys padded the sill with several additional PVC board to bring it up to the necessary height and provide a nailing surface.
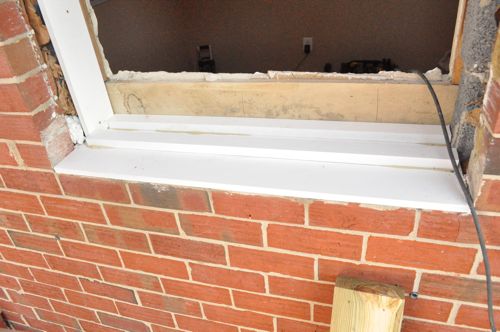
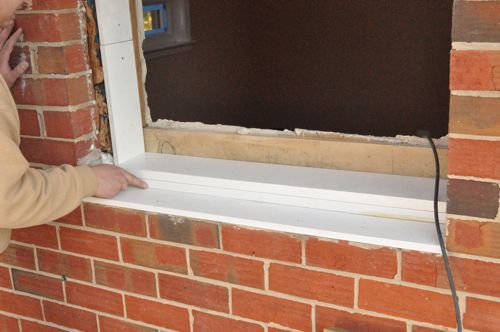
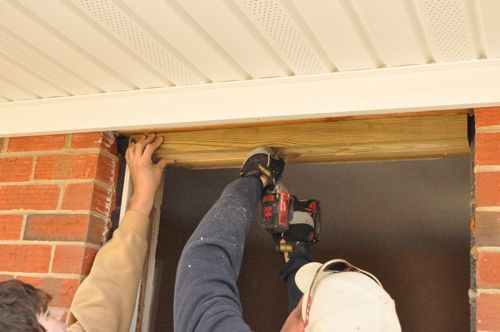
Across the top Steve used pressure-treated wood, and he screwed it to the header above.
The guys needed to shim the right side plumb as well.
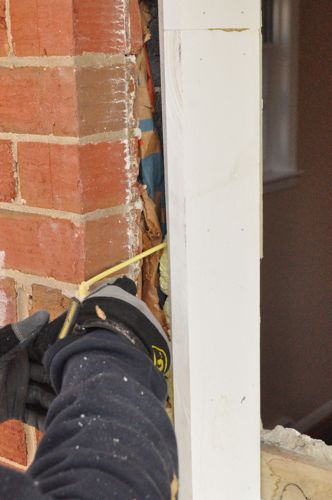
Pro-Tip: To cut shims, score the shim with a utility knife and snap it along the score line. Use the knife to clean away any leftovers.
Step 4: Seal and Insulate
With the rough-in framing complete, Steve went around the exterior perimeter and sealed the gap with foam.
Pro-Tip: Use foam designed for windows and doors because it expands less and will not bow the frame. Otherwise it will be difficult (if not impossible) to open and close the sashes.
Step 5: Trim Interior Opening (Optional)
The guys waited to trim the interior opening so that it would perfectly match the height of the framing. They performed that step now using a reciprocating saw. This step is not always necessary for installing a window. It was for this project because the new window is taller than the old one.


Step 6: Position Window and Nail Fins
The guys moved the window into place, and they checked it for level. They also made sure it was centered in the opening.

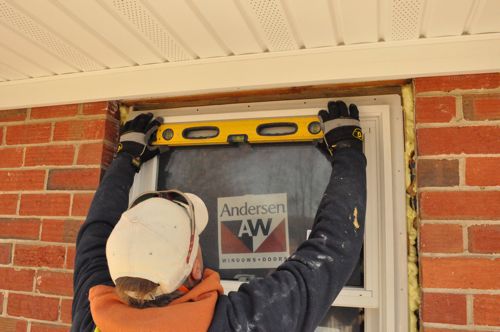

When they were satisfied, the guys used roofing nails to attached the window to the framing.
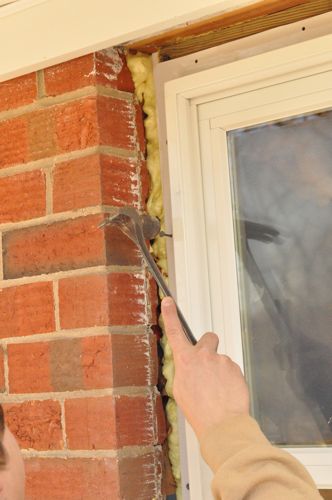
Step 7: Trim Exterior
Next the guys got started on trimming the exterior with PVC, and they continued to glue and screw every board.
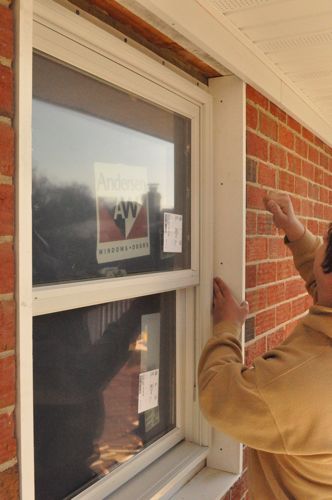
Where it might be visible, the guys used a white sealant to match the PVC. The sealant will prevent water from finding a way in, and it will help secure the boards.

Steve extended the jambs flush with the brick and then concealed the nailing fins with another board.
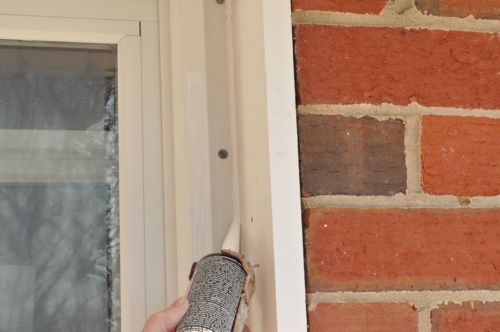

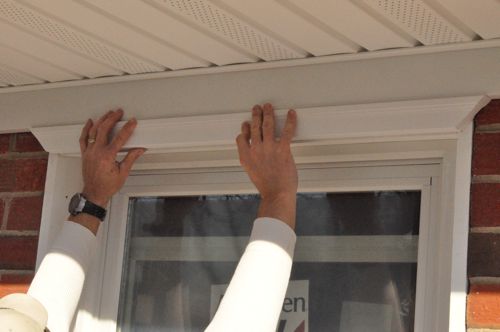
Steve framed the window with brick molding, and he was careful to maintain a consistent reveal. A bead of construction adhesive behind each piece kept everything watertight.
Pro-Talk: The molding around the window is called brick molding even when it’s not installed over brick.
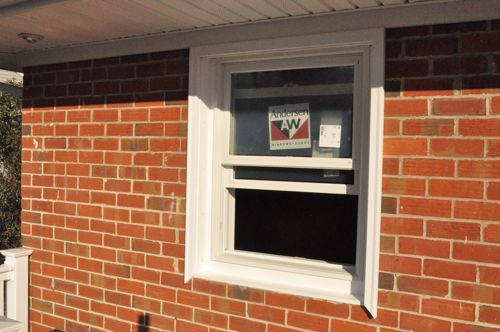
The last step for the outside portion of this project was to make one final pass with the white sealant.
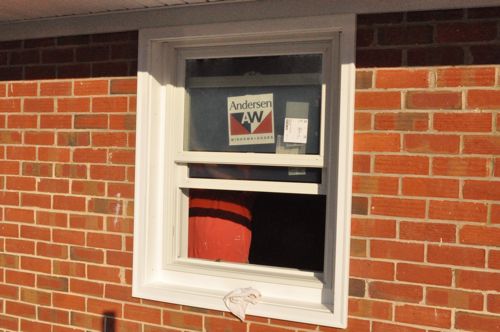
Step 8: Insulate Interior
The work that took place inside was very similar to the outside, and the guys started with sealing around the window with foam.

Step 9: Install Stool
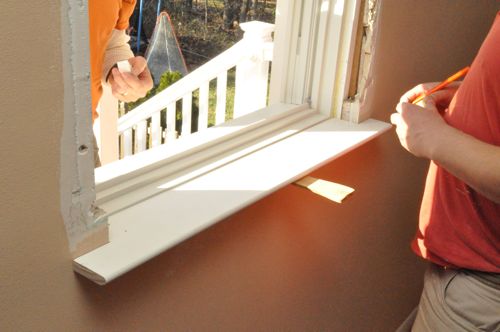
The guys cut the stool to length and notched each end so that it would extend past the window casing. They also shimmed it level before nailing it in place.
Pro-Talk: The stool is an interior moulding that trims the window at the base.

Step 10: Extend Jambs
Before extending the jambs Steve’s crew used a flat bar to clean the surface of the wall.

The shims keep the PVC plumb, and they also maintain the reveal around the window.


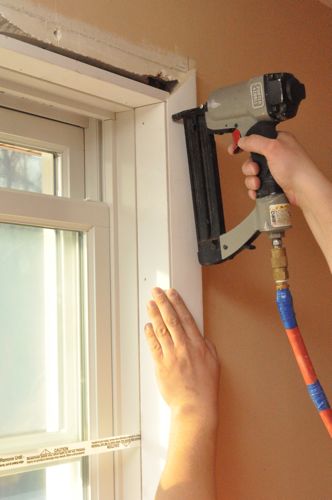
Step 11: Install Casing
The window casing is nailed to the face of the jambs, and it conceals the gap between the jamb and wall.
Pro-Tip: Initially, only drive one nail to hold each piece of window casing in place until you’re satisfied with all the mitered corners. Otherwise it’ll be difficult to remove a section should you need to make adjustments for an out-of-square corner.
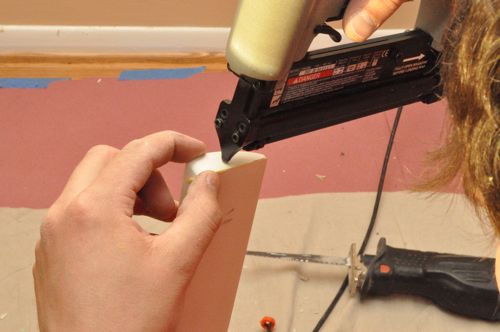
Step 12: Install Apron
The last piece of molding is the window apron, and it’s installed beneath the stool. Steve’s crew glued and pin nailed tiny return pieces on both sides of the apron before nailing it in place.

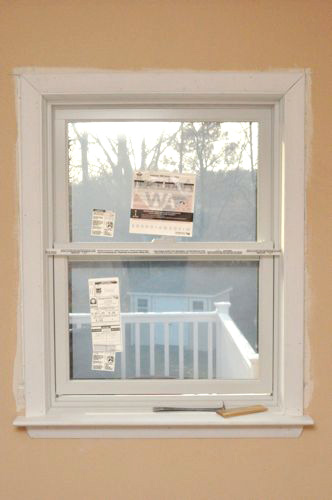
Step 13: Caulk and Finish
Lastly, Steve’s crew caulked all the interior joints. They’ll need to do a tiny amount of painting since the new window casing didn’t cover the same area. Otherwise, this window is finished.
Pin for Later


Looks great. If the miters on the interior (or exterior I guess) aren’t perfect, can you use caulk to fudge them into looking good?
Any idea what the vapor barrier was in that wall? Was there a weeping channel between the block and brick for water to drain between the wall?
it’s a shame you had to remove that brick sill.
Another awesome job that you guys make look not as tough as I know it would be.
I learned something new. I thought replacement windows were just that: those that replace existing windows rather than new windows, which I thought were those for new construction. I didn’t realize that “new” meant replacing the sill, etc. Interesting post.
We had two windows replaced last winter. The installers used the existing casing and sill and simply replaced the windows. We went with Pella windows, by the way, another good quality window.
Small window so this is feasible for the home owner with this review. we have some monster sized windows here unfortunately going to have to take a kick in the wallet(and bum) for that job.
The work looks great. Keep up the good work.
It looks like this application didn’t require a drip cap, but it would be helpful to show how to install a drip cap if the opportunity arises in the future. Otherwise, very helpful and informative. Thanks for another great project.
Replacing a window has always scared me to be honest. Seems like so much potential to go wrong in the way of bad insulation or water leaks or cracks for critters or something. This makes it look easier but I probably won’t be doing something like this for awhile 🙂
Looks good, do the rest of the windows in the house have a stool of the same size? in my house (ranch) none of the windows have a stool, which I hear is typical for this style of house.
looks good… with all the various foams and stuff, is this cost effective to do for myself on one window vs. the whole house?
We have a couple windows in our house that are extremely difficult to lock or don’t lock completely because the top sash and the bottom sash overlap too much – I’m guessing settling of the house or sloppy installation maybe? Any idea how to fix it without replacing the whole window? This is a great tutorial, and maybe even something we could do, but I’d rather not spend the money if we don’t have to.
A window frame on exterior brick wall? I normally see the brickmold inset behind the brick, not flush to it.
I have a brick house with 2 picture windows in front with brick sills. One window doesn’t have enough space on one side for a shutter, so I have one window with shutters and one without. The one without looks naked and ugly. I was thinking of some kind of window trim I could do around both windows so they would match. I was hoping there was some kind of stone or something out there for this purpose, but the example here is all I’ve found. I love the way it looks.
You got rid of the sill. Would love to have that detail. But well done. Looks great.
Does the new sill have a 15 degree slope like the old brick sill to drain water–it appears to be flat and water will puddle and stand.
What would keep water from entering back into the house?