
Regular readers know that I just finished setting up a dust management system in my workshop, and I’m really pleased with the results. One lacking component was dust collection for my miter saw, and if you’ve ever used a miter saw, you know that they can kick up a cloud of dust. To make things even more challenging, I’ve got a beastly, 12″ Ridgid sliding compound miter saw. It’s a terrific saw for a workshop. However, it’s so big that capturing dust around this saw is difficult.
Jeff Williams offered up an interesting suggestion from Woodsmith for a sliding dust hood. I liked the idea, but was concerned that it would have to sit too far away. I found a few ideas with a Big Gulp mounted to the saw so that it would stay in position with miter and bevel cuts. Too bad the rails on my saw make this next to impossible.
In the end I settled on this idea I saw on Woodworking Talk. I liked that it was simple to build, and being able to see through the plexiglass means it’s not a huge visual block.
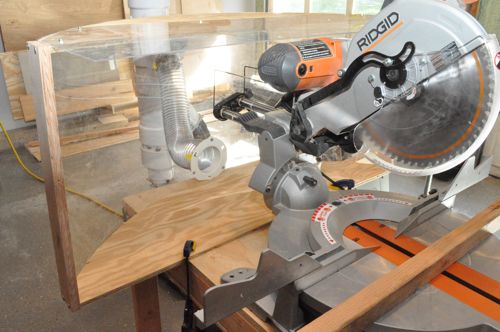
Materials:
- Plexiglass (see below)
- Plywood
- Dryer vent quick connect (see below)
- Key hose clamps
- 4″ flexible hose
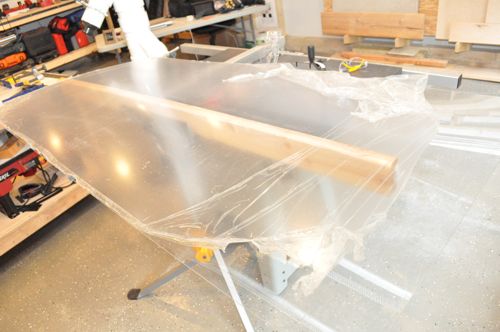
Plexiglass
I bought a thin (.093″) sheet of plexiglass from HD, and I found one that was damaged so they gave me a percentage off the price!

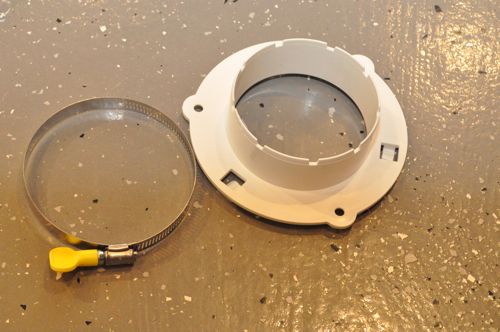
Dryer vent connect
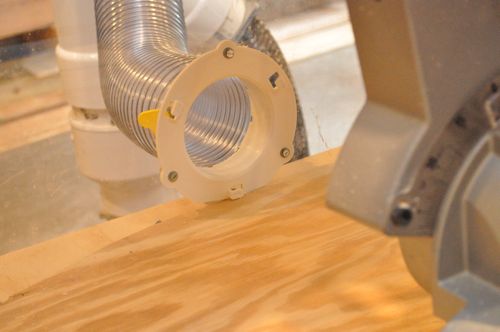
I had a hard time finding a suitable 4″ flange. To connect my 4″ flexible hose, I used half of a dryer vent quick connect, and it serves my purposes just fine.
Tools:
- Drill/driver
- Table saw or circular saw
- Jigsaw
- Dremel with circle cutter
Step 1: Cut Plywood Top and Bottom
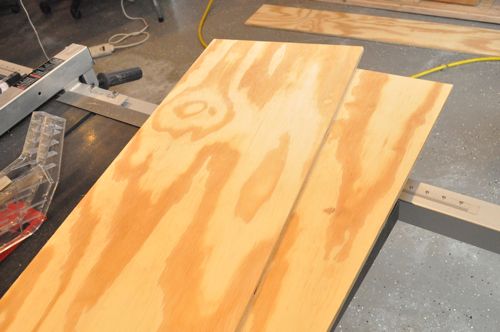
I used some spare 1/4″ plywood and ripped two pieces down to 46″ x 13″.
Step 2: Draw Arc
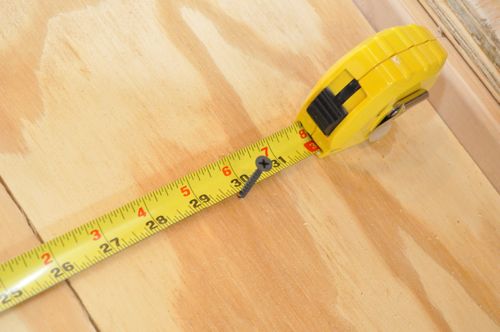
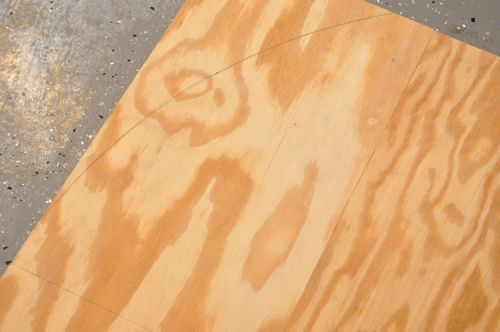
I wanted the dust hood to curve around my miter saw to better capture dust. The arc didn’t need to be precise. However, I wanted it to look symmetrical and fit the width of my boards. To draw the arc, I laid some scrap plywood next to my workpiece. Measuring from the center of my plywood, I put a screw in at 30″. With the tape measure in one hand and using the screw as an anchor point, I held a pencil against the other end of the tape measure and rotated to draw the arc.
Step 3: Cut Arc
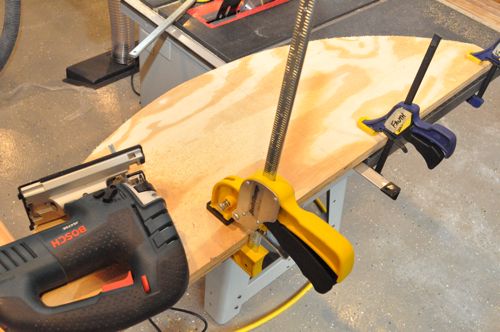
Using a jigsaw, I cut the arc.
Step 4: Cut Plexiglass
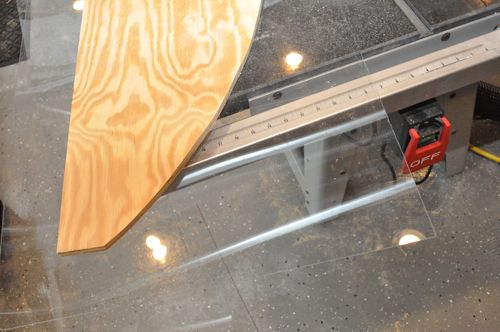
Plexiglass is one of my least favorite materials. It’s difficult to work with because it chips and cracks easily, and plexiglass is floppy enough to be cumbersome. Plus, the little shards from cutting plexiglass hurt! With gloves and eye-protection in place, I ran the sheet of plexiglass through my table saw, cutting it down to 21-1/2″ (high enough to clear the miter saw arm) x 52-1/2″ (the length of my arc).
Step 5: Attach Plexiglass
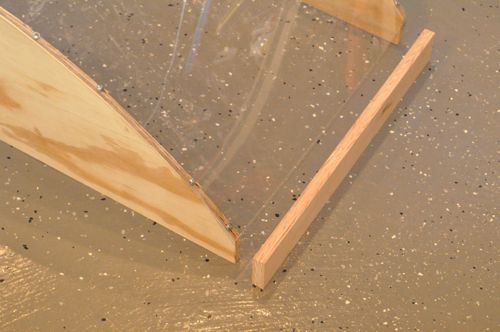
I pre-drilled all the holes before screwing in large-head screws along the edge of my plywood. Next, I added some 3/4″ plywood on the sides to brace the hood.
Step 6: Cut Vacuum Port
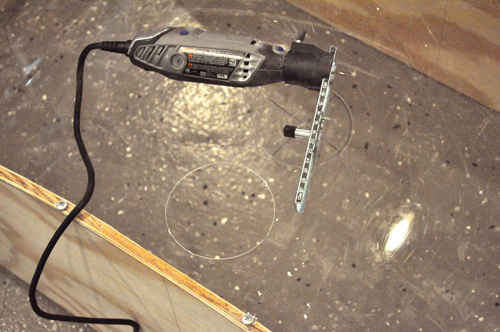
I used my Dremel and circle cutter to cut a nice circle large enough for the dryer vent flange.
Step 7: Attach Dryer Vent Flange
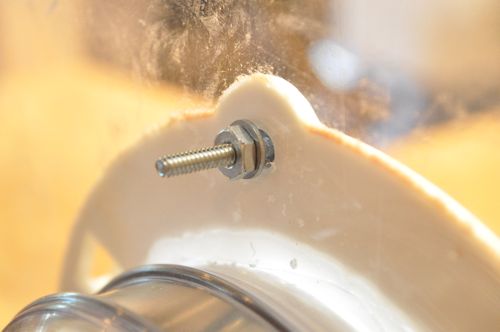
Again, pre-drilling all the holes, I secured the flange with nuts, bolts and washers.
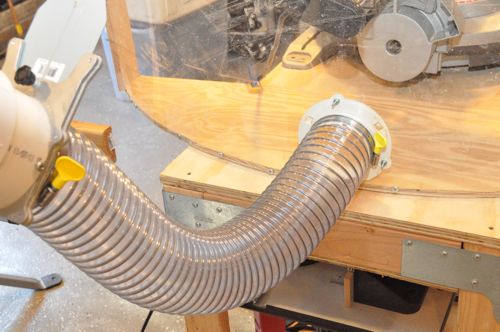
Step 8: Attach 4″ Hose
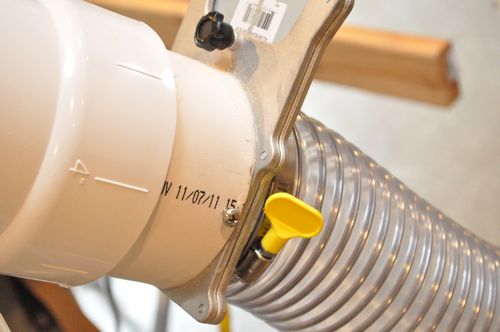
Of all the tools connected to my dust management system, my miter saw is the most likely to be relocated. For that reason I used key hose clamps (instead of cheaper screw hose clamps) to attach the 4″ flexible hose.
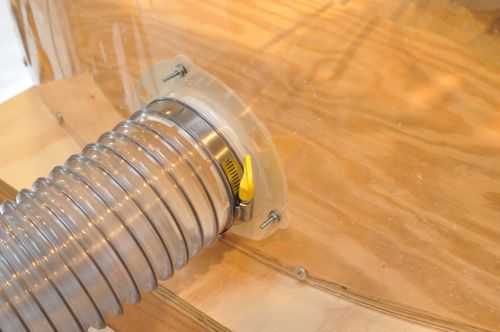
At the other end is another key hose clamp securing the hose to my blast gate.
Step 9: Install Plexiglass Top
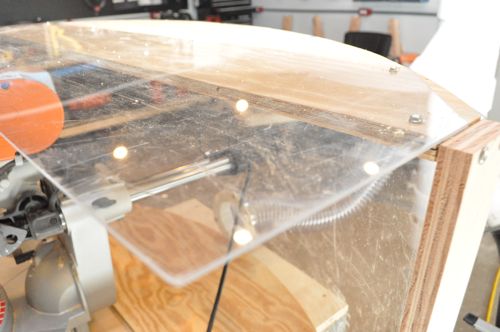
I had excess plexiglass, and I wanted to make sure to capture as much dust as possible so I screwed a piece on top of the hood.
Finished
I clamped the dust hood to my miter saw table. It’s big enough that I can still make 95% of all possible cuts, and in the unlikely event that I’ll be cutting a 65° miter with a 45° bevel, I can move the hood out of the way. The question I’m sure you all are asking is how well it works.

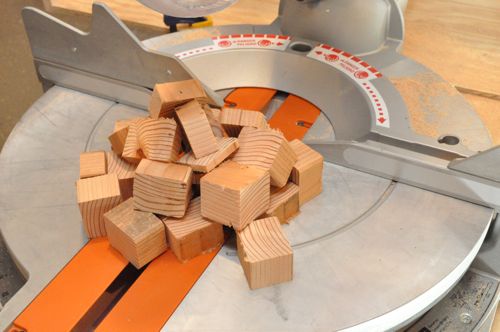
To test it out, I grabbed some scrap and began cutting it into small blocks. Altogether I cut 25 of these blocks.
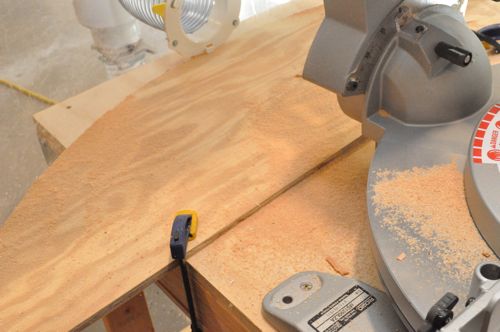
Here’s a look at the dust hood afterwards. You can see some sawdust on the miter saw and in the hood that wasn’t vacuumed away. You might think my miter saw dust hood is a failure until you see the next picture.
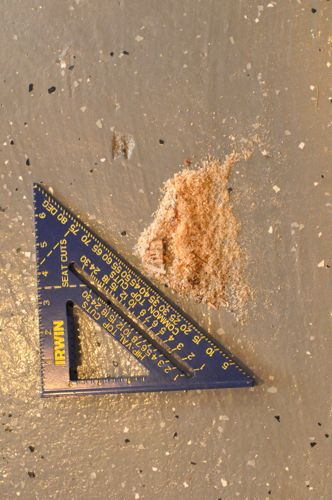
This is a picture of all the sawdust I could sweep together after making all those cuts, and this is why I deem my dust hood a success. Sure I’ll need to keep a foxtail nearby to clean up the saw. For me, that’s a small price to pay for keeping the rest of my shop clean.
If any readers want to send in pictures of their miter saw dust hoods, shoot me an email and I’ll add them to this post.


Even with a little dust you have the convenience of just sweeping into the still active hood. That’s a huge win. I’m glad you found something that works.
I have the same saw but it’s mounted on the miter saw utility vehicle cart so I may have to modify the scoop and dust port that’s already mounted to the saw.
You’re exactly right Jeff. I think I’ll put the miter saw on a 1/4″ ply (to match the dust hood) so that it’s easier to sweep dust. If you come up with a solution, send in a picture!
not bad. In this case, i think making your own beats buying something ready built since you can customize it to your exact needs.
Plus it’s waaaay cheaper than buying one.
Nice job Ethan. That plexiglass really is a bear to work with, but I love the function it provides.
Plexiglass really is one my least favorite materials. Even so, I’m glad I used it because the dust hood is kinda big, and it’s nice to be able to see through it.
Try a Jigsaw blade for plastic. Seriously! It makes the stuff so much easier to work with.
Thanks for the tip Joe! I’ll keep that in mind for next time.
Pretty cool project, but now do you have to construct a dust hood for every tool?
Just the miter saw since there’s no good / effective dust port like on the table saw for instance.
Very ingenious! Personally, I think that the clean up is 1/4 of the fun, but I obviously don’t do much with a miter saw.
Yeah, currently Jeremy just makes a huge mess in our basement when he uses his miter saw. I don’t think that a dust management system is really feasible for what we work with and the little woodwork that we do inside.
The Ridged 12 slider is a great saw but it has a dust problem for sure, I never use it inside unless I have no choice, even if you hook your shop vac to it directly it still is a dust maker. I will have to build one of these and I think it is just what I need for my radial arm saw as well. Thanks :{)
Love it, plan to build one of my own. However, I’ve seen (somewhere, a while back) someone do something similar but with the vacuum port attached at the TOP rear (or even just the top), closer to where the OEM dust exhaust port is on most saws. In the video, it looked like it worked way better than anything I’ve attempted. Could you do us all a favor, and flip your device upside down so the vac port is at the top, and see how it works in comparison? Appreciate it!
WOW just what I was searching for. Came here by searching for 2016
I was wondering about the static on the plexiglas holding sawdust to it. I Like the setup. I use my chop saw the most and am going to make a saw bench with locking wheels.
This should do the trick however the emphasis should be on the smaller harmful dust particles and not the larger stuff you use a broom to sweep up. The idea is create negative pressure around the saw that collects the dust particle at the source before it enters the surrounding atmosphere where it will stay suspended for the next hour for you to breath. The more you can extend the shroud around the saw the better.
Great article! Loved it!
Love your project and cannot wait to make my own. Thanks.
Unfortunately, after building and installing this project on my 12″ Ridgid saw, I still have a significant dust problem. I did help some but not enough to where I could use it indoors.
With a hood like this, airflow is king. The hood will work much better for you if you can increase you CFM.
Good Luck
I own and manage websites. I would like to offer content to be placed on my sites in exchange for allowing me to contribute. Please let me know if you are interested. thank you
Nathan, where were you able to find the dryer flange? Also, did you cut the hole for the flange before it was mounted? I couldn’t tell from the pics, it seems it would be less trouble on a flat surface.
Thank you for posting this project guide, and for your answer.
what did you use for a vacumm
Where did you get the blast gates?