
Today we’re featuring a guest contribution by Ken from The Joy of Moldings.
This kitchen crown molding project was an exercise in making do with a room, materials, and tools that were less than ideal.
Call it improvisational finish carpentry if you like, but between Paul and I we got the job done — in our own amateurish way — in spite of the chickens.
Here were the major issues:
- The kitchen has two ceiling elevation changes that will interrupt the crown
- The ceiling bulges and sags
- The crown molding he bought was too big to fit above the cabinets
- His tools are so rickety that they’re sure to set off DEFCON 1 alarms at OSHA headquarters
- There are chickens on the miter saw
The Coffee Nook Project
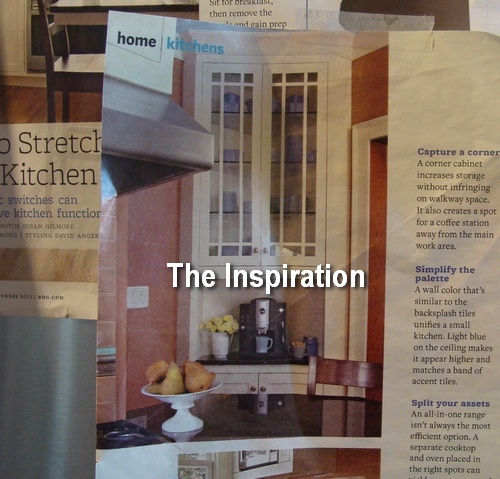
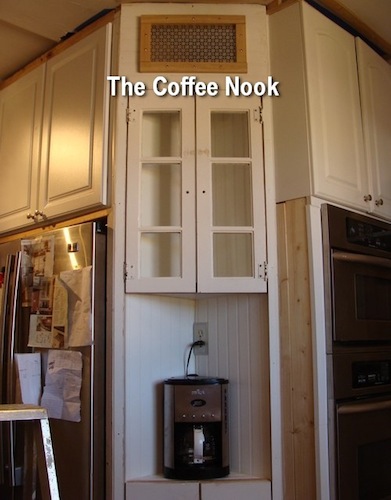
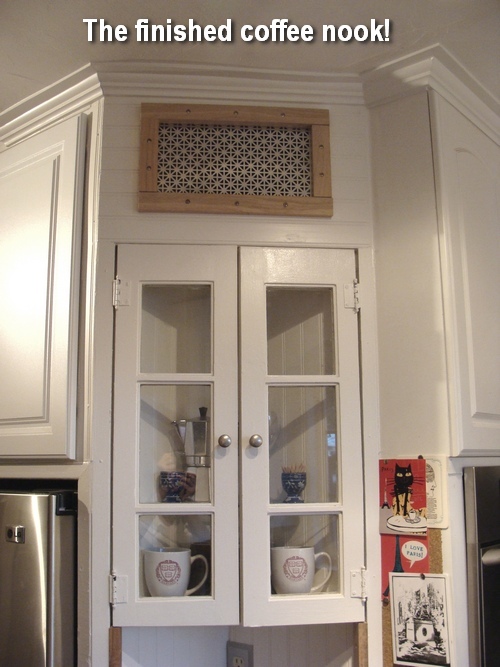
Paul found this neat idea for a kitchen coffee nook that was the reason behind his need for crown in the kitchen. By the time I showed up, his nook, made from salvaged material, was almost finished, and all that was left to do was install the crown.
The Problems
At some point in this home’s history the kitchen had been extended leaving an elevation change on both sides of the room. The addition side also tilted up quite a bit. There were many bows in the ceiling.
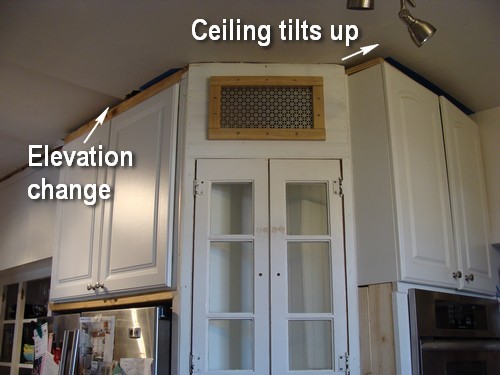
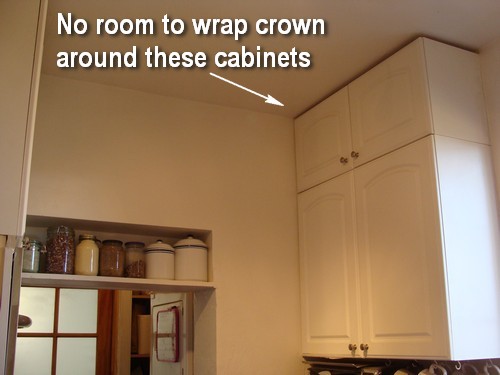
Cabinets on the far wall were mounted nearly flush with the ceiling, so we could not wrap crown around them.
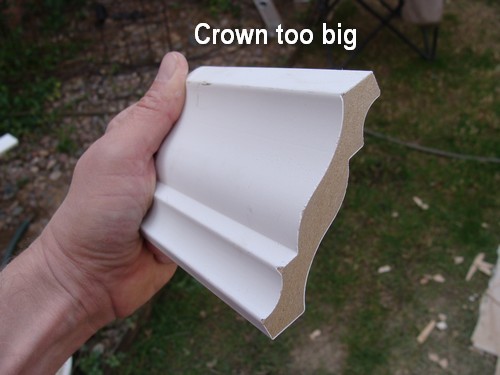
The double-sided, ogee crown Paul bought was way too large to fit above the cabinets.
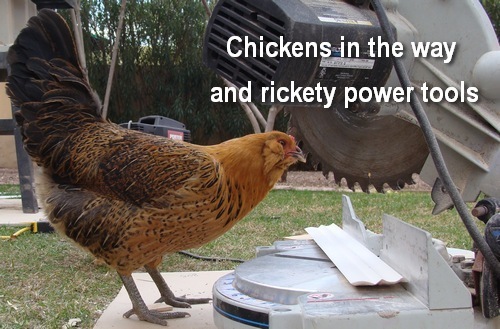
Oh, and the chickens fell in love with the miter saw, so it was hard to work around them. They were very persistent.
How We Solved the Problems
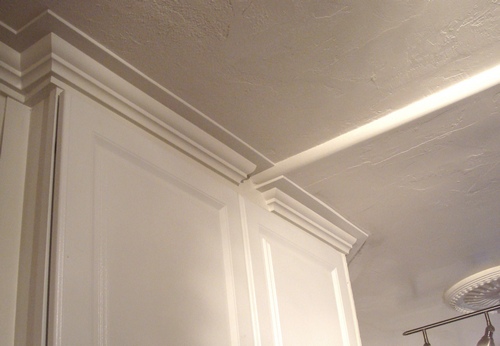
We had to find a crown design that would help us deal with the problems we had and that also fit the home’s decor. Our answer to that was this design — a bed molding profile with a flat-stock cornice.
We ran around town looking for a bed molding, but we couldn’t find any in stock. So we trimmed this crown down, leaving us with a bed molding profile.
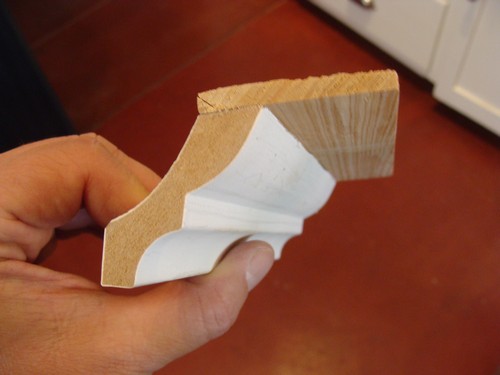
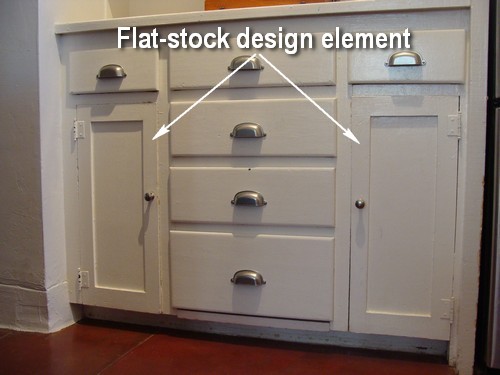
The flat-stock cornice repeated a simple design element on the original upper and lower kitchen cabinets. The cornice would also help us minimize the inconsistent ceiling.
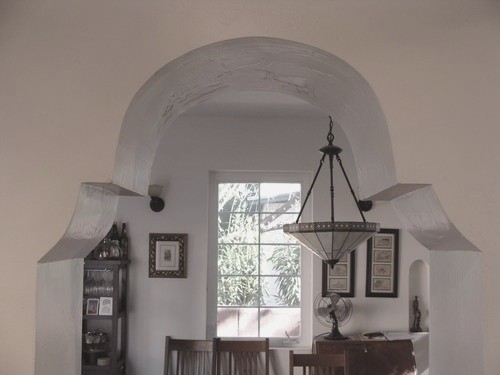
We also found the reverse bed molding profile in the home’s original archways.
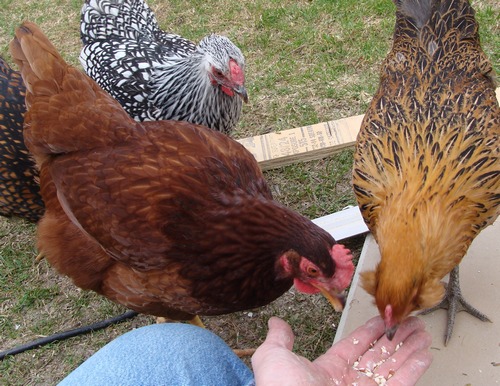
As for the chickens, we led them away from the work area with the promise of an afternoon’s supply of feed.
Installing The Crown
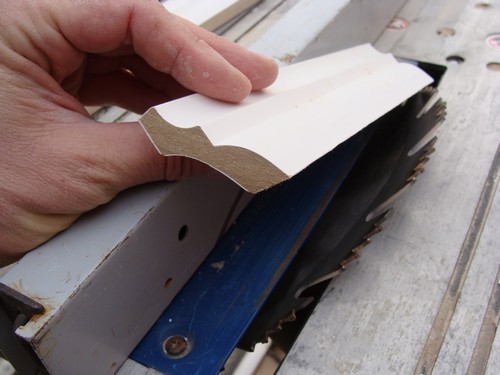
We ripped all the crown we needed down to this profile.
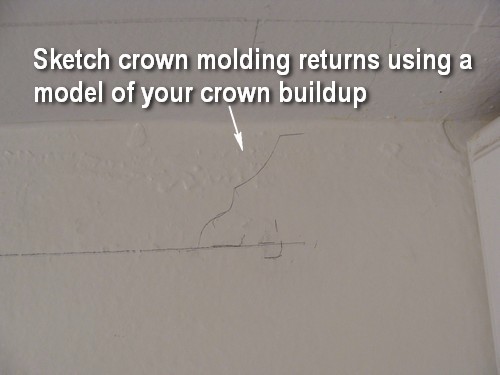
Then we sketched out the cornice layout and our crown molding return locations, the places where the crown had to stop and then start again.
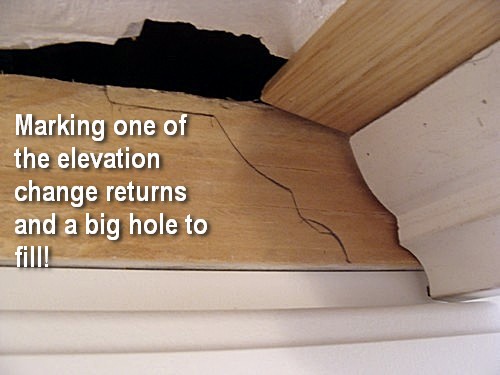
Building a crown molding model not only helps you make adjustments to your design, but you can use it to help you layout the projection across the ceiling and the drop down wall.
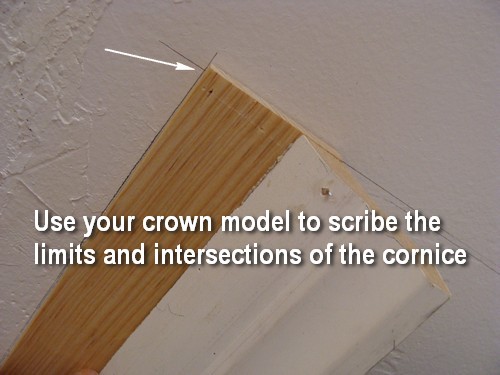
Outside and inside corners are easy to layout when you use your crown model as your guide.
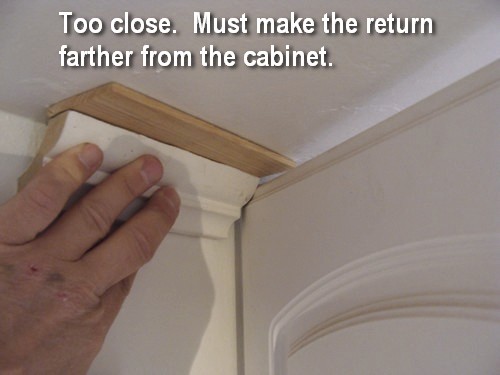
We had to back this return up a few inches so the cabinet door would open all the way.
Installing the Flat-Stock Cornice
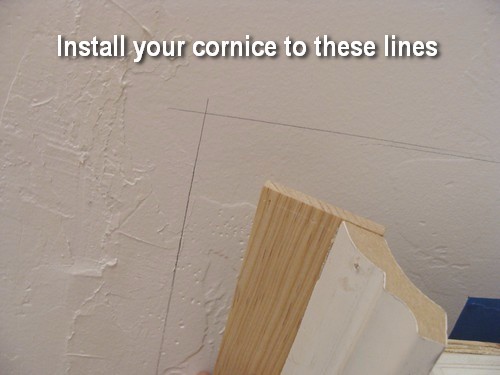
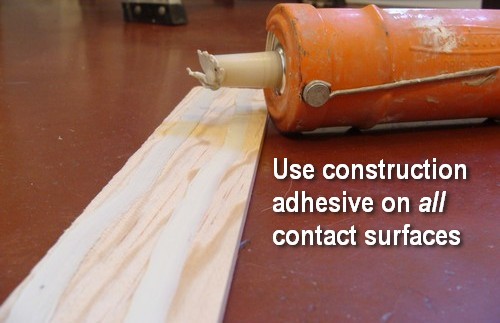
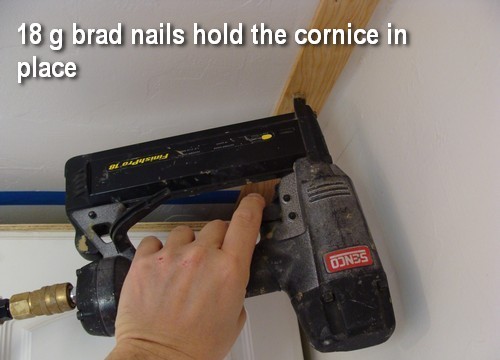
This is a pretty easy part of the installation. Install the cornice using your layout lines as your guide. Don’t forget to use construction adhesive.
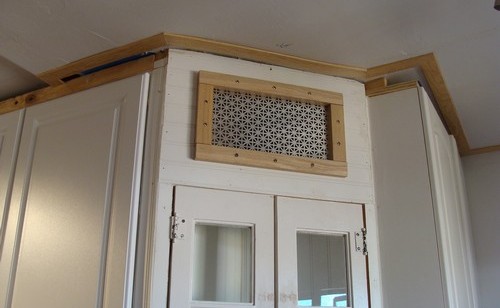
Wrapping the cornice around these cabinets and the coffee nook took a little time but came out well enough.
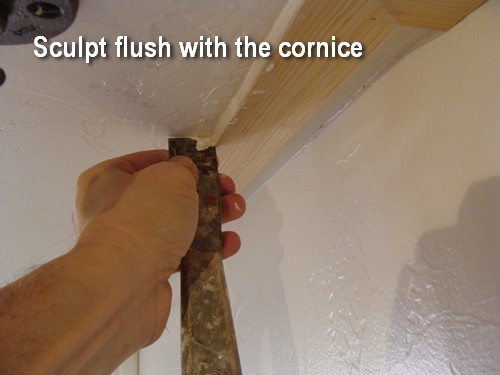
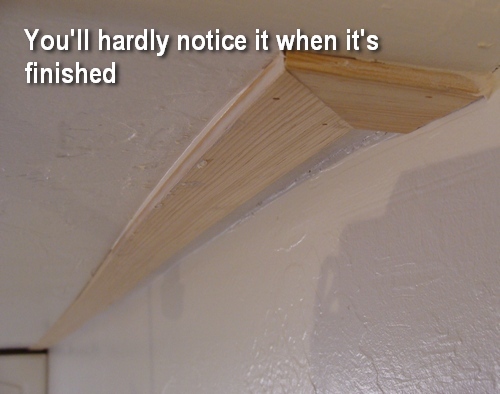
This is one of the warps in the ceiling I mentioned. We fill them with joint compound and then sand them flush when it’s dry.

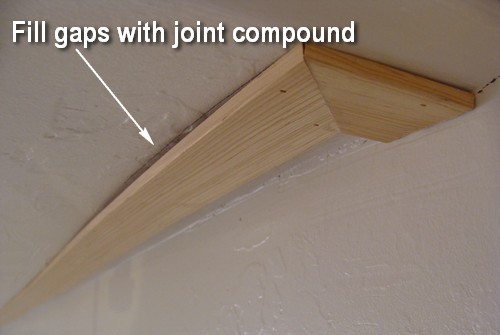
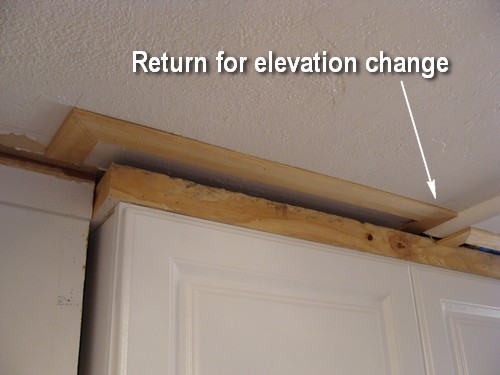
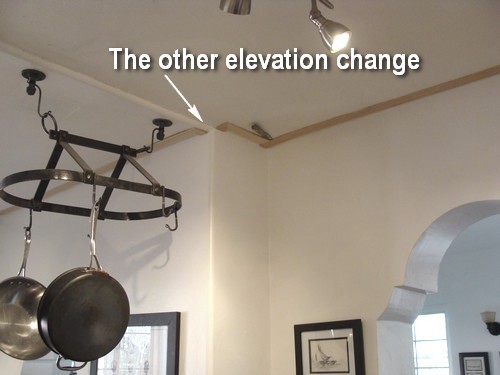
The above and below pictures show the two elevation changes in the kitchen we had to deal with.
Installing the Bed Molding
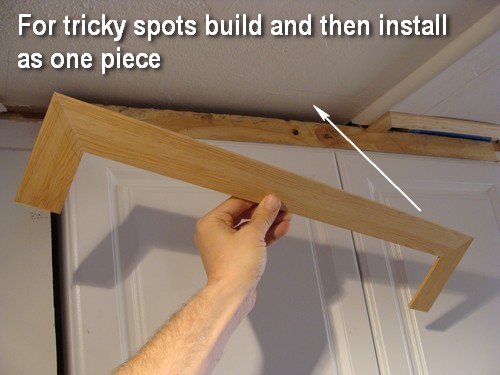
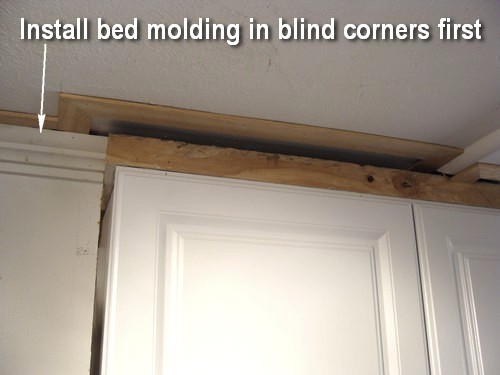
Now for the really fun part. We installed the bed molding in the blind corners first and then assembled the wrap for this section so we could install it as one piece.
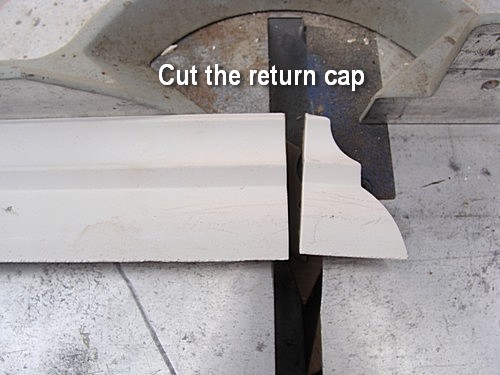
Cut and install the right-hand return cap first.
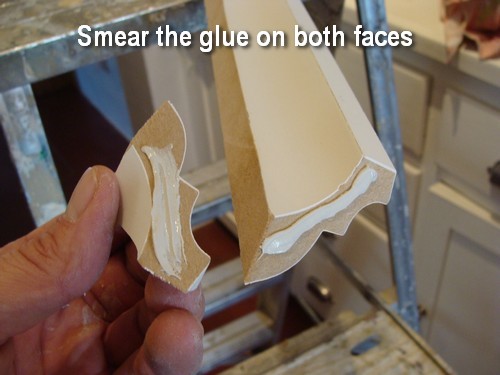
Apply some molding or wood glue to both faces and then smear it around.
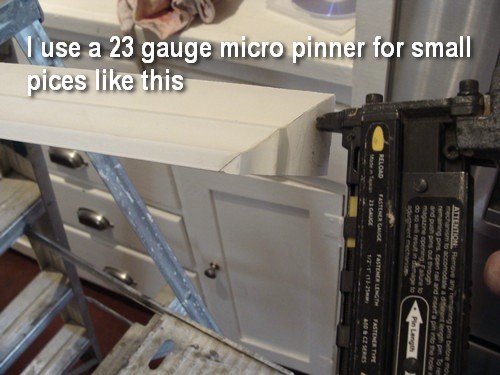
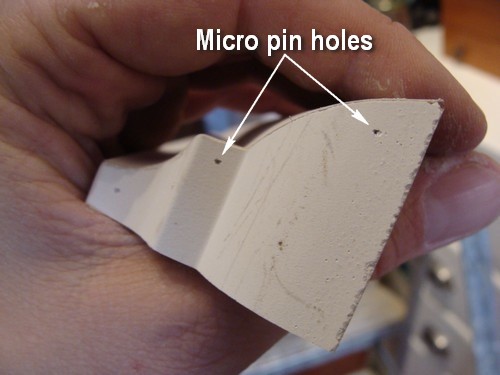
If you’re going to work with small pieces of moldings like this, then having a 23 gauge micro pinner will make your life a lot easier. Senco or Accuset are good choices.
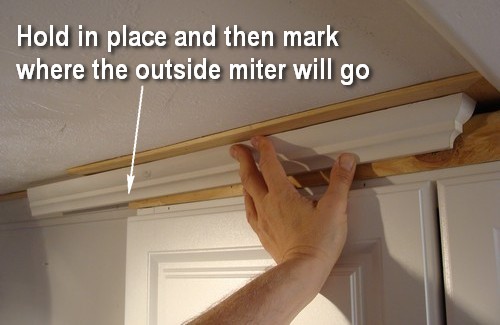
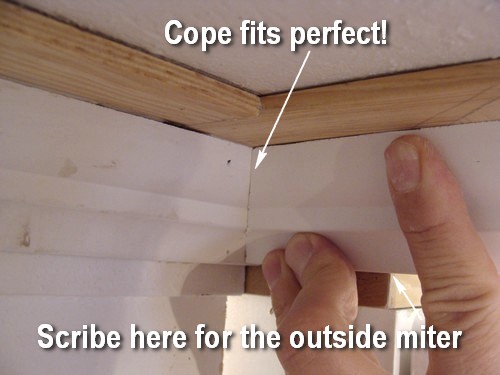
Hold up the long piece and then mark where the outside miter will go. Then cut an inside miter at the end of another piece of bed molding. That end will need to be coped.
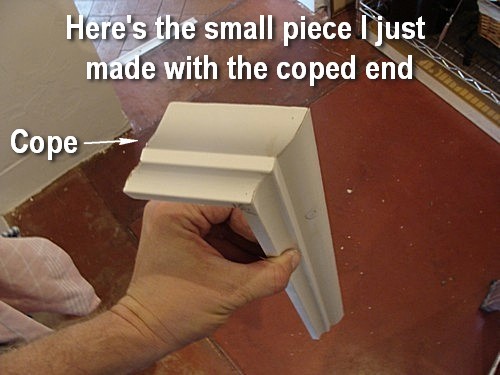
Now I have to make the short piece that wraps around the above corner and ends in a cope joint.
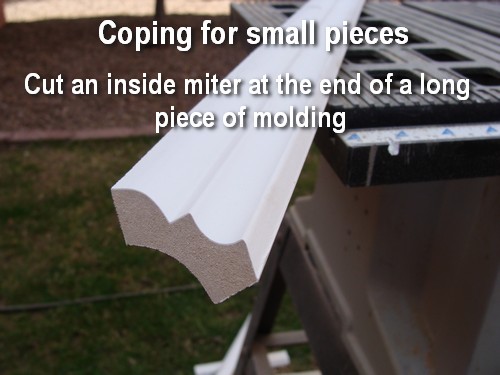
It really helps to cope small pieces of the molding rather than tying to follow the entire profile at one shot.
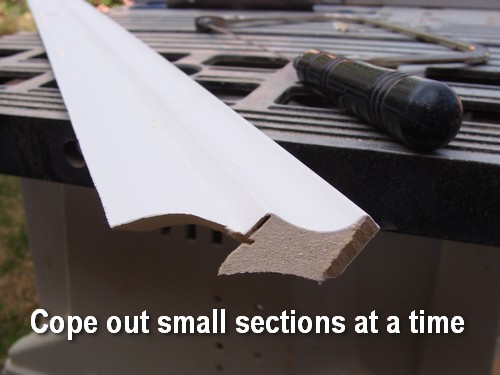
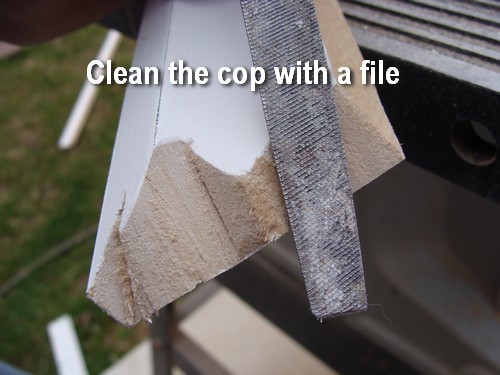
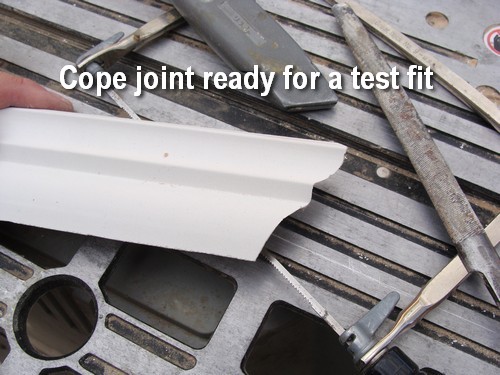
Do you see how easy it is to cut a small piece of molding with a cope joint on the end?
Now I’ll scribe the back of the molding where the outside miter starts, make the final cut and then glue the small piece to the end of the wrap.
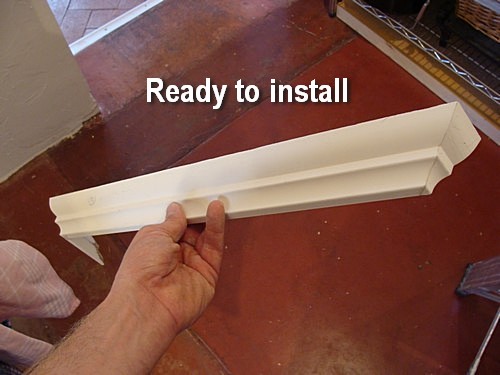
While I was making the above wrap Paul was filling the gap at the return with scrap molding and glue.
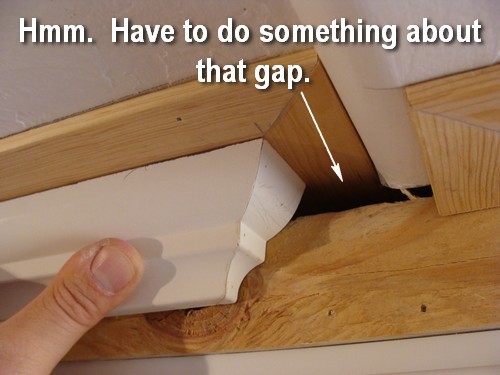
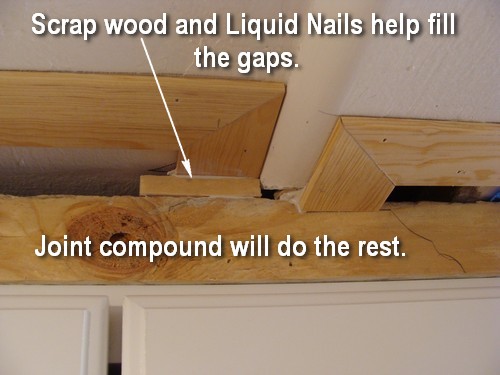
Installing the wrap as one piece is faster and easier than trying to install it one-piece-at-a-time when there are so many irregularities to deal with.
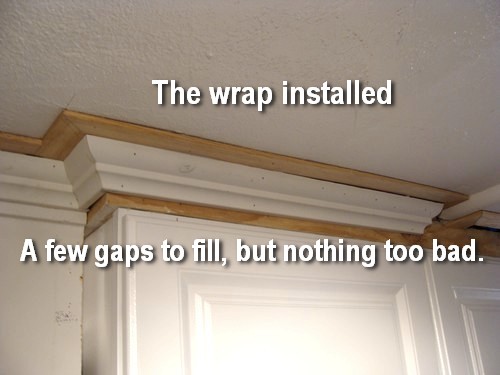
We repeated this same installation process on all parts of the kitchen until we were all finished.
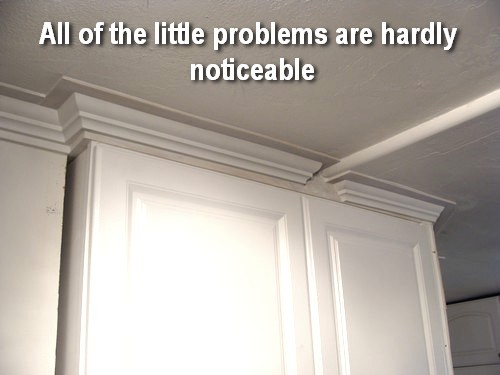
By the time we had the crown prepped for paint you could hardly notice any of the issues that we were dealing with.
I used the exact same sequence for prepping and painting this crown as outlined in my previous One Project Closer guest post How to Paint a Three-Piece Crown Molding.
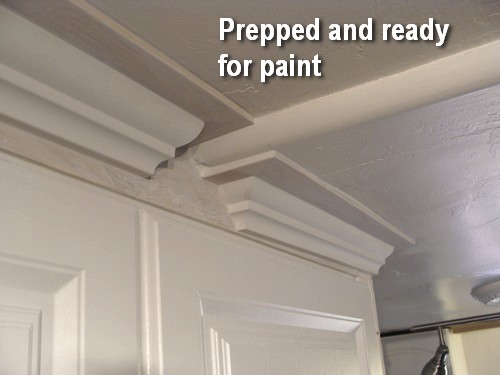
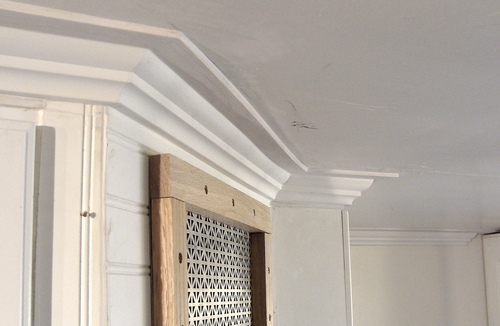
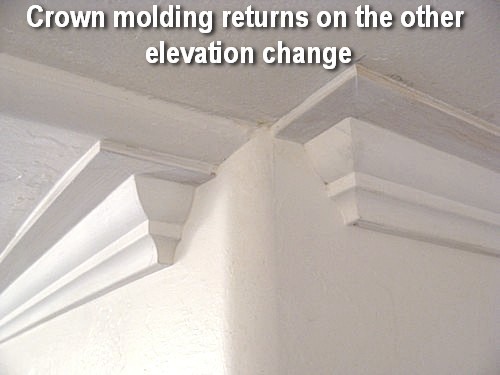
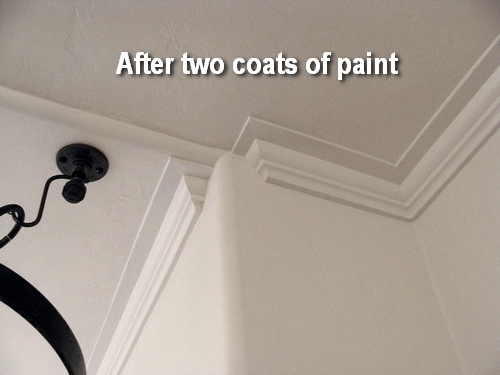
I think the project came out pretty nice in spite of the limitations we were up against. Paul was able to put his kitchen back together, and I could go home and start working on my own kitchen.
Oh, did I mention that Paul owns a grass-fed beef ranch and that he sent me home with a bag full of steaks and roasts? That sure made up for the dangerous power tools and chickens on the miter saw!
— Cheers,
Ken O’Brien
The Joy of Moldings


I like your solutions for transitioning over changes in elevation.
Thanks Jeff. There were really only two other solutions besides returning the crown like we did: One, fix the ceiling (not an option) or two, don’t install any crown (also not an option). It was a fun challenge and a good excuse to spend time with friends.
So where any chickens harmed in the making of this post? With or without a tasty breading?
I would guess just the eggs. but if they had pigs… mmmm bacon
The egg-laying chickens survived. They really were such charming creatures that I even looked into having a few at home — Jennifer was all for it. Alas, with no shade in our little south-facing condo patio, and it being Tucson (yesterday it was 113!), our chickens would be cooked.
great work, you really do a fine job with moldings.
Nice work with all the elevation changes. It came out looking great. And I had to laugh at the chickens trying to help.
Oh, my-lanta! (as my son says).
This tute is really clear and informative. Definitely will be bookmarking this for future use.
Love the chickens included in it.
Love the finished shot of the coffee nook. Looks nice!
Thanks Trebor. Not bad for a project made from reclaimed materials huh? We were pretty happy with it.
Wow, that was a lot of finagling… but the end result looks pretty good. I’ve fixed many a gap with painters caulk!
Looks great thanks for the hilarious post. The chickens were definitely the stars of the show.
Very detailed ! Wow not one for me to tackle but I like how you came up with esthetically pleasing results.
Cute chickens too.
I was looking over the post again today… Since the crown was double sided, when you ripped it down did you get two equal (usable) pieces?
That was the first time I’d ever seen double-sided crown in my life. And I didn’t like it one bit. But no, we didn’t get two pieces from it because we had to rip it at that exact spot to get the bed molding profile out of it, so we were left with unequal pieces.
Looks like you guys made the best of a difficult situation. A tip on coping molding for inside corners. You can run a pencil along the profile after you’ve made the inside miter cut and it helps give you a little more contrast where the wood and paint meet so you can run less risk of over cutting. Especially handy when you’re not working in ideal light.
That’s a good tip, Ethan. I almost always do that with solid wood moldings. The primer/mdf transition is usually a good enough contrast for me.
I take it you are a very patient man Ken. It shows in your amazing work. I’m sure my hubby won’t be too happy that I saw this, and your blog, because I’m already thinking of changes to make our moldings even prettier than they are now. 8^}
Glad you liked our project. Good luck with your own molding makeover!
Thank you Ken.
Hi there
where did you get the ogee crown, or did you make it yourself? Cheers
HG
It’s just a standard, pre-primed mdf crown from Home Depot.
you say you bought this double sided crown at home depot could you tell me in what city and how long ago did you buy this crown. I was told it was no longer available
It was here in Tucson. But that was over a year ago, so I’m not sure if they still have it.