
Crown molding is like, well, a crown for a room. It’s one of the first things I notice about a home because it’s such a beautiful accent, and it adds a lot of visual interest. Installing crown molding is a project that I’ve wanted to share with you for some time, and when a friend told me that he was putting crown up at his parents house, I immediately offered to help.
For some reason it seems that homeowners shy away from installing crown molding themselves. I think the combination of miter and bevel cuts intimidates the average DIYer. Well this article will put all those fears to rest. I’ll cover how to cut those tricky corners, scarf joints, nailing the crown molding and a few tricks to help along the way. The result is a beautiful, seamless installation that you can brag about to all your friends.

Installing Crown Molding
The Gear
Let’s start this project by discussing the tools you’ll need to install crown molding. We used:
- Porter Cable finish nailer
- 16 ga. finish nails
- Porter Cable compressor (review)
- Ridgid compound miter saw (MS1290LZA)
- Stud finder
- Ladder / mini scaffold
- Tape measure
Tip: You can use a coping saw and sandpaper to cut inside corners but we chose to use the miter saw instead.
Cutting Corners
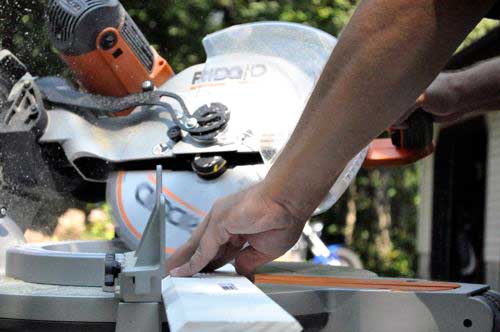
By far the toughest part of installing crown molding is translating the mental image of a corner into accurate cuts. Ridgid recognizes this and included a handy reference on the side of their miter saw (and in the manual) that gives you the correct miter and bevel angles. If you need to work faster, you can achieve just about every cut without making multiple adjustments to the saw, however you’ll need to rotate your workpiece into the correct orientation. For the first time installer, I’d suggest following the basic guide else you may end up with a lot of wasted molding.
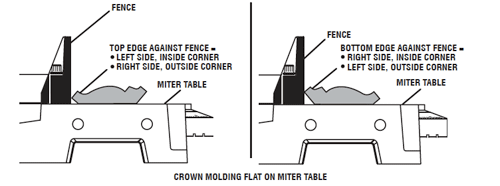
The easier setup starts with the backside of the molding flat against the miter table and the top edge against the fence:
- Inside corner, left side: miter 31.6° right, bevel 33.9° left
- Inside corner, right side: miter 31.6° left, bevel 33.9° right
- Outside corner, left side: miter 31.6° left, bevel 33.9° right
- Outside corner, right side: miter 31.6° right, bevel 33.9° left
OR
Here are settings for the more adventurous installer. With a constant bevel of 33.9° left:
- Inside corner, left side: Set top edge of molding against fence, miter 31.6° right, save left piece
- Inside corner, right side: Set bottom edge of molding against fence, miter 31.6° left, save left piece
- Outside corner, left side: Set bottom edge of molding against fence, miter 31.6° left, save right piece
- Outside corner, right side: Set top edge of molding against fence, miter 31.62° right, save right piece
Tip: Especially with bevel angles, it’s tough to see exactly where the blade will cut the workpiece. Make your cuts a little longer, and then carefully trim to size.
Tip: Some installers prefer not to miter inside corners. Instead, they’ll run the first piece square against the wall and cope cut the second piece to fit the contours of the molding.
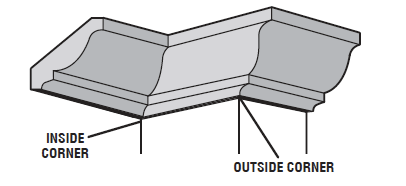
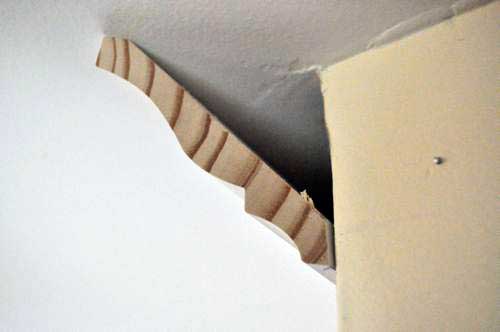
Here’s a picture of one side of an outside corner.
Cutting Scarf Joints
Scarf joints have nothing to do with keeping you warm in the winter, but they will help your molding look nice. For long straight runs, two pieces of molding overlap at a scarf joint. By overlapping the two pieces and not simply butting the ends together, the transition is almost undetectable. Furthermore, if the molding shifts or shrinks, a scarf joint will remain hidden. We chose to create a 45° overlap scarf joint although many people will opt for a compound angle cut.
Tip: Scarf joints should occur on a stud and it’s not a bad idea to use wood glue on the ends.
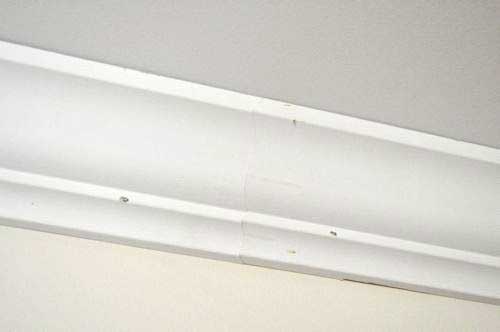
You can see how the two piece overlap,
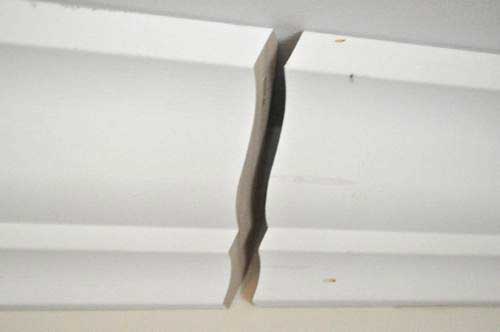
and how they look after we nailed them in place.
Nailing the Crown Molding
We secured all the pieces with 16 gauge finish nails through the flat part of the molding. Use the first couple nails to adjust your compressor pressure so that each nail is properly countersunk below the surface of the molding (roughly 80 psi). Nail into a stud whenever possible, and use a stud finder to locate them. If you’ve ever done any home improvement work, you know that walls and corners are never perfect. As we nailed everything in place, we found it necessary to bend the molding to fit tightly against the ceiling and wall. This is a dangerous game as that can make corners and scarf joints even more difficult. To ensure that everything fit together snug, we would only drive a few nails and then dry fit the next piece.
Tip: If you install a backer board that hides behind the crown molding, you won’t need to find studs as you work. You nail the molding to the backboard wherever it’s convenient.
Pictures of Crown Molding Installed
Here’s how everything looked before we started.
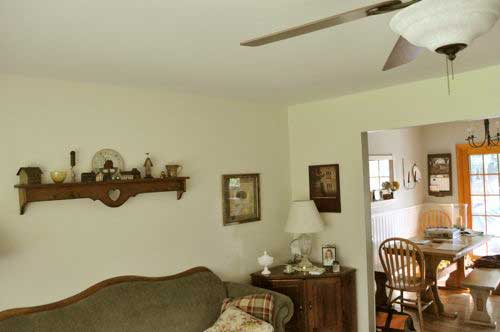
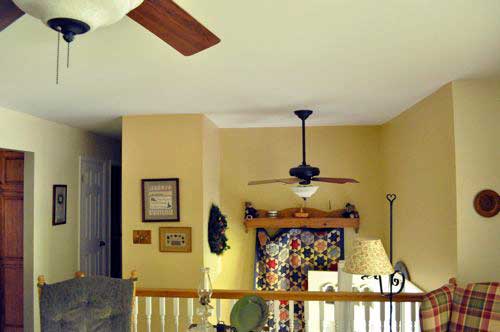
You can see how nice it looks even before caulk and touch-up paint.
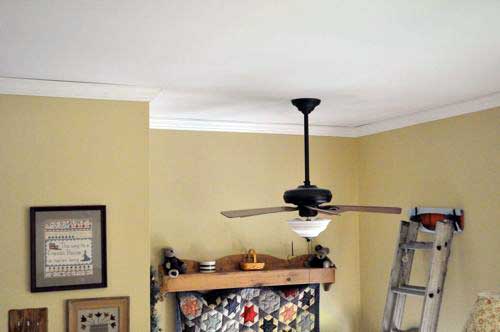
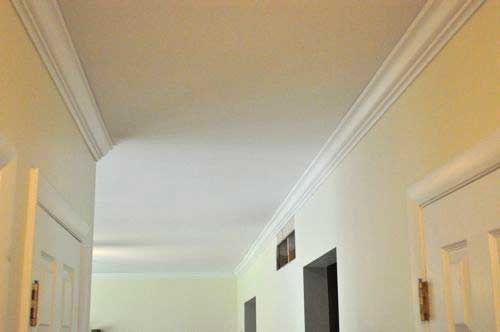
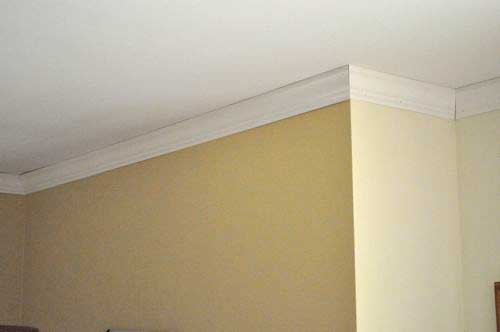
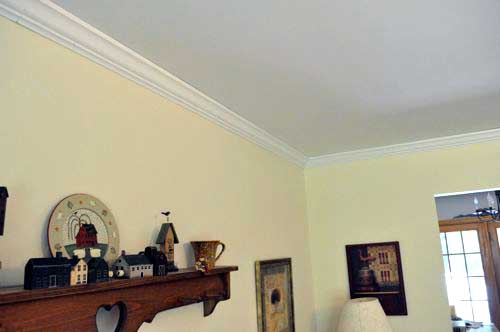
Tiny gaps like these occur when the walls / ceiling aren’t straight or square. Fortunately, caulk heals many wounds.
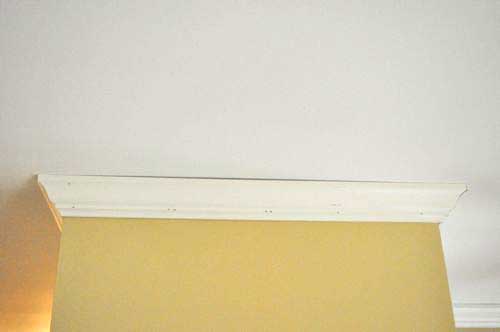
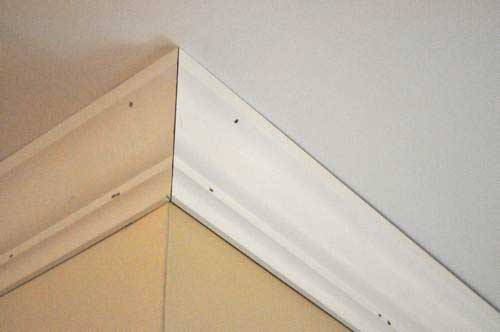
And after caulk (without touch-up paint)…
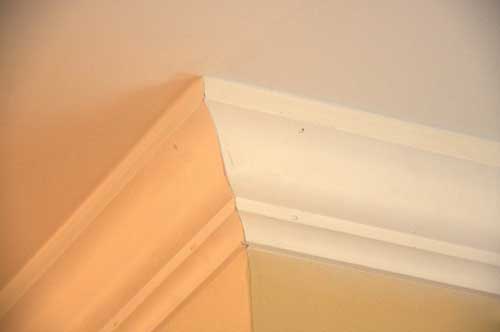
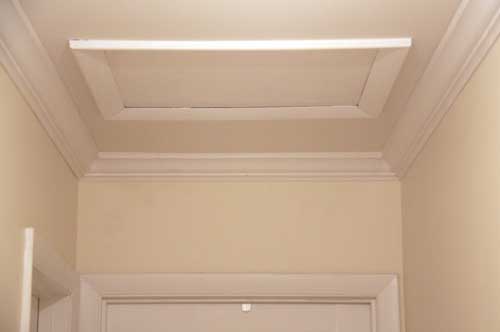
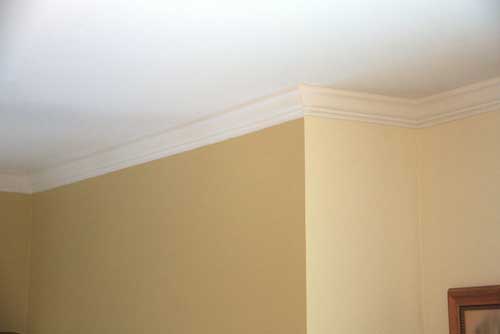
I think the crown molding looks pretty good. Have you ever installed crown molding? What tips can you offer? Did you go the extra mile and cope cut the inside corners?


My father-in-law installed crown molding in the living room in our former house. He had never done it before and did a great job.
Since we had an outside corner where the crown ended, I suggested we fill the gap with a tiny piece of wood. We then caulked and painted it so it looked solid.
It turned out really nice.
With painted crown it’s a lot easier to get away with all miters (same with base, chair rail, and shoe). On a stained wood job I would cope every time. Also burnish the outside corners. Looks good!
I would suggest attempting to grain match around corners as well
great job gonna be adding crown molding in our hallway good post.
I have thought about adding crown to my house, but it would have to go all the way down a hallway, over the stairs (like yours did… probably a similar designed split entry ranch) but it would also have to go into the kitchen, which includes cabinets with open space above them, not sure how it would look if the crown was there, its only about a foot tall.
If you’re not using the foot tall space above the cabinets you could box in that area and then install crown on the boxing. Optionally you could put crown directly on the top of the cabinets with some blocking although that might not play well with the crown up on the wall. Mostly depends on personal preference and what would look best to you.
What’s the long term plan for the kitchen? You could install tall cabinets and then end the crown right before the edge of the cabinet…. I know what you mean about the decision being tough, I’m not sure that crown in the recess would look all that great. Probably wouldn’t be “bad” either though.
Did some crown molding to trim out the top of a built-in bookcase. The bookcase had elevation changes for visual appeal, so I was working with a lot of small pieces of crown. I did cope all my inside corners, because I think it was easier to get a tighter corner. However, I used a Dremel to do my coping rather than hand-sawing it. I found it much easier to get an accurate profile with the Dremel than by using a coping saw.
I did crown molding in my son’s room before he was born. It’s definitely worth it to cope the inside corners. Much like the scarf joint hides expansion and contraction of the wood as the seasons change, the cope joints don’t allow gaps to open up on the inside corners.
I used a nailing strip like your tip suggests and I liked that method a lot. It’s nice to be able to put nails where you need to and not just where the studs are.
I also used a regular miter saw and and crown molding jig that holds the crown at the same angle it would be on the wall. The one I used is made by Bench Dog and for $25 it worked really well.
I used an old school hand coping saw to cope the corners, though I think next time I may try the dremel tool / angle grinder approach for more accuracy.
One more tip is to nail and glue the outside corners to one another so they can’t split apart when humidity changes.
I forgot to mention also, that the coping helps with the fact that much like the walls aren’t always straight, the corners aren’t always perfect 90 degree right angles either.
Right on. One of the first things I do when doing crown is cut a small mock-up of an outside corner so I can test fit it on all outside corners and see where adjustments of the angle need to be made.
Love this tip, Jeff… Combine all the tips in this post and from the comments and you’ll have a real nice crown install. I would also say that for inside corners, you can use an elastomeric sealant that will do just fine with expansion/contraction over time and you probably won’t notice if you made a good cut to begin with. You might have to recaulk through the first Winter but after that it will be good for years. Coping does have the advantage that if the joint opens on one side, there is wood behind the gap so it is far less visible.
We’re debating installing crown or a frieze in our Victorian style home. Maybe my idea of the frieze would work best since it will be stained. It would work better with the beams we’ve planned for the Gentleman’s Parlor anyway don’t you think?
Found the instructions for scarf joints and the use of a backer board particularly helpful. Thank you.
Hi Ethan. I noticed you used the Rigid 12″ miter saw for this project. I bought a used one when we decided to install moldings in the whole house. The nut that holds the blade in place will NOT stay tight. Did you have that problem with yours? I never should have sold my Makita miter saw!!!
I have this saw too but have never had a problem with that nut. I have a refurb. Are you missing any washers? Maybe check the parts diagram to make sure you got everything. http://www.ereplacementparts.com/ridgid-ms1290lz-sliding-compound-miter-saw-parts-c-7929_8201_8213.html
Hey Ken,
I haven’t had any problems with the nut either. It’s a great saw, and if you can get that nut squared away, I’m sure it’ll perform for you too. Jeff’s link is probably the best help we can offer 🙁
I always notice the gap between pieces and wonder if it wouldn’t have been better to pay for extra material to cut to length
Pictures show crown moulding upside down. Heavy edge always down, except on furniture. Thank you !
I think Jose is standing on is head. The photos on the page are correct. The most decorative part of crown is placed on the bottom. :-/
I like that you said that the most difficult part when installing a crown molding is making the right measurements from the corners. Personally, I don’t know much about crown molding but we are going to make some changes in our home and we want to have an idea. Thank you for helping me learn more about crown molding.
Great guide on installing crown molding! The step-by-step breakdown really helps demystify the process, especially for beginners. I love how you emphasized the importance of proper measuring and cutting angles—those two steps can make all the difference in achieving a polished look. I also appreciate the advice about using a coping saw for inside corners. I’m planning a similar project in my home and am wondering: Do you have any tips for working with crown molding in rooms that have sloped or vaulted ceilings? It seems like the angles would be much trickier in those cases. Would love to hear your thoughts!