
Awhile ago I became obsessed with making fabric flowers, and I had to figure out what to do with all of them. It wasn’t a big stretch to start making headbands and barrettes for Izzie and Lucy. Headbands were especially great for Lucy, since she still doesn’t have much hair at 18 months. Once I got into it, I couldn’t believe just how easy it really is to make headbands. I have made a ton for my girls, and they also make great ad-on gifts when I buy cute little Gap outfits for Izzie and Lucy’s friends.
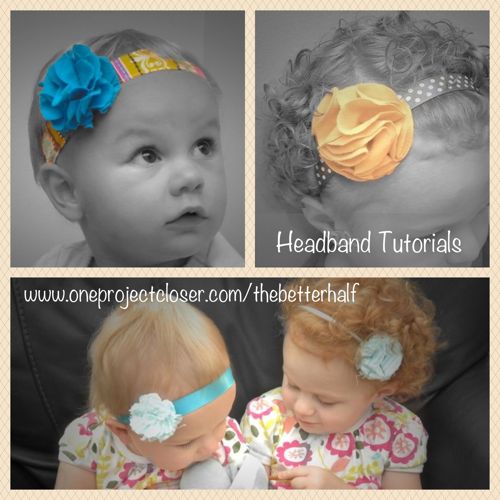
I have made several different types of headbands, all of which are easy to make even for me, the novice sewer. This tutorial will only cover how to make the headbands themselves, but feel free to check out the complete tutorial on how to make fabric flowers to put on the headbands.
Click on these jump-links to skip ahead to specific headband tutorials:
Fabric Headband
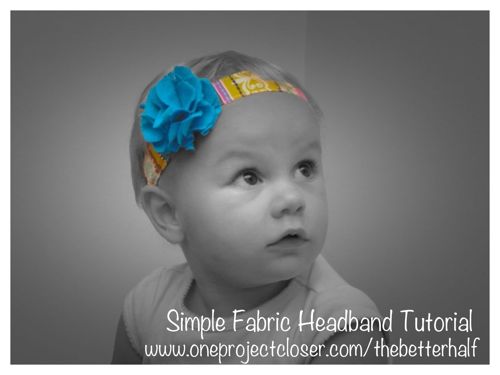
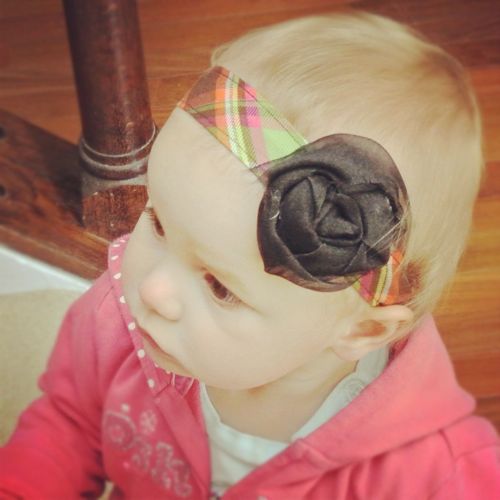
I designed this headband when preparing for last Christmas’ photo shoot with my dad, who is also a professional photographer. I wanted to use lots of fun fabrics and patterns but Lucy’s outfit looked drab in comparison to Izzie. So I found an old plaid skirt that was too small for Lucy and cut it up to make a headband and flower for her shirt. It turned out so, so cute and the girls looked coordinating without being matchy. Thanks, Chris Paulis Photography for one of my all time favorite family shots!

This is the most time consuming and technically difficult of all the headbands, but is super cute and a great way to use old clothes that you loved!
Supplies:
- Fabric
- Iron
- Sewing machine, thread
- Elastic
Step 1: Measure and Cut
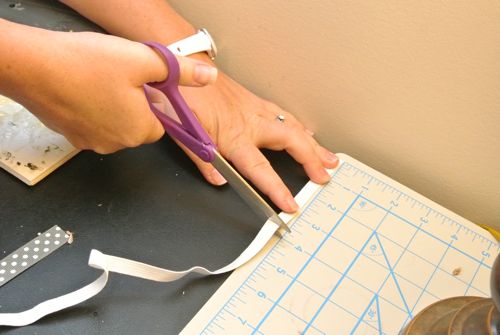
Cut your a strip of fabric 2 x 13 inches. Any type of fabric will do, but thicker fabrics with less give, I think look nicer. You can also cut your fabric wider or thinner depending on how you want the headband to look. Whatever is your desired thickness for the end product, add on 1/2 – 1 inch for hemming.

Cut 4 inches of elastic. You may cut more or less depending on the child’s head size. You can use a measuring tape to be precise, adding together the length of the fabric and elastic to equal to the head circumference. (You will loose some of the length when sewing, which will create a snugger fitting headband)
As above, here are my approximations for cutting the fabric length for children’s headbands:
(Let me know how it works out for you and if I should adjust these measurements)
- 6 Months – 10 inches
- 9 – 12 Months – 12 inches
- 12 – 18 months – 13 inches
- Toddler – 14 inches
Step 2: Sew
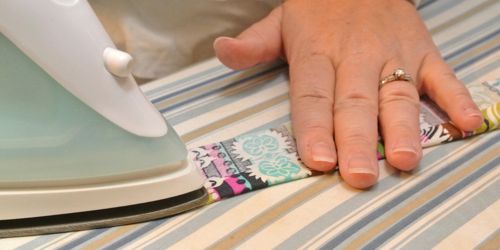
Fold in both sides of the fabric, lengthwise just a little more than 1/4 – 1/2 inch. Iron the crease using steam. You do NOT want the fabric creases to overlap in the back because we want to headband to lay as smooth as possible. I did not fold in the fabric hem twice, as is usually done when finishing edges. Again I want it to lay as flat as possible and if it frays a little its no big deal.
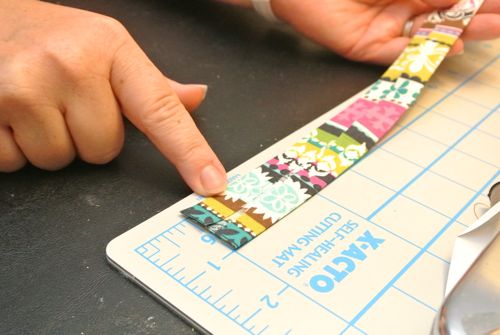
Sew an 1/8″ hem on both sides of the fabric, or as close to the edge as you can get. Remember to backstitch at the start and end.
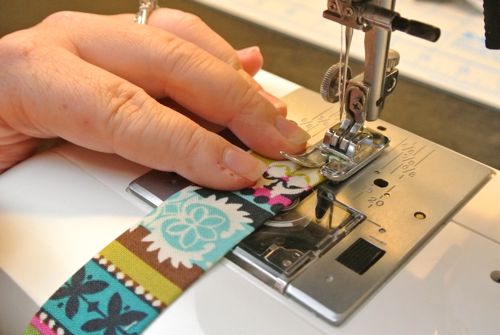
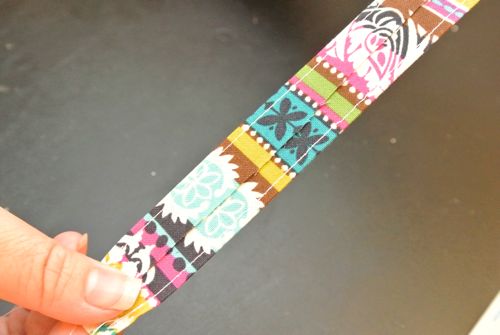
Fold in the ends of the band slightly.
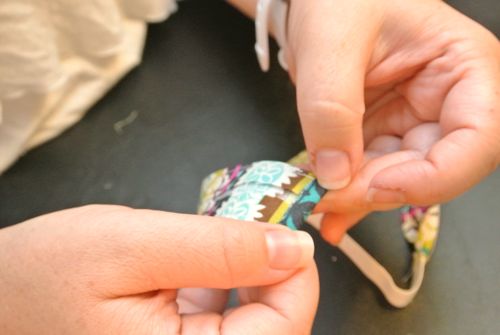
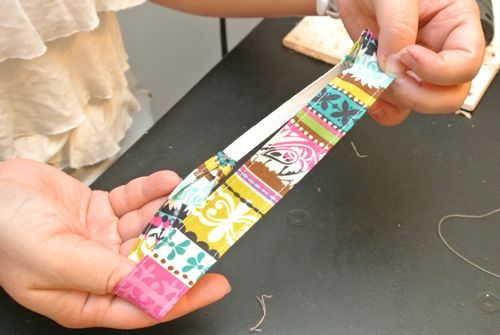
Take one end of the fabric and one end of the elastic and overlap them slightly (maybe 1/8 – 1/4″), wrapping the edges of the fabric around the back of the elastic. Using thread to match the ribbon, sew small darts attaching the ribbon to the elastic.
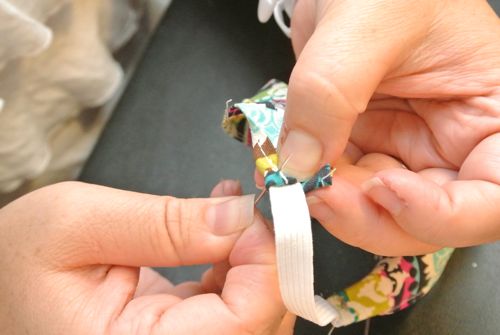
Repeat this with the other ends of the elastic and fabric.
Step 3: Personalize
Add a fabric flower or leave plain. This can be a very pretty headband all on its own.
T-Shirt Headband
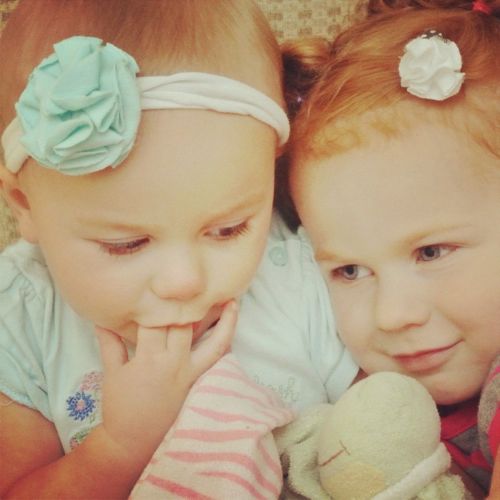
This may be my favorite type of headband for Lucy, my 18 month sweetie. They are comfy, cute, quick and cheap to make, and casual for everyday wear. Surprisingly, Lucy usually doesn’t try to pull off this headband I think because its so comfy she forgets she’s wearing it. I always get tons of compliments on these! The best part is I can use scraps of old clothes, fabrics, whatever, so its very cheap to make.
Supplies:
- Old (or new) T-Shirt
- Hot Glue
Step 1: Cut and Measure
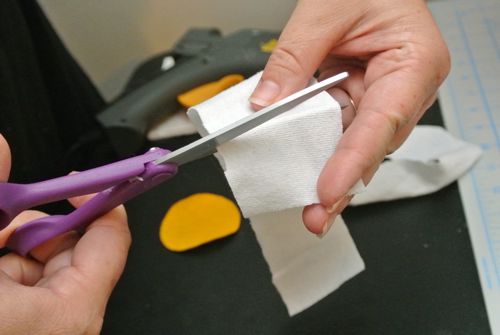
Cut a 1-1/2 – 2 inch stip of t-shirt fabric. Do not use fabric that includes seams.
With the strip of fabric, measure around the child’s head for a precise fit. When I have made gifts and didn’t have the child’s head to measure, I used a fabric strip about 14″ long for a older baby or younger toddler. If for a newborn, I would subtract and inch or two.
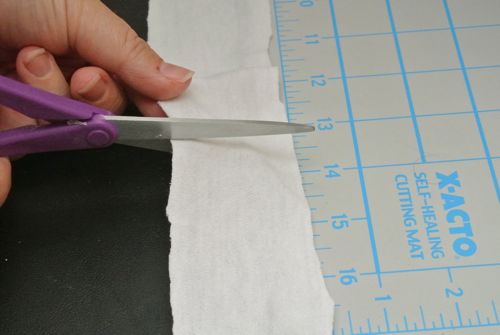
When measuring around the head, you want the material to pull tight around the head. T-shirt fabric will stretch some and you want the headband to stay on. Even if it is a little tight, it will still be comfy because of the material.
Step 2: Glue
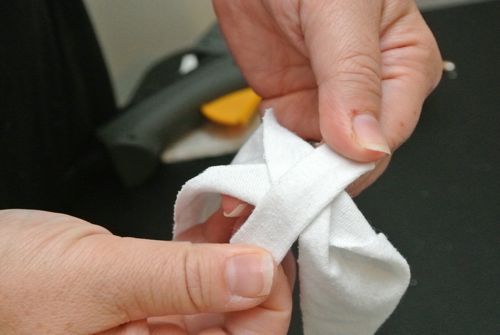
Bring the two ends of the cut t-shirt fabric together, folding in or bunching the outer edges to make it more narrow.Place hot glue where the ends come together.
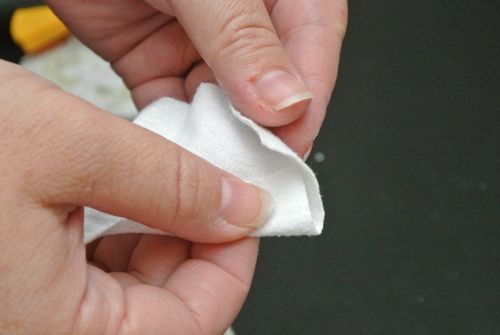
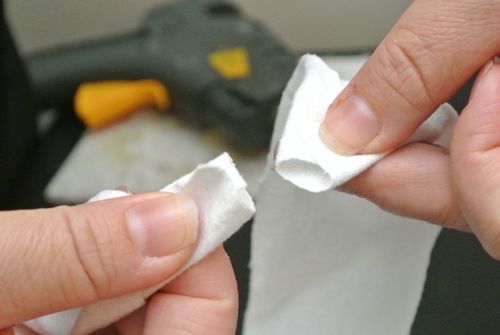
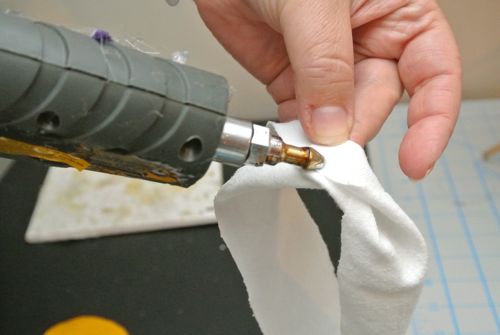
Then using a scrap of the same t-shirt, 1×2″ in size, wrap it around the hot glued seam, using more hot glue to secure the end.
Step 3: Personalize
Add a fabric flower and wear with pride!
Ribbon Headband
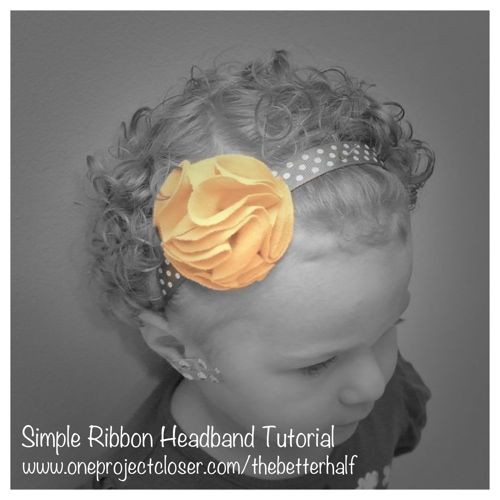
I started making these headbands because I had become over zealous in buying ribbon that it was literally overflowing, so why not use some on headbands?! These require some sewing, but very, very little and it does not require a sewing machine. In fact, you could probably replace the sewing with hot glue or liquid stitch if you really hate sewing. These are also really neat headbands because you can dress it up with a satin ribbon or dress it down with a funky pattern!
Supplies:
- Ribbon
- Needle and Thread
- Elastic
Step 1: Measure and Cut
Cut 13 inches of ribbon. Any type of ribbon will do, solid, patterned, thick, thin, satin, or matte, all are fabulous! You may cut more or less depending on the child’s head size. You can use a measuring tape to be precise, adding together the length of the ribbon and elastic to equal to the head circumference. (You will loose some of the length when sewing, which will create a snugger fitting headband)
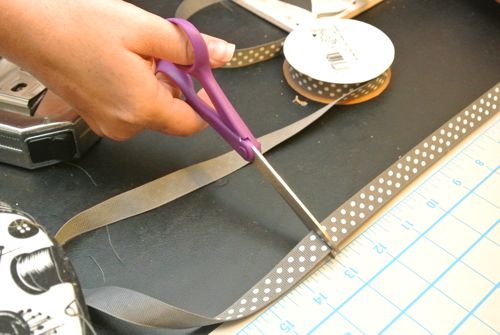
Here are my approximations for cutting the ribbon for children’s headbands:
(Let me know how it works out for you and if I should adjust these measurements)
- 6 Months – 10 inches
- 9 – 12 Months – 12 inches
- 12 – 18 months – 13 inches
- Toddler – 14 inches
Cut 4 inches of elastic. You may cut more or less depending on the child’s head size. You can use a measuring tape to be precise, adding together the length of the ribbon and elastic to equal to the head circumference. (You will loose some of the length when sewing, which will create a snugger fitting headband)

Step 2: Sew
Take one end of the ribbon and one end of the elastic and overlap them slightly (maybe 1/8 – 1/4″), wrapping the edges of the ribbon around the back of the elastic. Using thread to match the ribbon, sew small darts attaching the ribbon to the elastic.
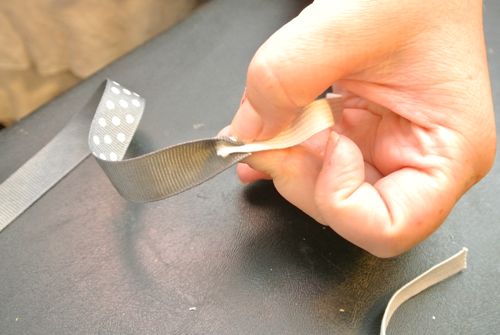
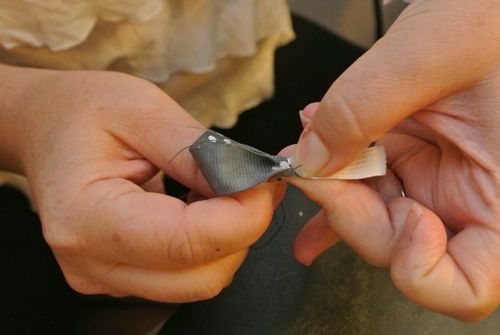
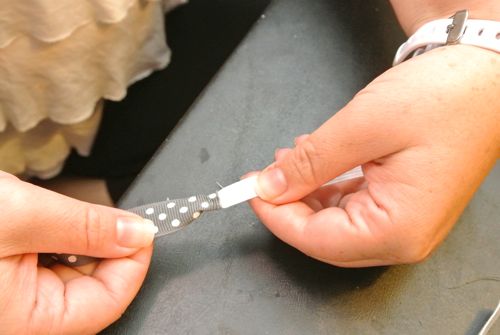
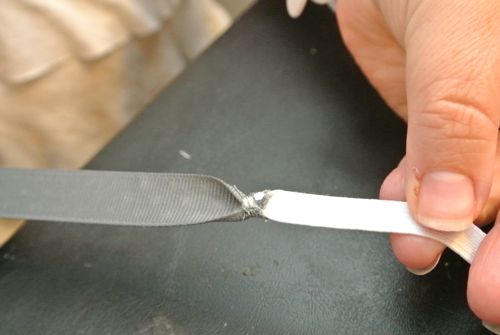
Repeat this with the other ends of the elastic and ribbon.
Step 3: Personalize
Add a fabric flower or leave plain. This can be a very pretty headband all on its own.

Plastic Headband
Okay, so I feel a little silly writing a tutorial on how to make a plastic headband, but in the spirit of thoroughness, I figured I should. This is a great headband for the bigger kids, plus its quick and pretty cheap. I bought a pack of headbands at the Dollar Store and Izzie loves them.
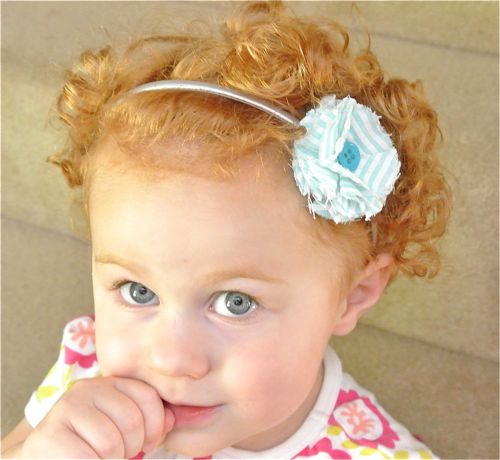
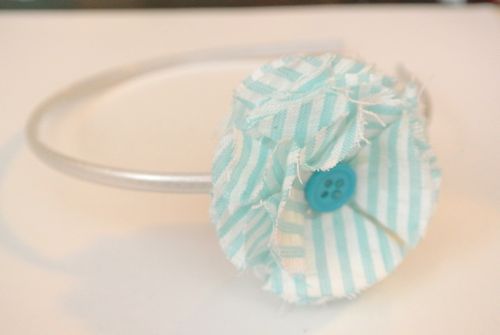
Supplies:
- Plastic Headband
- Hot Glue
- Fabric Scrap
- Fabric or Silk Flowers
Step 1: Cut
Cut a scrap of fabric or felt 1 x 2″.
Step 2: Glue
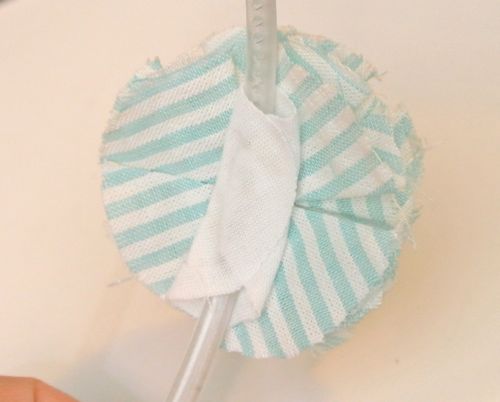
Place a generous dot of hot glue on the back of a fabric flower or silk flower. Stick the flower to the side of the headband and cover the underside of the headband with the scrap of fabric, wrapping around the sides up to the underside of the flower.
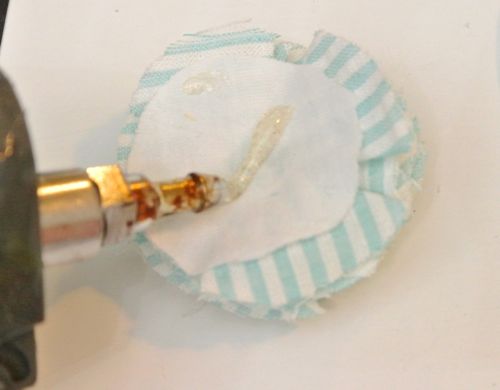
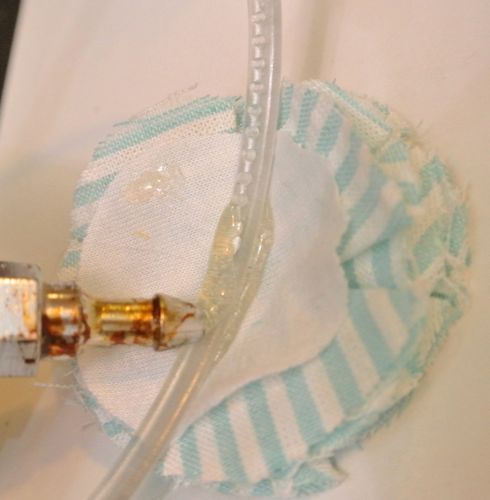
Any crafty people out there have tips to add? What is your favorite homemade headband?
If you have made headbands at home, please send us your pictures and we’ll include them in this post! We love to hear from our readers. 🙂
As Always, thanks for reading!





These are so stinkin’ cute!! I love them all. Where does that beautiful red hair come from?!? 🙂
Thanks, Karah! My dad had red hair (now gone or gray) and i have strawberry blonde, now bottled. 🙂
Cute idea! I took your flower instructions and made bouquets as thank yous for people! :0D
Jocie, your daughters are so cute it’s hard to even notice the headbands.
My daughter has blonde curly hair.. Tight ringlets just like your daughter. Everyone comments on it. My baby (girl) has no hair right now but I doubt it will be curly too.. Will be fun to see what it turns out to be! My husband and I have straight hair. The headbands you made are very sweet!! Great post.
The babies are precious, too bad the handbands do not look this good on adults!