
Today’s guest post comes to us from Lisa at The Pennington Point. We featured her last summer in our Before-and-After series (Enclosing a Porch Alcove). This busy home schooling mom of nine likes tweeking her place as much as we do ours, and this time she tasked herself with re-doing a bathroom for the cost of the one can of floor paint she already had to buy, since she had some emergency plumbing repair work done in there over the Thanksgiving holiday. We’re regularly impressed by Lisa’s resourcefulness (not to mention her energy level!), and we think you will be, too.
Without further ado, here’s her “No-Cost” Bathroom Remodel!
_______________________
When the leak in our bathroom led to a major plumbing fix which led to holes in the walls….I knew I needed to do something quick!
But our bank account said otherwise. There simply was no money in the budget to spend on home repairs. But you know what? We have all kinds of junk and stuff and useless things around here. So I decided to dig through it all and redo the bathroom for no money.
There was one problem, I needed a gallon of paint. I bought that and made a resolution not to spend another cent on the bathroom. It was an interesting project. There were a few times I didn’t think I could do it. Once I needed a curtain rod and we wracked our brains to figure out what to do. Another time I needed to cover a floor to ceiling opening. My older kids and I would wander around the house and yard until we came up with a solution.
Before:

And now….TA DA!

I promise you, I only bought the floor paint. I used paint leftover from my bedroom for the walls and white left from the kitchen for the trim.
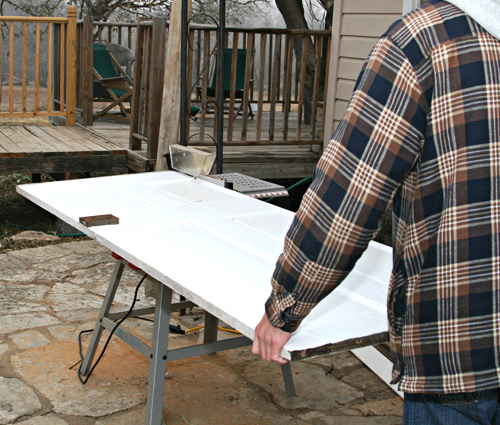
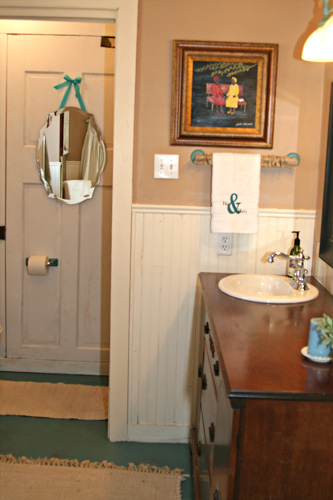
My absolute favorite freebie is the use of the old doors on the walls of the tiny bathroom.

Those doors have been leaning against our garage for years.

They were just a little bit too big for the space, so we ripped them down with the table saw.
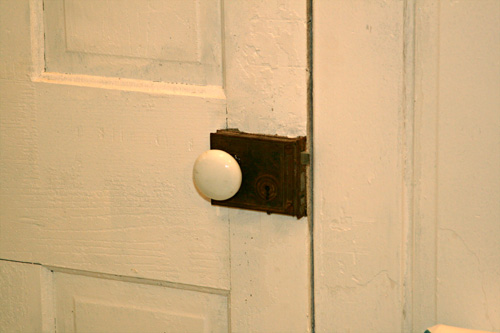
They make the whole room look bigger. I just love the old hardware. We used a hacksaw to cut off the spindle so I could keep the doorknob on the door. I glued it into place with E-6000. There are probably better glues for this purpose, but that’s what I had on hand.
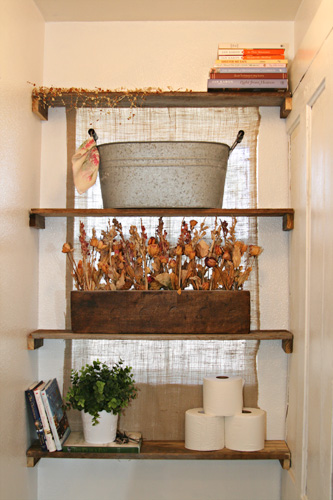
To build shelves over the toilet, we took apart an old pallet. I stapled burlap to the back of the shelves to cover the window. The whole thing was quick and easy. I love my little Craftsman stapler from Sears.
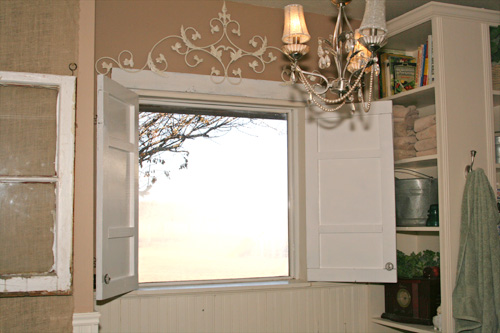
I wanted to do something fun with the shutters over the tub. I have never liked they way they looked, so now was my chance to change that.
Before they were dark and dreary:
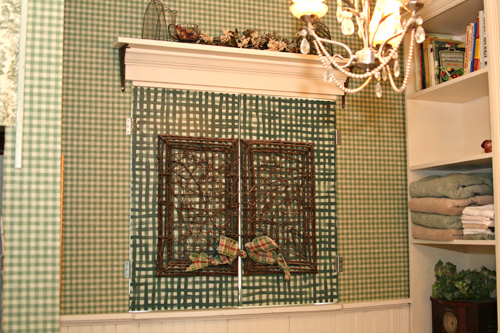
And now they are fun and whimsical!
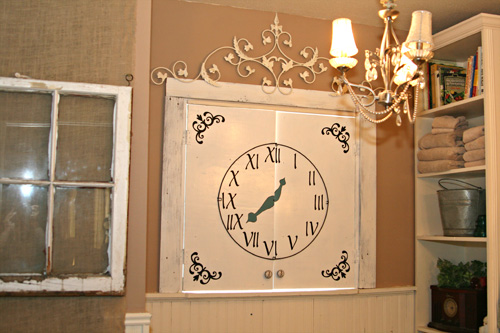
We used more pallet wood for the window trim. I decided to make a clock face, so we went on a hunt for a circle. We found a metal ring in the yard. It’s been out there and none of us knew what it was for. It’s funny living on a farm. There is so much junk. We cut the ring in half with heavy duty wire cutters and hung it with staples. The numbers are die cut vinyl and the hands are hand painted with the floor paint.
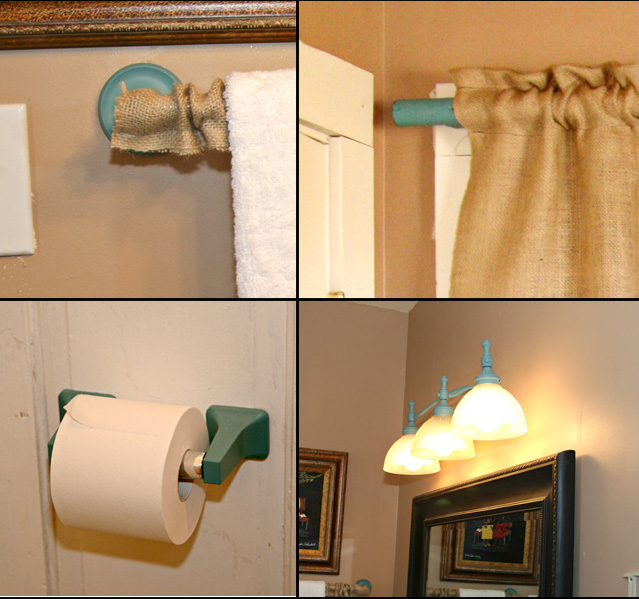
In fact, I used the floor paint for several things in the room. I wanted to bring the color up from the floor. Plus some of our things were looking pretty bad and needed refreshing. For the metal towel bar and toilet paper holder, I sprayed them first with another color spray paint made for metal. Then we added several coats of the floor paint followed by a clear spray.
This is such a small space that I didn’t like having door on the closet, so I’ve always used curtains.
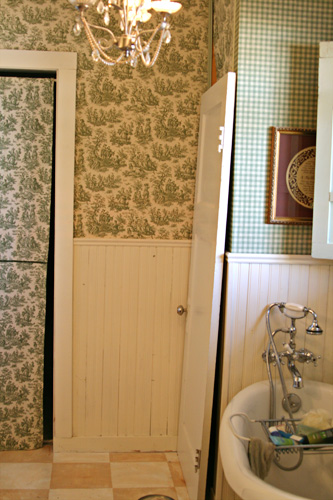
I just changed to burlap.
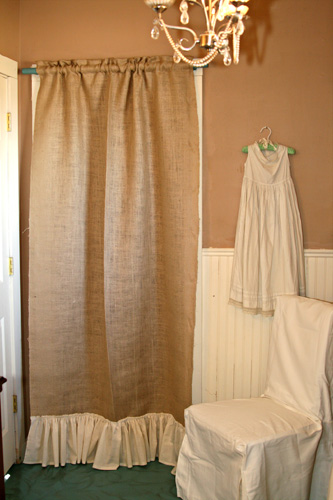
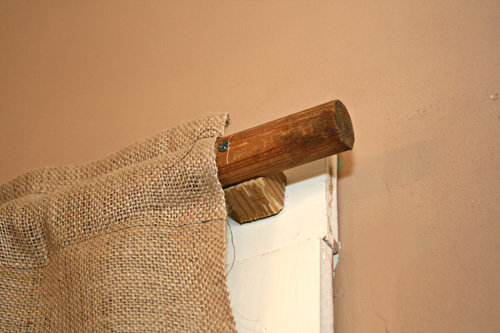
My son very cleverly made a curtain rod out of an old dowel and some wood blocks.
And there you have it. A new bathroom for the cost of one gallon of paint. Not too shabby I’d say.


Thanks Kim! I love reading the tips on OPC. So it’s a thrill to see my little house over here. Lisa~
Wow! That is just amazing. When you have imagination (ok, and some junk lying around), what you can do is simply astonishing. I’m not sure what I’d pick out… but, maybe the clock just ‘takes the biscuit’! (Is that an expression in the US?). That is just clever and cute beyond words.
Well done. And enjoy your leak-free bathroom… (not sure that’s the best phraseology ever…. I guess it wouldn’t be a bathroom without leaks, but they’ll be of the…. oh, Anne, be quiet….talk of bathroom humour and little boys’ humour. I need to grow up. Sorry… (hangs head in shame!))
So you are pretty genius for pulling off this remodel with just a can of paint. Repurposing is the way to go definitely. I’m new to this DIY world and I am currently taking in as much knowledge as possible. We will soon be moving into our first home hopefully and I like to plan ahead and learn things to do ourselves. Thanks for this awesome post.
My best, Lynn
Brilliant redecorating on a budget! Thanks for posting this for us to see, I need all the inspiration i can get.
It’s the name of the game around here
in
NE
i hate wallpaper with a passion
So true to think that many nice things can be made with things we already have. A very nice display of recycling at it’s finest!