
This Summer’s fifth Before and After is a real treat: a 1950s cape cod bedroom gets a much needed improvement from Michael Vigneau at Better DIY. I grew up in a cape cod and much of my childhood was spent in a bedroom just like the one that Michael improves in this episode… I sure wish my bedroom had a cave!
For winning this week’s contest, Michael gets a $25 gift card to Home Depot, Lowes, or Amazon, and we’ll make a $35 donation to Habitat for Humanity in Michael’s honor. Read below Michael’s submission for this week’s Habitat quick fact, and an opportunity to match our donation with your own.
Cape Cod Upstairs Bedroom Makeover by Michael
We recently remodeled many areas in our 1950s Cape. When we bought the house, the structure was solid, but it was in desperate need of updating. There was one owner who lived there for 50 years; so you can imagine the style that we saw (paneling, linoleum, lime green paint, etc..). But it also had great features like hardwood floors throughout and plaster walls (great for durability, not for patching). We have owned it about 2.5 years and have remodeled 90% of everything…
The Upstairs Bedroom
First off – We are still happy with this remodel after months of completion. My daughter loves her new bedroom which is the greatest accomplishment. People that look at it love how we used the otherwise wasted space behind the knee walls. But we are now expecting our 2nd child in October – a boy. My wife has already started talking about finishing the 2nd bedroom upstairs. My back still hurts from working in the the cave and bed area 🙂
My daughter was turning 1 year old, and her downstairs room was getting a little crowded with all of her toys, so we decided to finally make the outdated spare bedroom into her living space.
Before:
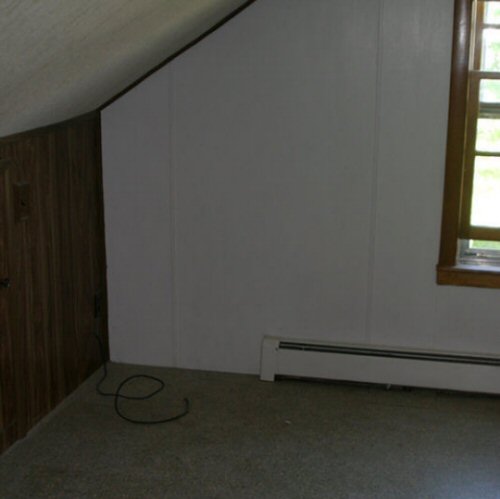
We tore everything down to the studs and went from there. We tore out all old insulation and electrical and even the old closet.
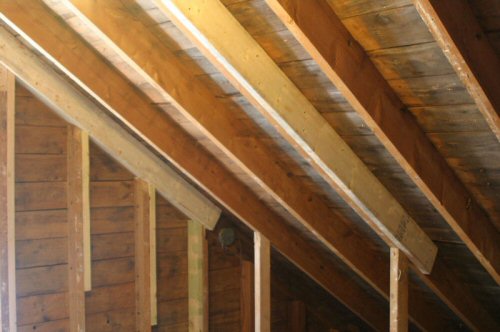
Collar Ties:
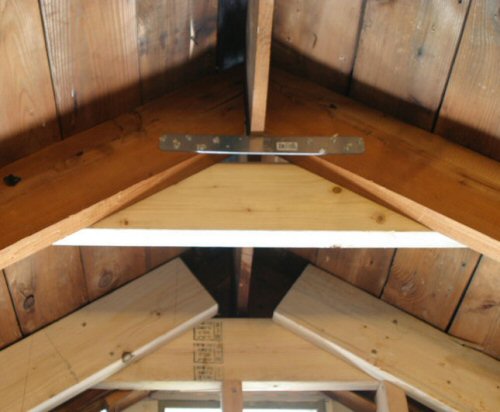
Closet – New:
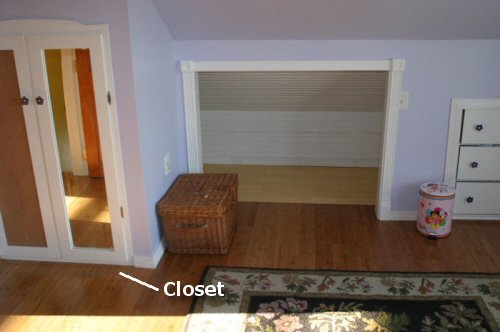
Chest of Drawers/Closet/Cave/Bed:
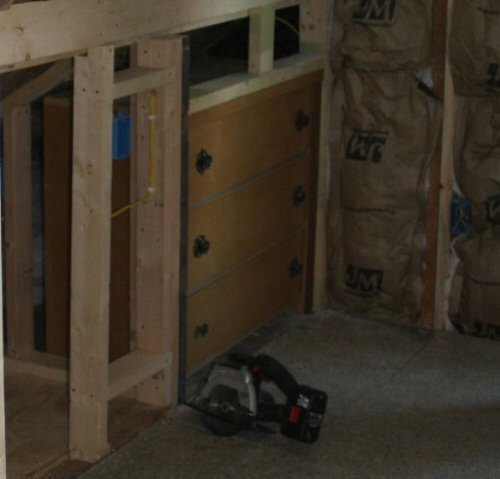
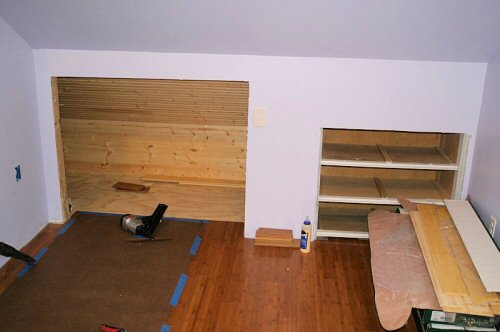
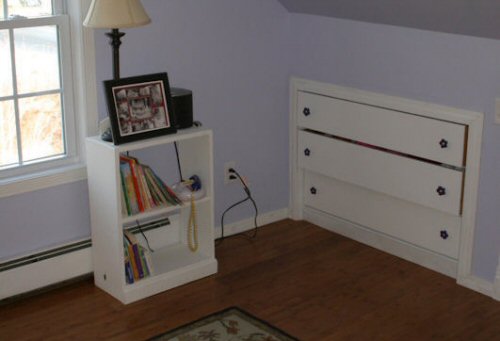
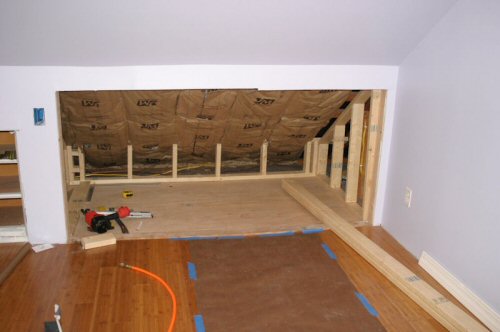
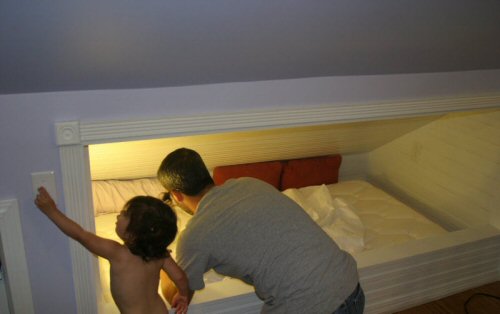
CAVE – The cave area goes back about 12 feet into the eaves/behind the knee wall. We added 2 lights into the cave. We also put the light switch high enough for my daughter to reach.
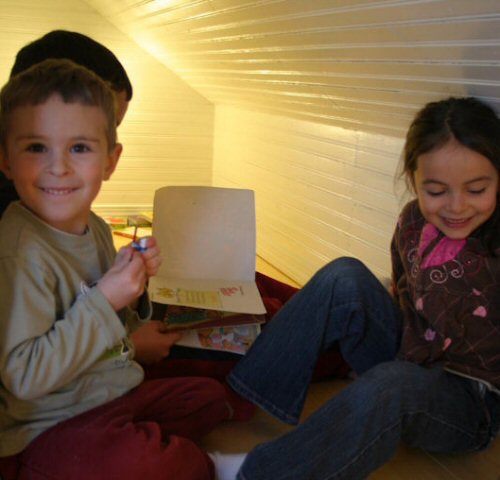
BUILT-IN BED – The bed area is 44×80 inches which makes changing sheets on a standard twin (39×75) easier to change. There is also a set of bookshelves at the foot of the bed with a light. Again the switch is within reach of a toddler so she can turn it on and off.
Electrical:
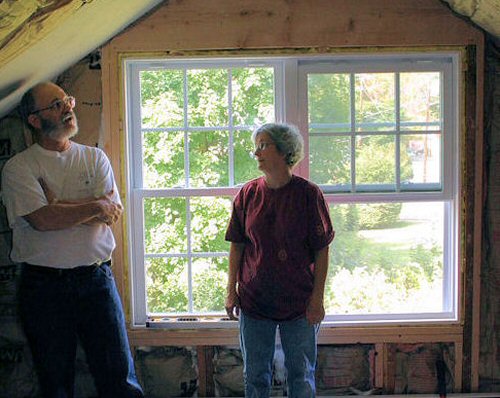
Window:
Floor:
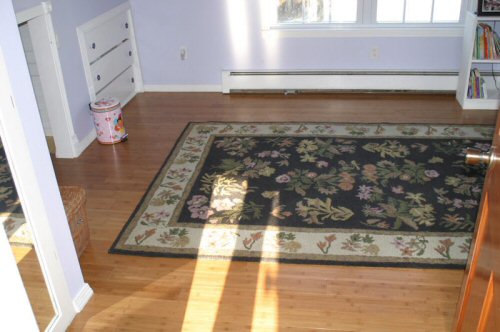
We added 2 lights and a fan/light combo into the ceiling. Since the fan is so close to the ceiling, it doesn’t provide much circulation.
The only part I didn’t do myself was tape, mud and sanding of the drywall. I have done enough DIY projects to know that I hate sanding drywall. That was about 5% of the whole project. I did hang the drywall myself.
You can check out her blog at http://tmvigneau.blogspot.com which contains her daily blogs and pictures of projects that we have completed.
I started my own blog recently for the recent deck remodel that we finished. Located at http://betterdiy.blogspot.com. Contains much more detailed information about how I do my projects than just pictures.
Thanks from One Project Closer
Michael, thanks so much for sharing your amazing transformation, and helping us sponsor Habitat’s mission. Your remodel is truly inspirational!
Habitat Quick Fact
Did you know that volunteering for Habitat is as simple as entering some information on their web site? You can find your local Habitat chapter and get to work next weekend, or next month! Check out Habitat’s Local Chapter Finder Tool to get started today.
We’re making a $35 donation to Habitat in Michael’s honor. Want to match our donation? Visit Habitat’s online donation page and make your contribution today!
Submit Your Project?
Are you proud of your latest home improvement? Submit the before and after photos and a story to beforeandafter@oneprojectcloser.com.


I was surprised to find out I had won this. There were so many great project previously that I imagined the OPC crew has a hard time choosing their favorites.
Once again, glad I can help out a great cause like Habitat for Humanity. The gift card will also get some great mileage out of it.
Thanks again and keep up the great website!
What a fun space and great transformation! I love the built-ins! Awesome job!
I want my own cave too!
Obviously, a whole lot of work went into this but clearly worth it. It looks fantastic!
Brilliant ! And perfectly adapted to children.
I own my own home w/ the same upstairs attic space. It is currently my childrens bedrooms. I would never of thought to build into the walls,what a great idea. I need some remolding like this done to my kids rooms to give them more space!!! I would love to hire you to do the job, thats if you would be intrested? How long would a project like this one take and what is an average price charged? You do amazing work. Please respond.. Erica Dobert, Melrose NY….
Erica, all of us here at One Project Closer are do-it-yourselfers, not professionals. And actually, this story was submitted from another do-it-yourselfer, so you wouldn’t be able to hire him, either! But the ideas are good, and I’m sure if you used a service like ServiceMagic or something like that you could find a contractor to do this work. Good luck.
Excellent project! By chance do have anymore pics available? I’m currently looking at a cape code home to buy and the upstairs are unfinished. If would like to my girl friend what the how the progressed in more detail.
Thanks Ben Jackson, Traverse City Mich.