
Join me for the second phase in my fabulous basement craft room makeover that includes a painted rug DIY and a quick file cabinet update. This was created as part of a sponsored partnership with Royal Design Studio. Expressions Vinyl also provided some of the materials. I hope you enjoy this makeover as much as I do!
A few weeks ago, I shared part 1 of my basement craft room makeover. It was dramatic, let me tell you. I have really being enjoying my newly bright, bold and creative space! The best part, the whole makeover and office was not done with a big budget – in fact, it was a big impact for very little cost.
Painted Rug DIY
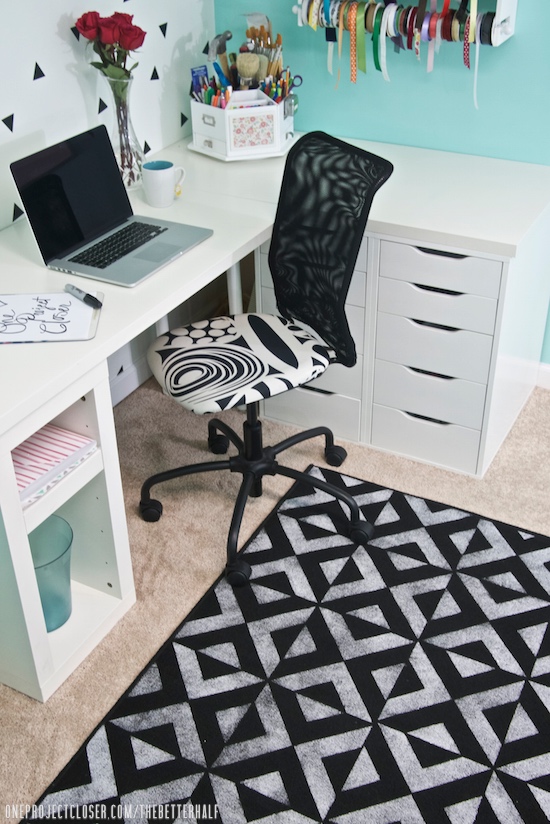
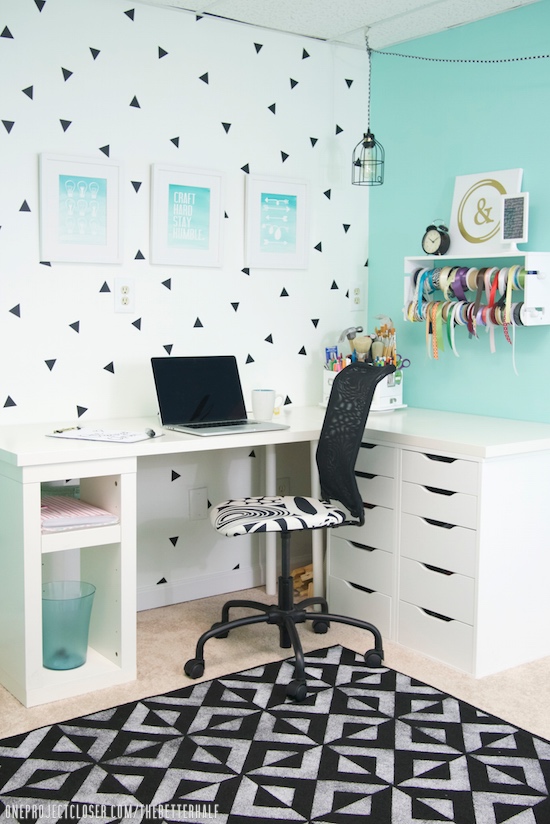
Now, I want to share with you phase 2 – my easy, EASY painted rug DIY using All the Angles Moroccan Wall Stencil and Pure White Chalk Paint®!
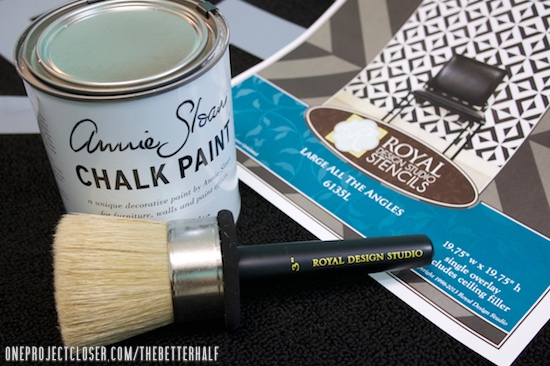
I started by getting a cheap, $20 black rug at Home Depot. I really wanted a white rug, but its super hard to find an inexpensive one. The black wasn’t ideal, but it ended up turning out really fabulous and adds a nice punch to the room!
Once I gathered my supplies, I used blue tape to hold the stencil in place on the carpet. Side note: these stencils have great guides built into them so you can be sure the stencil is straight and lined up! Love that.
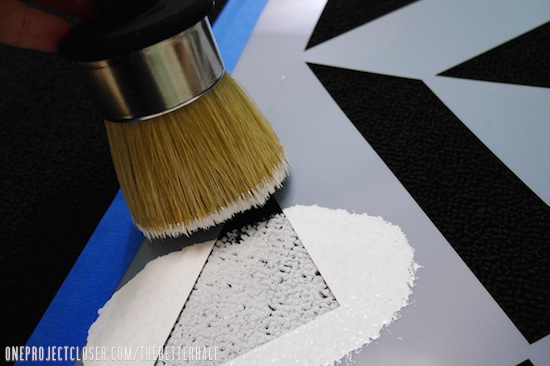
Then, I dipped my Super Large 3” Stencil/Wax Brush about 1/4 – 1/2″ into the paint, then dabbed the brush up and down onto the rug. It is important not to brush back and forth or the paint will go under the stencil. Also, I used more paint than I anticipated because it was white paint on a black carpet. But if had been a lighter carpet I would had used far less.
Once I completed one section, I picked up the stencil, wiped off any excess paint, and placed on a new section, using the guide lines. I used the largest stencil available so the work went pretty quickly. I think I did the whole things while Lucy was at preschool.
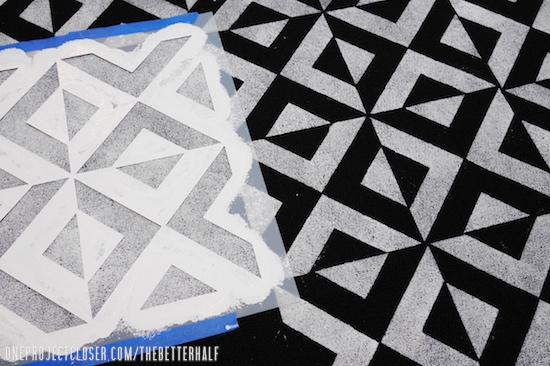
It took a couple of hours to dry, but once dry it has been really durable! My craft room ends up getting a decent amount of traffic during the day and none of the paint has flaked or even looks worn. I was super happy with the results.
Easy File Cabinet Update
The one corner of my craft room didn’t get much love on the first phase of my makeover, and to give you an idea, here’s what it looked like to start with.
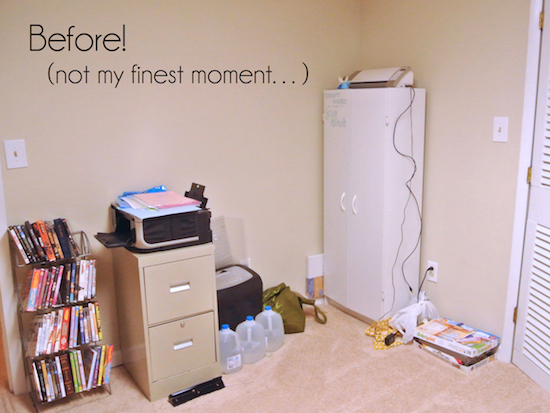
This file cabinet was hideous. And old. I mean, the old part isn’t a big deal. Its sturdy and has lasted forever. But the tan doesn’t exactly fit with the new decor. Neither did all my other crap. haha
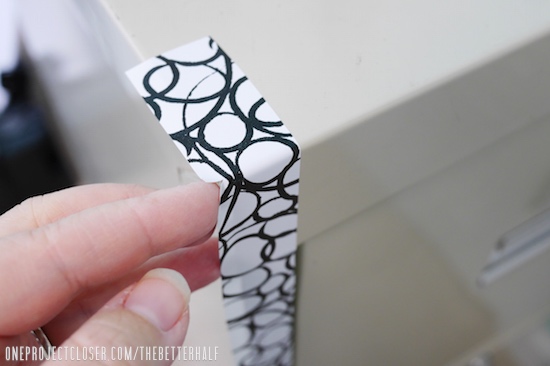
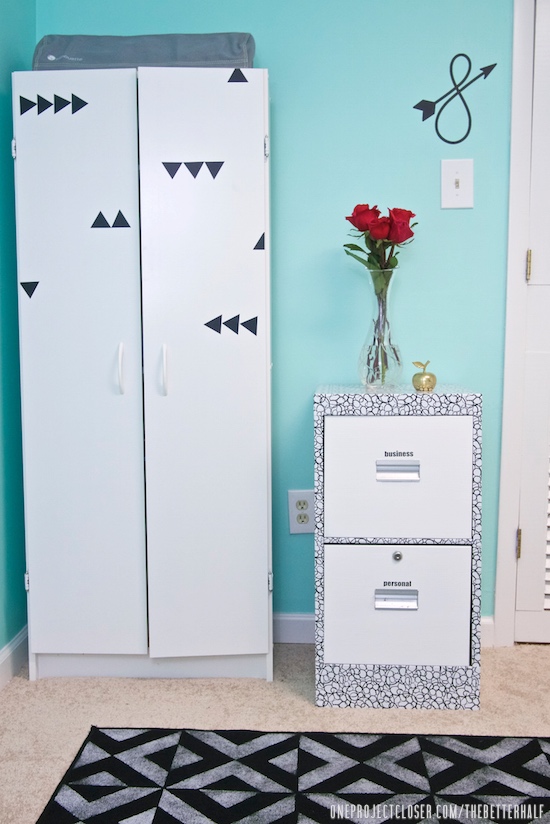
So I grabbed some $5.99 Con-tact Paper at Target and gave the file cabinet a quick makeover. The hardest part was the corners, but overall it was done in less than an hour. A year or two ago, I did something similar with my bathroom vanity and gold Con-tact paper – I still love it, so I had no hesitations about this makeover. My big tip: pick a paper with a bold design. I started trying to use a solid color and any small bubble stood out like a sore thumb. But with the bold pattern, I can’t see any bubbles!
Corner tip: Use small strips at the corners and make slits to make the fold seamless.
Instead of putting Con-tact paper on the drawers, I used my left over Pure White Chalk Paint® and added cute labels using my Silhouette and Expressions Vinyl.
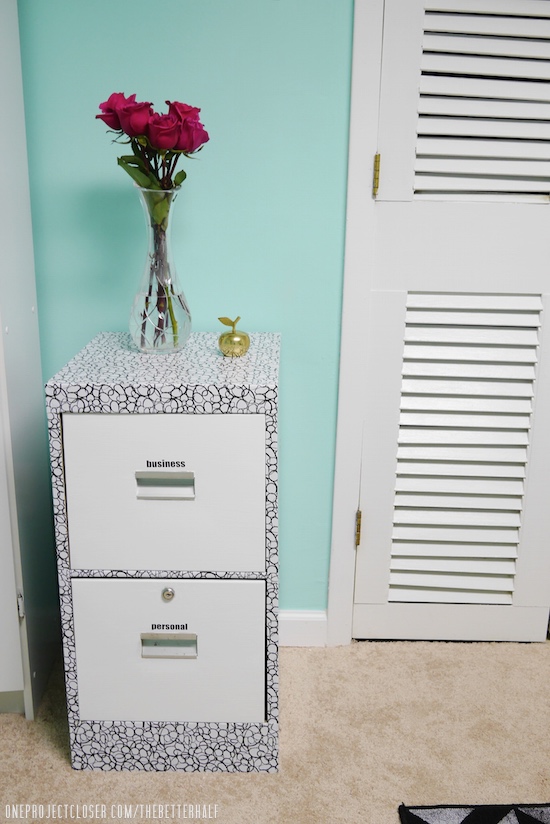
I gotta say, these small updates make such a huge difference in the room and both the painted rug DIY and file cabinet update were short, morning projects that were fairly inexpensive!
Ooo, did I mention, I also got a dust cover for my Silhouette machine and now it doesn’t look so sloppy to leave my machine out all the time. haha
What do you think? How do you add big impact for low cost? Do you have any painted rug DIY tips?
As Always, thanks for reading!

Don’t forget to check us out on Facebook , Instagram, & Pinterest!


Jocie, I’m so impressed! This whole room looks just amazing!
Wow a high compliment amy! thanks so much!! xoxo
That is SO awesome!! The room looks fantastic!!
Thanks Lindsay!!
Totally love this, the contact paper on the file cabinet is genius!!
Thanks I love it too, Jennifer. And it was sooo easy!
REALLY in love with this! The black rug is genius! Pinning this now!
oh yay, thanks natalie! i was really nervous about the black. 🙂
The room looks terrific. The contact paper on the file cabinet is especially a cool way to make an old cabinet look snazzy!
Thanks so much! It was just so easy!
Every single element of your office looks fabulous, Jocie! I’ll back you some cupcakes if you come over and help me with mine! 😉
ooo that is the best offer i’ve had all day! I’m on my way! xoxo
Looks amazing! I love the clean graphic style!
It’s really cute! Back in the day, I used to stencil small carpet samples to sell. I was taught that after the stencilling and allowing the paint to dry, to apply heat to the stencil to help set it more permaantly. I used a cloth over it and applied an iron for a short time to do this.
With modern paints, that might not be necesary. I really love the file cabinet! I have an old green one that needs a rehad.
wow what great tips, thanks angie!!
Wow, what a difference Jocie! Now this is a basement craft room that does not look like a basement! Love the black & white patterns with that pretty wall color. What a great idea to cover those ugly metal file cabinets – love it! Love everything about this room…pinning to my craft room board.
Here’s a stupid question..,., did you use an actual carpet rug? I’ve usually painted onto a canvas to make floor mats. Then used a poly for the top coat. But I think you’ve used an actual rug here, correct? I’m viewing on my phone, so couldn’t be sure!
YES! it was an actual cheapo rug from HD! 🙂
Omg, this is so awesome i finally found what i want as a crafting table. Would you be kind enough ti tell me the size of each table top. Going to plan a Ikea trip soon. Thank u so much:)