
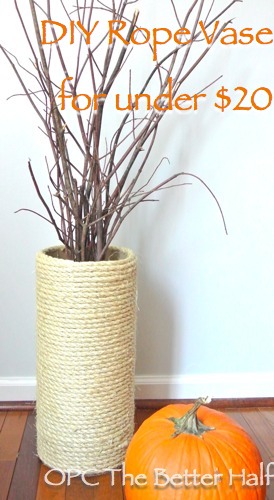
As I continue to work on updating my living room, I began to search for a large vase to put on the hearth of the fire-place. I did a little searching but they are soooo expensive. Like $80 – 100, minimum!
That got me to thinking about how I could create one for cheap but have it also look trendy. As you may have seen, rope vases are super popular right now. I love this rope basket and vase from Pottery Barn.
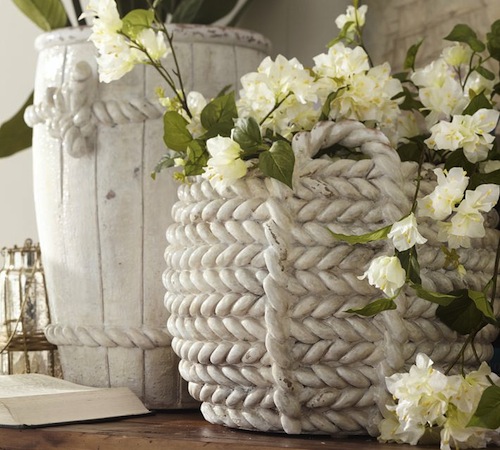
The popular way to do it is to just cover an existing vase with rope. Well, I am still faced with the same problem – big vases are expensive. Even the ugly ones.
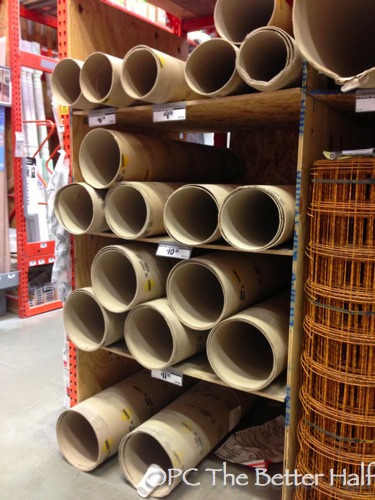
I had a chat with the hubby, Ethan, who knows Home Depot and building supplies very well, and he suggested I buy a cardboard concrete mold. A what?! Apparently, when pouring concrete footers, a mold is used. They are cheap and BIG!
Off to Home Depot I went. Of course, I had no clue where to find them. After being pointed in the right direction by my friend in the orange apron, I found them all the way in the back left corner of the store. It cost $6.94 for 8″x84″ tube – enough for at least two vases!
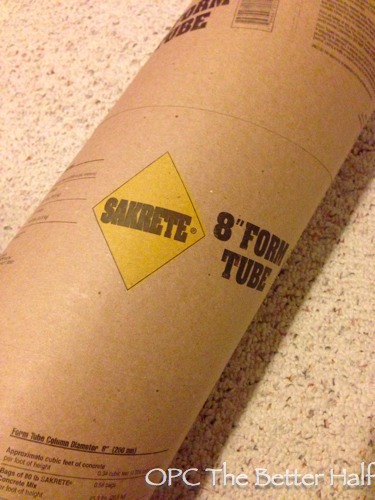
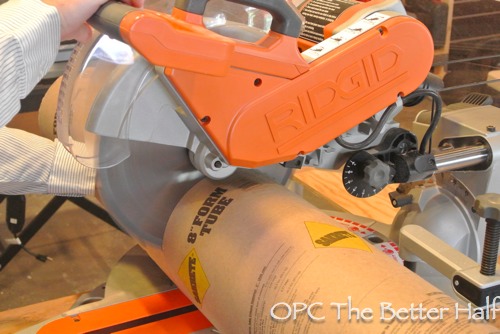
Then, I did a quick drive by the shop so Ethan could use one of his big miter saws to cut the 84″ tube in half. I later realized that I didn’t have enough rope, so I ended up sawing off about 5″ with a plain old, not nearly as manly hand saw. It was much easier with the miter saw. So, in the end, my tube was 19 inches tall.
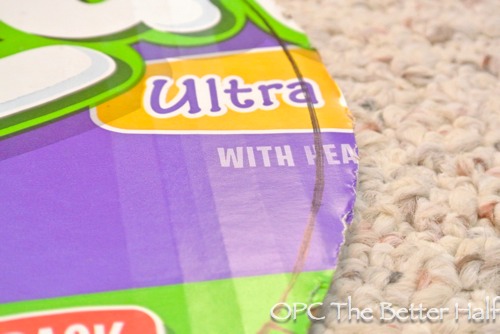
I wanted to add a bottom to the vase, so I traced the bottom of the tube onto an old diaper box and then cut just outside the line.

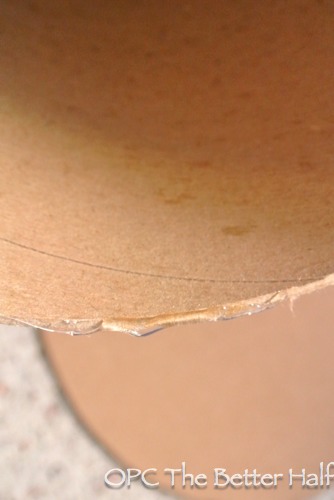
With my hot glue gun, I glued the cardboard circle to the bottom of the tube.
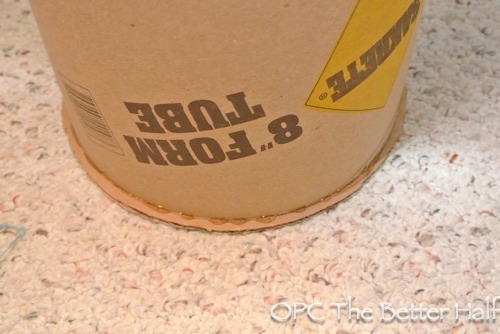
Now for the fun part – the rope!!
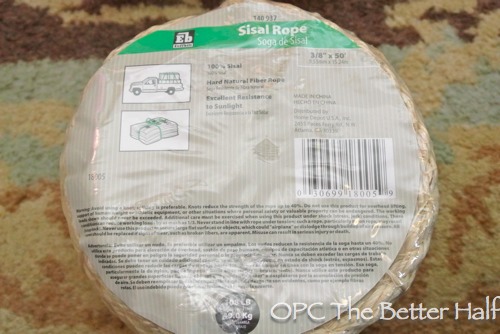
I used 100 feet of 3/8″ Sisal Rope, which cost $17.62 at Home Depot. Does anybody know of a cheaper price?
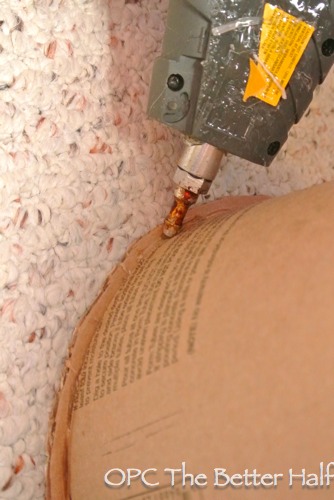
Again, I pulled out the hot glue gun and put a generous bead of glue around the bottom circle of the base. This was why I cut the diaper box slightly bigger than the actual tube.
Then, I wound the rope around the base and held it into place until the glue was cool.
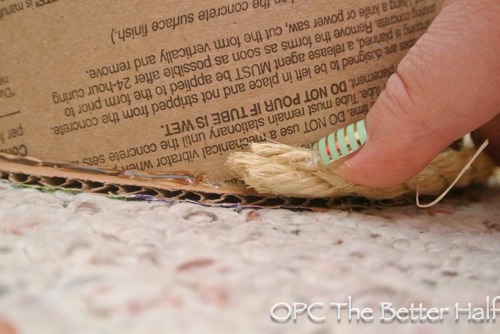
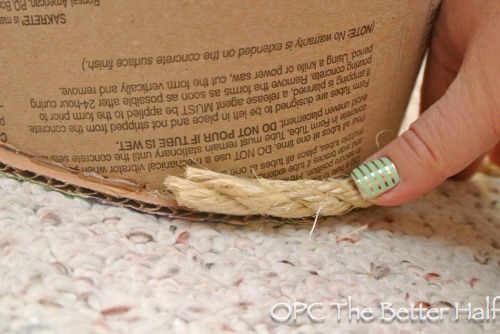
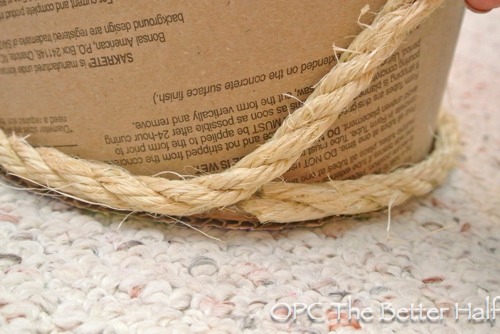
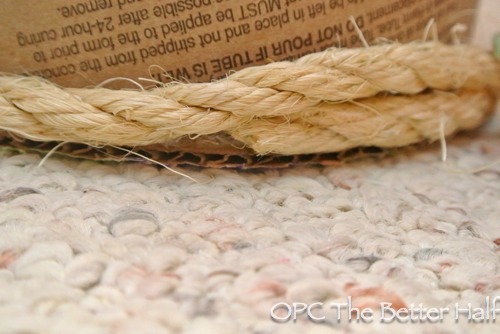
I kept on winding and winding that rope until I reached the top, periodically adding a bead of glue to hold the rope in place. I wish this were a more complicated tutorial or share some secret to success, but it really was so easy!
On the very last row at the top, I glued all the way around to make sure it stayed in place.
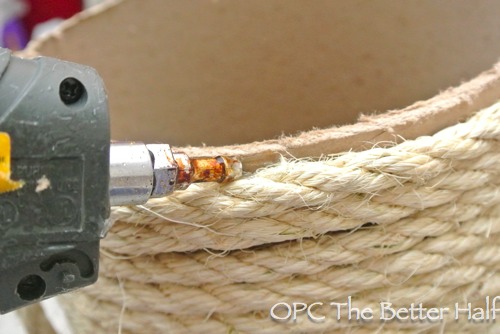
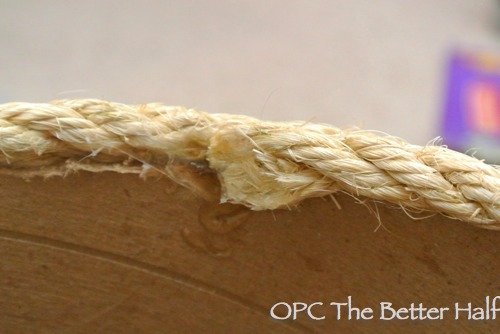
Once I reached the top, I wound the rope once more around, on top on the tube edge in order to hide it.
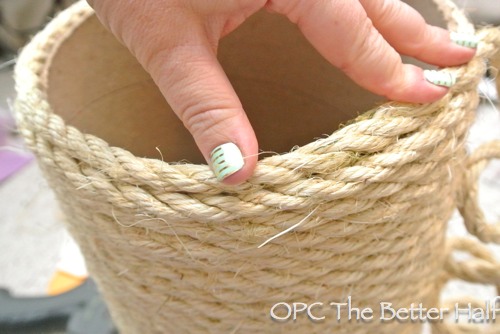
Then I cut off the end of the rope and glued the end to the inside.
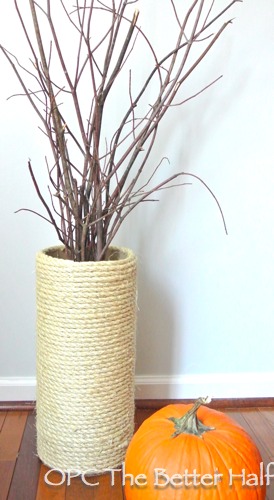
With Hurricane Sandy blowing through last week, I had my pick of sticks in our back yard. I bundled some together and added some brown packaging paper out of our recycling to hold it in place and VIOLA!
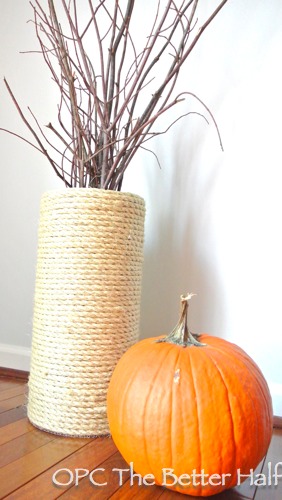
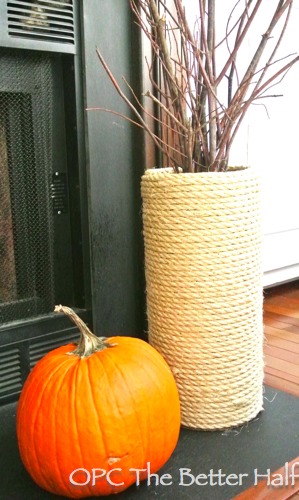
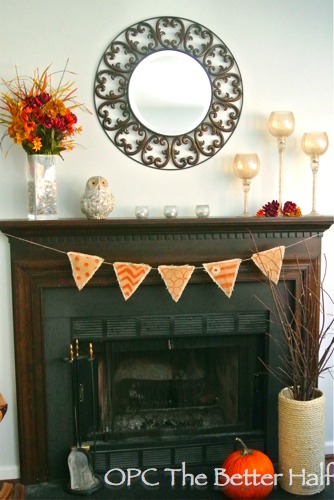
I also made a white one for Christmas out of 3/8″ Twisted Poly, which was $15.57 for 100′. It’s not my favorite, but I may still do some tweaking.
What you don’t see in the picture, is the smoke detectors going crazy because I forgot to open the flue. My bad. lol!

What do you think? Any other suggestions for large vases for cheap?
As Always, thanks for reading!

Don’t forget to check us out on Facebook and Pinterest!
We linked up at: Home Stories AtoZ, Homemaker on a Dime, Here Comes the Sun, DIY Dreamer, DIY Show Off, House on the Way, Alderberry Hill


Clever! What about using twine? Would that be a less expensive way to cover the tube?
Cute nails, btw. 🙂
Twine would be super cute but would probably require a lot more since its thinner. Missed seeing you around, PainterGal, welcome back!
Love the idea. White rope for Christmas, it looks amazing! Cannot wait to pin this and try:)
Thanks, Jen! 🙂
I love the sisal rope, but my cats would just think I got them a new scratching post! We used sisal rope when we built them their cat tree. The pretty white one for Christmas is the way I’ll be going, and hopefully it won’t be so alluring for my kitties.
hahaha, its funny you said that, because earlier Izzie and were using yarn for another craft (coming later this week) and she said when she gets older and has her own house she is going to give this yarn to her cats to play with. (we don’t have cats b/c I am allergic). lol!
This looks very nice!
Thanks so much JoAnn!
awesome!!
That turned out great! I love the white rope too! Thanks for stopping by the CHQ blog hop! Hope to see you back next week!
Thanks, Jill! Will put you on my list to visit. We also have a link party on Fridays and would love to have you visit!
Love this! Definitely wasn’t expecting it was going to be a cardboard tube under there! It looks great!
Thanks so much, Ashley! Ethan get all the credit for the concrete form tube idea! 🙂
Is there a way to waterproof the inner tubing with some sort of spray? I wouldn’t know of any. Or I suppose if the vase was a tall/skinny variety you could use PVC instead of the cardboard tubing
The point for it being that you could use dirt in it and it wouldn’t rot in the long run
That is an excellent point! I don’t keep real plants in the house, or really outside of the house for that matter, so I didn’t worry too much about it. PVC is a good idea but the really big PVC gets pricey, i think. 🙂 Missed seeing you around this past week, welcome back!
Thanks! Was busy most of all last week in prep for a mini vacation to a ranch east of San Antonio so I wasn’t on much. Trip was fun though! Texas is great…80s in November 😀
Wow, that sounds wonderful! I have never been to Texas but hear its beautiful! Welcome back!
I love this craft! Easy and fun!
Oooh! I really love this. I love the trend of covering things with rope. Thank you for sharing at Fabulous Friday. I’m featuring this tomorrow!
What a clever idea. I really wanted to make a Martha Stewart nautical rope rug. But when I looked into how much it would cost to buy the rope I needed, the price was astronomical. This is a good way to add the color and text to a room for a whole lot less!
The nautical rope rugs are super cool. My grandmother had one of a similar style, so it always gives me warm fuzzies to see them! 🙂
I was just at walmart and seen the new faux fur Yarn. That would be really cool on this vase in a super modern decor or a teen girls room and the yarn is super thick so I dont think it would take a ton like regular yarn!!
[…] Image Source/Tutorial: One Project Closer […]
[…] Image Source/Tutorial: One Project Closer […]