
It’s Day 2 of the triple bathroom remodel (see Day 1 here), and the demolition has been completed. I’m back with the plumbers as they relocate supply, drain and vent pipes. Most of the work is centered around the master bathroom shower because several of the walls will be glass, and that means moving several pipes.
The plumbers got started by removing a section of the subfloor.

Next, they got to work moving the vent pipe. Vent pipes are connected to waste pipes and usually vent through the roof. Vents provide a way to release sewer gases and maintain neutral air pressure, allowing waste to flow through the pipes and the trap to hold water.
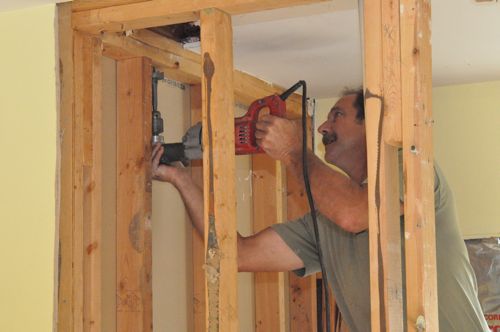
For the vent, the plumbers are using 1-1/2″ cellular core PVC, and they used a Forstner bit to drill through the framing members.
Pro-Talk: DWV stands for drain, waste and vent pipe.
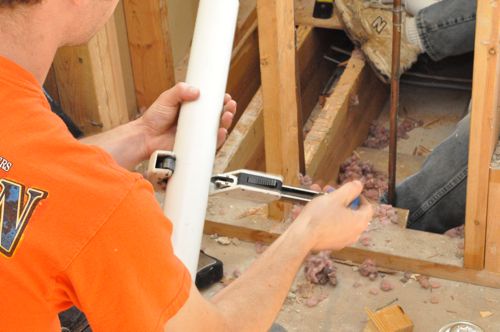
Since DWV systems utilize gravity to move waste through, it’s important for all these pipes to have a 1/4″ per foot downward slope.
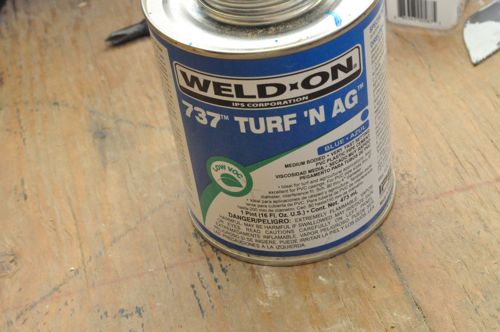
The guys used a PVC cement that I had not seen before. Weld-On 737 can be used for all classes and schedules of pipe and fittings, and it can be used without primer on non-pressure systems if local codes permit.
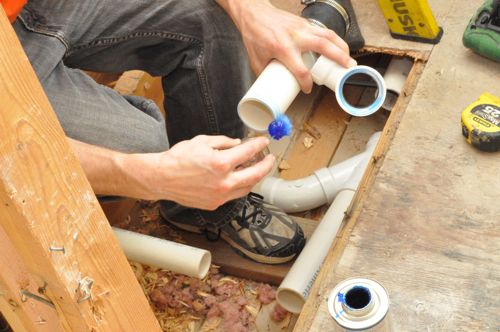
With each fitting, the plumbers checked for level (up-down) to ensure proper orientation.
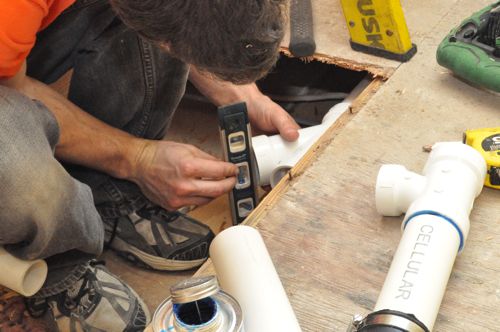
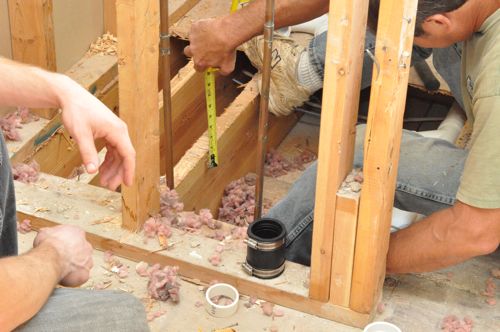
For this connection the plumbers used a flexible coupling. Flexible couplings are great for tight spaces because with a typical coupling you’ll need extra room to maneuver the coupling in place. With a flexible coupling, you can slip it over the pipe beforehand, slid it over the joint, and then tighten down the hose clamps.
Pro-Talk: Flexible couplings are usually called Ferncos after the popular brand.
Pro-Tip: Using a little bit of soap makes it easier to slip a Fernco into position.
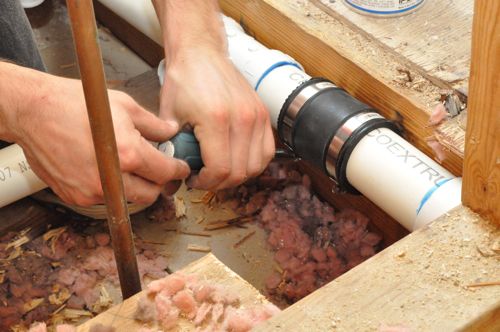
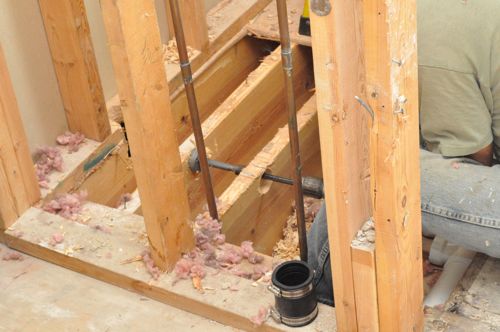
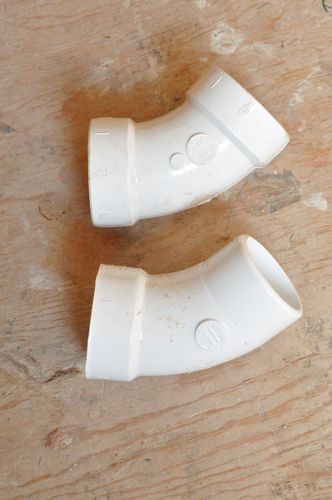
At a few joints the plumbers used street elbows rather than regular elbows and you can see the difference in the picture below. Regular elbows have a female hub on both ends. A street elbow has a male pipe on one end, and that allows it to be connected directly to another fitting
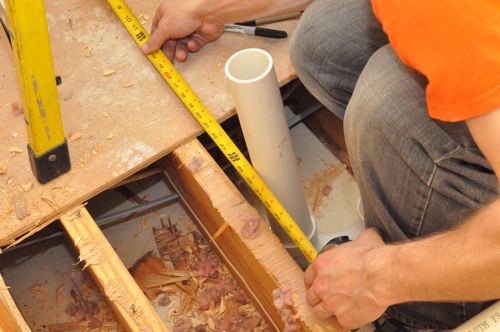
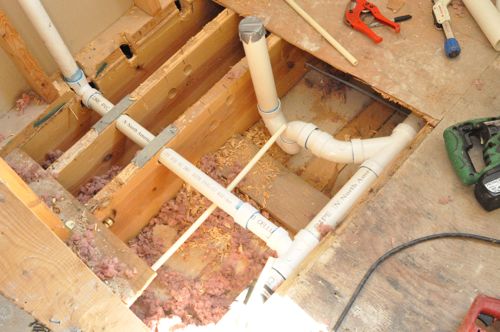
It’s important that the drain pipe lines up with the shower pan, and you can see the plumbers worked to be very precise. The drain lines are 2″ PVC.
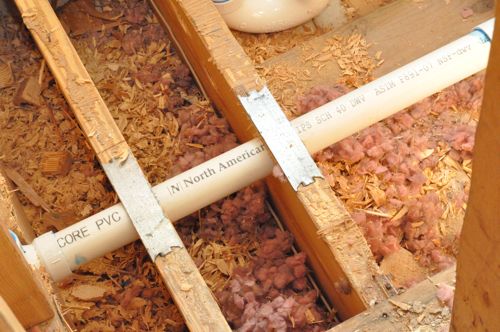
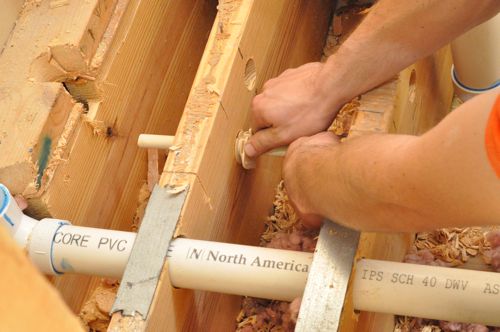
Where they drilled through the joists, the plumbers added these metal plates to protect the pipes. Plates are required anytime pipes are within 1.5″ of the nailing face of a stud or beam.
Next, the plumbers got started on the supply lines, and Joe’s plumber used 1/2″ CPVC. I asked them about it compared to copper and the plumbers said the welds last longer, it’s easier to work with, and it’s priced about the same.
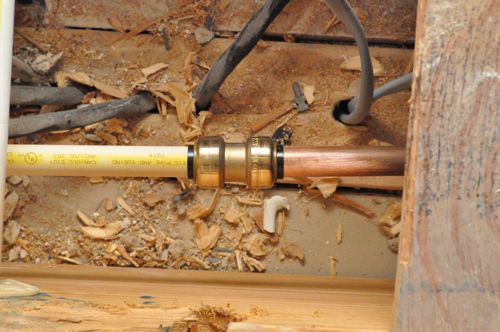
The guys used push-connect straight couplings to join the CPVC to the existing copper lines.
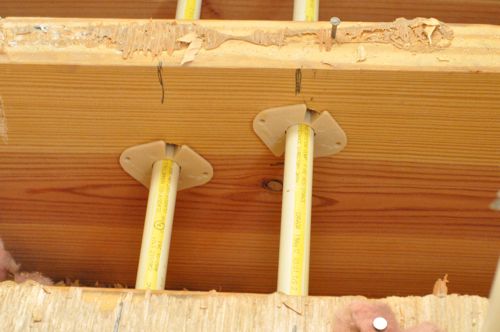
The plumbers used these pipe insulators where they drilled through the joists. Pipe insulators reduce noise and support the pipe through the joist.
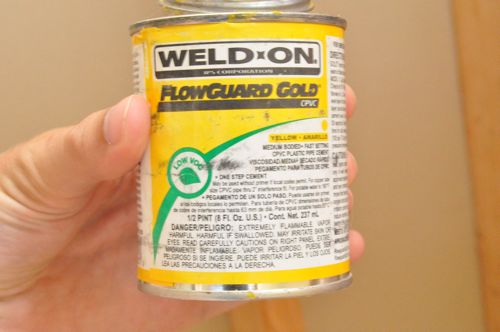
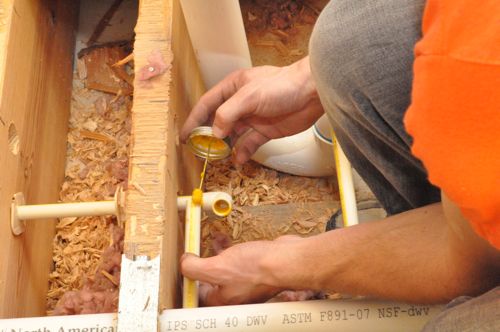
CPVC requires different cement, and the guys used Weld-On FlowGuard Gold. Again, this can be used without primer (on pressurized systems) if local code permits.
The plumbers added some blocking between the studs to better anchor the supply lines for the shower.
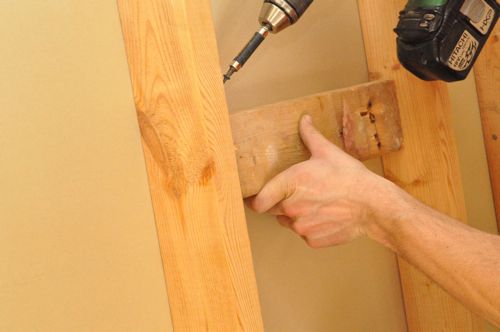
They used Tube Talons to secure the CPVC to the blocking.
Pro-Tip: The guys often reverse the nail on the Tube Talons so that the pipe isn’t directly against the framing.
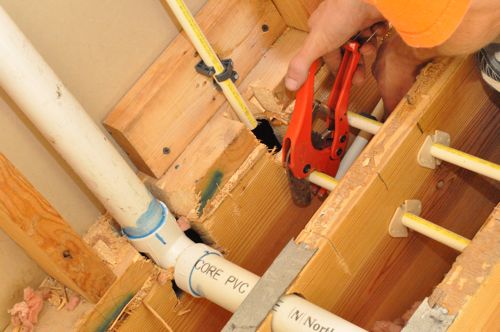
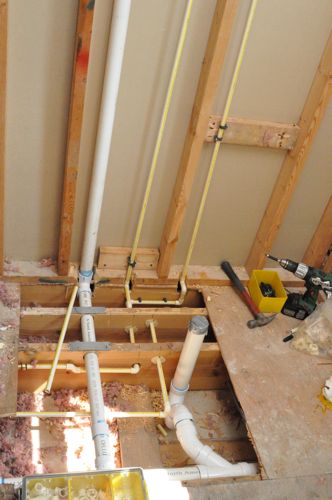
That’s all for today’s Pro-Follow, and Joe will be getting the electrician in soon. Look for an update on Steve Wartman and the in-law addition in the next couple of days.


I had to come back to see if the curvy tiles were gone. Looks like they are.
I’ll be curious to see what floors go in.
Hey Carol, Yeah they nixed the floor tile
The speed that cpvc installs must be a huge advantage. That’s one reason I like using pex over copper. That and no elbows.
I did a double take on the picture where the guy is measuring the shower drain pipe. I couldn’t figure out what he was standing on. Then in the next picture I saw the wall partition from below. I thought for sure he had stepped through the ceiling!
Speed is definitely part of it. I think they also like not having to use a torch. That would have been some strong sheetrock for the plumbers to walk on it :)!
Looks good. What’s the rule of thumb for notching/drilling through joists?
@Reuben,
Notching structural members should be avoided when possible.
Notches on the ends of joists shall not exceed one-fourth the joist depth. Holes bored in joists should not be within 2 inches of the top or bottom of the joist, and the diameter of any such hole shall not exceed one-third the depth of the joist.
Also notches in the top or bottom of joists shall not exceed one-sixth the depth and shall not be located in the middle third of the joist span.
There are over rules for studs and other framing but that’s the rule for joists.
Thanks for the clarification Rob.
Never seen PVC joined to copper before. Do you sweat one side and cement the other? Interesting connector there.
That’s a SharkBite fitting. It works with CPVC, PEX, and Copper. Just push pipes into fitting and done. It has a rubber o-ring inside the fitting and barbed wings that grip the pipe. It is also removable/reusable.
Hmm cool! I’d guess more expensive than just sweating copper to copper (otherwise wouldn’t everyone use them?)… I assume they are just as leak-proof as other pipe joining methods. Very cool.
@Jeff
I’m with you – I prefer the PEX too
How does PEX compare on price though?
Is cost the main reason to use PVC over copper?
I cannot wait to see the reveal.
How is everyone fairing living to reno world?
is it okay to drill holes in any joists or only those that sit on the floor and don’t support as much waste? I’ve always wondered if that could be a trick for elimintating some of the height issues in basements.
As a Carpenter I always love seeing the Plumbers and Heating guys hack up our work.