
 This week’s Before and After is a fantastic bathroom transformation sent in by Jon at Tales from the Eye. Jon, wife, family friends, and a few contractors worked together to transform their 1964 Ranch-style home’s bathroom to a more modern look.
Renovating a bathroom is a great way to add value to your house, particularly if you DIY or serve as your own general contractor. Jon’s bathroom upgrade will certainly add value to their home, and make it a little easier on the eyes while they live there.
As a result of Jon’s entry into our contest, One Project Closer will make a $25.00 donation to Habitat for Humanity in his honor. Jon’s also entered into our contest for a $50.00 gift card to the home improvement store of his choice!
Read below Jon’s post for this week’s Habitat Quick Fact, and for a link where you can match our financial donation. Without further ado…
Rancher Bathroom Remodel by Jon
We started the demo in March. So the elapsed time was five months. But the time we put in was significantly less. I took a very long break after the demo in order to plan out everything and research options on what I could do myself versus contracting somebody to do it.
Demo of the fixtures took two of us half a day. We only needed a wrench, a Stanley FatMax Fubar, and a sledge hammer. (My buddy Kim is in one of the BEFORE pictures, undoing the pipes in the vanity.)
Demo of the tile (walls and floor) took two of us two whole days. We used a rented demo hammer, the FatMax Fubar, a shovel, wheelbarrow, broom, and dust pan. It took one day just to do the walls, and another day to cleanup the mess and jack up the floor. This was probably the most exhausting part and I’m going to hire somebody to do it on the next bathroom.
Replacing all the pipes took a professional about six hours. This part of the project took a while because the first guy quoted me $1700 to do the work. I was pretty furious about that because I know the high price came from the fact that my wife was here and he gave her the quote. So I keep searching until I found a more reasonable offer (a quarter of the first price!) I don’t know what tools he used, but it was definitely something for a professional. When he removed the old tub drainpipe, it crumbled in his hands. I was very happy with my decision to sub out this phase, as well as happy with the work, the quick performance, and the low price. The key here was to keep shopping around until I found the right contractor.
Two days for two people (my father and I) to do the electrical. I re-routed the previous vanity lights. Installed a new GFI outlet to the right of the future vanity. Put in a new quiet fan/light combo in a new location. Patched up the old vent hole. And added all new switches. Aside from material costs, I only paid in sweat, most of it while in the attic mounting the new vent.
Putting up the walls too two guys three days. I sub’ed this out, too. It would have taken me three weekends to do what they did in three days. They insulated the walls, hung the greenboard, hung the concrete backer-board around the shower/tub, taped, mudded and sanded everything. $450 for their labor. Considering that was $150/day for two guys, I think it was a good deal. And they freed me up to do other things.
Tiling the floor took me and a buddy half a day. I really lucked out because the guy works with me, and he owns a tile saw. So I didn’t have to pay anything other than material costs. Grouting the floor took another half day. And sealing the floor took 15 minutes.
Tiling the walls was much harder. The wall opposite the showerhead is not perfectly square. And the tub along that wall is not absolutely level. I got a friend of a friend to help. She charged me $75 for about 6hours of work. Half of that time was spent on the woonky wall. It was especially difficult for me because I’m used to measuring everything multiple times and working off measurements. But if we went by the measurements, the lines on the tile LOOKED crooked. So we had to eyeball every tile several times and make sure it LOOKED perfectly straight. All in all, tiling the wall took three days of manpower. The girl and I worked one night for 6+ hours. And I wrapped up by myself another night. Grouting the walls took me two nights, four hours per night. Sealing the wall tiles took fifteen minutes. For extra caution, I used a clear silicone epoxy around the bottom tiles. Another 30 minutes there.
I used tile as a baseboard-like trim and also around the outside edges of the wall tiles. A day of work to cut and paste them. A couple of hours the next day to grout them. And 15 minutes to seal them.
Putting in the new fixtures took a professional (same guy that swapped out the pipes and installed the tub) about four hours. His price was included above. Again, great work done very quickly. Extremely happy with him. Oh! It would have been quicker, but I had tiled too closely to the shower handle. The plumber had to whip out a power grinder with a diamond-edge wheel and cut out the extra. My fault, though. I didn’t read the instructions!
I spent two days getting crown molding up, then spakling everything and grouting everything else.
My wife had the whole room primed in one day and painted the next.
Then I went to mount the medicine cabinet and discovered I’d put the GFI outlet too high. Waaaay too high. I had to cut the nice, clean dry wall, and remount the outlet eight inches lower. Then I proceeded to completely screw up the taping and muding of the cuts in the drywall. I did a horrible job and burned up two days to get it barely acceptable and painted. Next time, I’ll pay somebody to do it nicer and faster.
Today I mounted the cabinet and discovered it was incredibly heavy. I actually had to use four drywall anchors and some Gorilla Glue to keep it solidly against the wall. Close to half a days work just on this one thing!
Except for some touchup paint and accessorizing, it is all done! At last.
I hope the pictures express the time and efforts we put into it.
Before Pictures

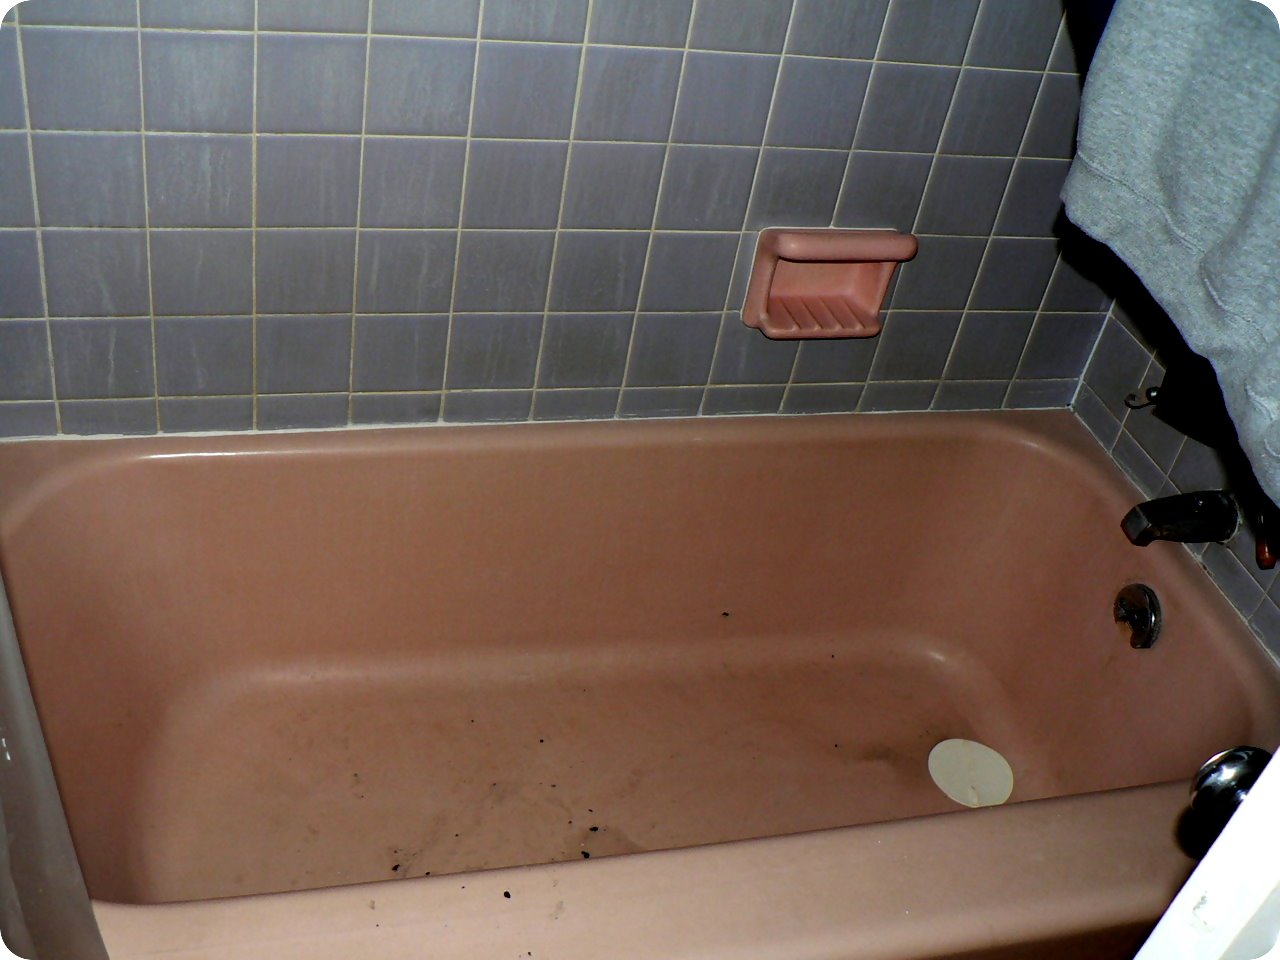
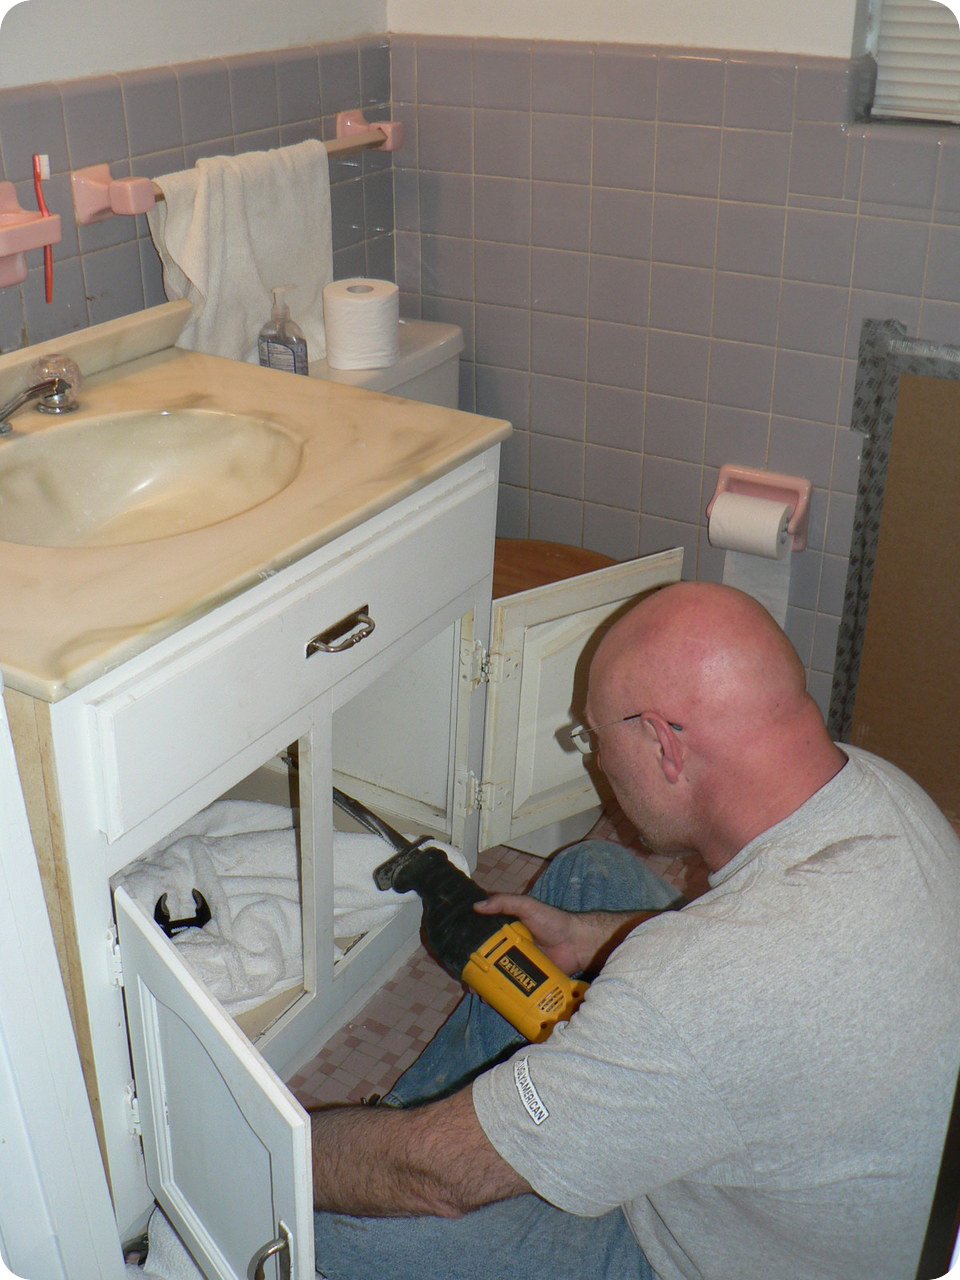
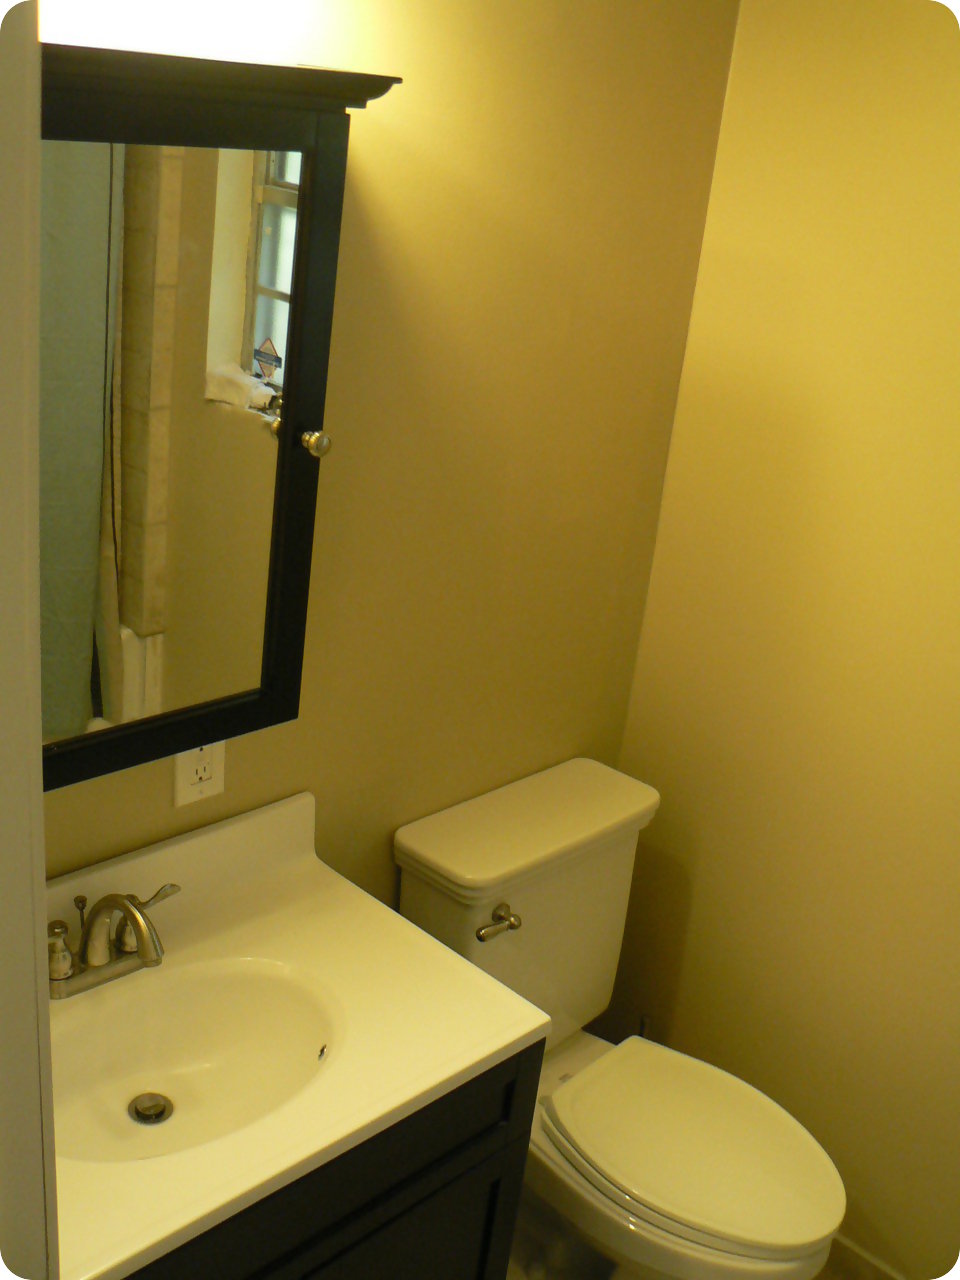
After Pictures
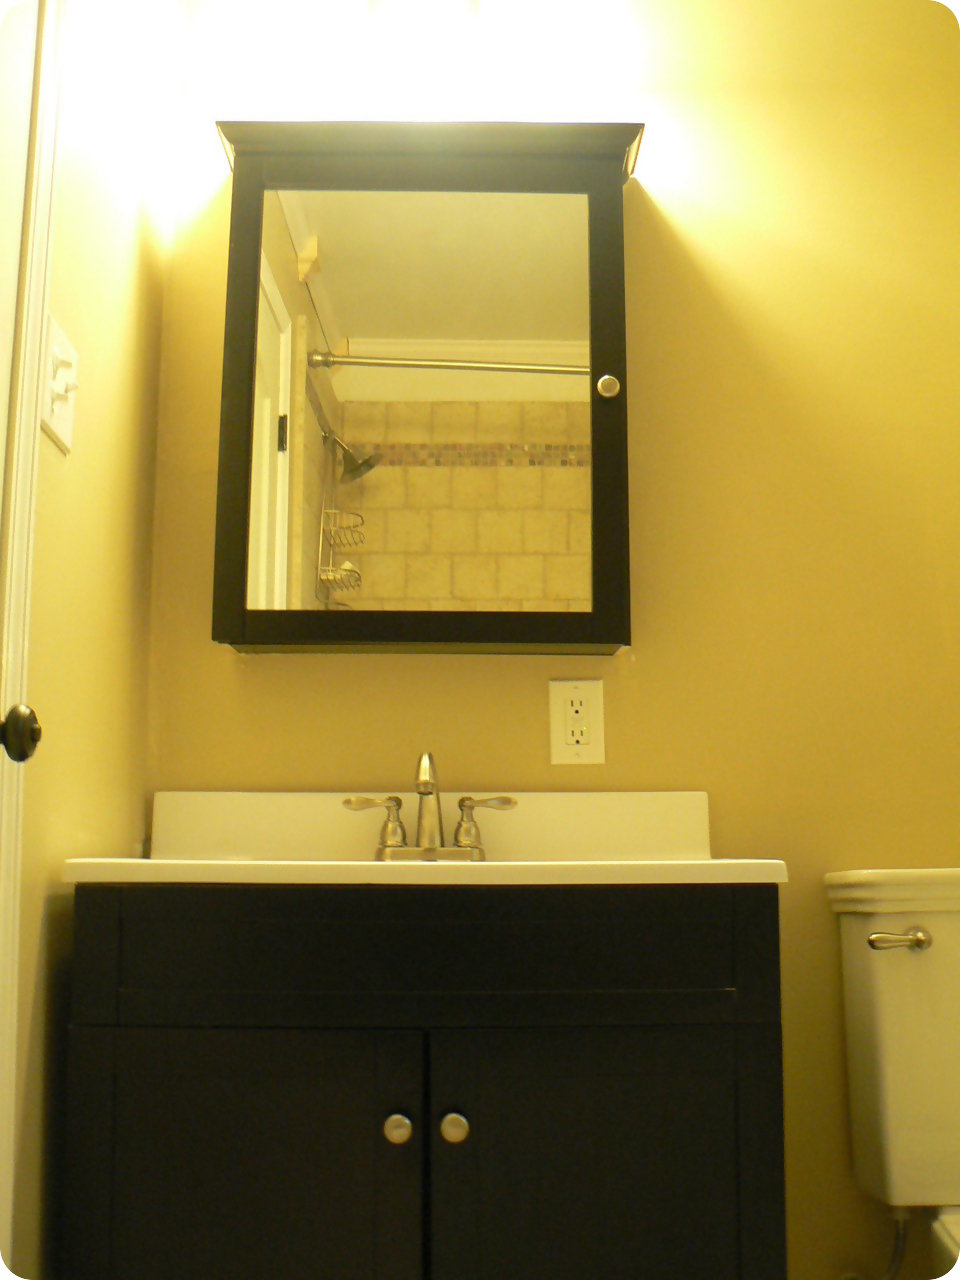
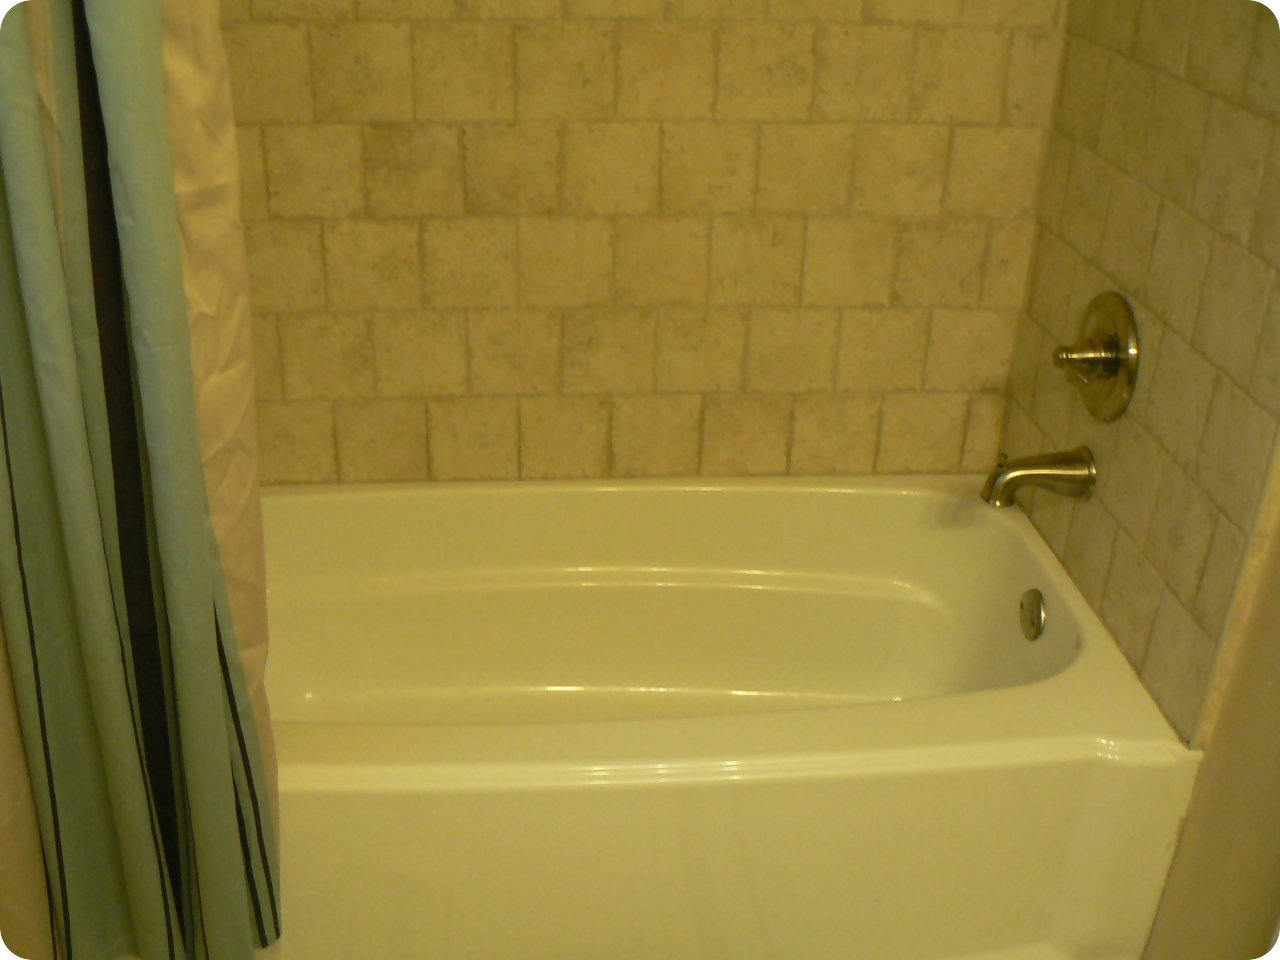
Thanks from OPC
Jon, your bathroom remodel is fantastic! The pictures definitely show the improvement over the 1960s space you used to live with. Congrats…
Habitat Quick Fact
From Habitat’s web site:
What does a Habitat house cost?
Throughout the world, the cost of houses varies from as little as $800 in some developing countries to an average of nearly $60,000 in the United States.Habitat houses are affordable for low-income families because there is no profit included in the sale price. Mortgage length varies from seven to 30 years.
If you’re inspired by this post, consider matching our donation to Habitat for Humanity. If you do, let us know, so we can honor you in a future post.


Jon,
Bathroom looks great…I’m jealous. Actually you mentioned Gorilla Glue….My husband told me to get some the other day. I was in Rite Aide. I told him he was crazy. There isn’t such a thing as Gorilla Glue. I picked up crazy glue by Loctite to fix an Unbrella for outside that one of the wood pieces was broke. It didn’t hold. We ended up using my mom’s favorite fix it, duct tape. Where do you get Gorilla Glue?
Great job Jon, reminds me of the “pink” bathroom we gutted in our first home, pink wall tile, pink sink, pink toilet and pink tub! You did a wonderful job and it’s certainly ready for many years of service now!
@ Lisa – You can buy Gorilla Glue at any hardware store. There’s nothing like it, just make sure you follow the directions, the product is slightly different than most glues.
What a beautiful redesign! It looks great. I love the black cabinet and mirror – so classy!
@Lisa: Seriously, unless we’re out of town, it isn’t a weekend unless I go to LOWE’S at least once. I’m much better about it these days and try to do everything in one trip each weekend. When I started the project, I swear we went four times a day on some days. The Gorilla Glue is usually up by the registers. I’m sure Fred can put a link up for it on Amazon.com. There’s also Gorilla Tape!
@Todd: Absolutely! Have to read the instructions. I’ve never used anything else that had the weird instructions like Gorilla Glue. Interesting side note, I’ve noticed the glue starts to get sticky on my fingers twice as fast as it gets stick on the wall!
@Mary: Lowe’s to the rescue on that. Is was their “Dark Espresso” collection and we love it. The combo was one of the few things my wife and I easily agreed upon. I would like to point out that the cost on the set is low because the construction is not of the highest quality. It looks GREAT to me, but the vanity is not solid wood (just the frame and the doors are solid) and inside the medicine cabinet there is no post-construction work done to cover the screws or stain the peg-holes for the adjustable shelves.
@Fred: Thanks for selecting my submission. It is right up there with being on HGTV! Your site and the other submissions in recent weeks are a real inspiration for me.
Just found your blog – BEAUTIFUL JOB Pictures look like you have a lot of experience, also it was a very smart move subbing out the areas where you thought a professional could be beneficial – probably saved yourself a lot of time and aggravation.
Looks GREAT! I love the dark wood of the vanity/mirror.
Is that a plastic tub you replaced the ceramic tub with… I am asking because we replaced a ceramic tub and added a shower and plastic (not plastic but that type of composite) bubble tub. but used the same thing to surround it and I would prefer tile it looks so nice so just wondering if I could put ceramic tile with a plastic tub
Annie Gee – It is a fiberglass tub. Probably like yours if it is fairly new. I don’t know about your unit, but on mine there was a one inch lip that runs horizontally along the wall. Maybe a 16th of an inch thick. When I put in the tiel, I start at the bottom, and brought the tile over that lip. And then I grouted under it. So it looks like the tile is sitting right on the tub. Finally, I ran a thick bead of clear shower caulk along the grout.
If you have other questions or concerns, let me know. Approaching 3yrs later and we haven’t had any problems with the bathroom. (knock on wood)