
I’ve often felt like studs finders are the snake oil of home improvement, and I could do just as well knocking on the drywall to find a stud. I’m sure you’ve been there too, driving a screw through sheetrock only to find there’s nothing behind it. Well Bosch is working to change all that, and today we’re taking a look at the GMS120 Wall Scanner. Although this tool came out early last year, it’s a new addition to the OPC workshop, and I’ve rigged up a test for the GMS120. Let’s see how it performs.
Our GMS120 came to us courtesy of Lowe’s, and you can find it in-stores and online for $79.98. Here’s a link to the Lowe’s site where you can see all the product details.
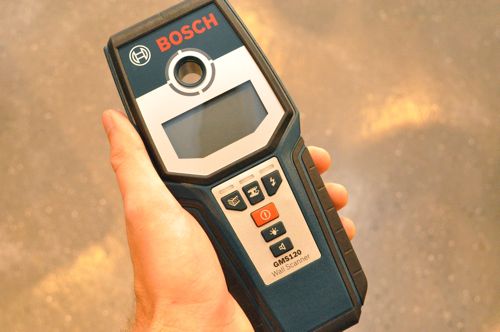
The GMS120 is a wall scanner that can locate wood studs, metal studs, copper pipe, PEX tubing filled with water, rebar, live wires (110-230v) and more. Plus, the wall scanner can operate over drywall, cured concrete, and plaster and lathe.
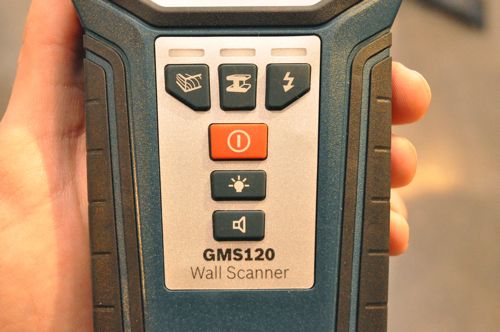
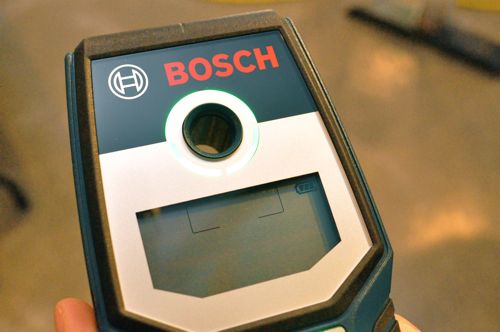
To operate the GMS120, you press the red power button and select between Wood, Metal and AC Wiring mode. The best measurements are achieved by selecting the appropriate mode. Next, you slide the tool over the surface to be scanned. The light ring, audio signal and display indicate the results, and you can mark the wall through the marking hole.
The Test
To test out the GMS120, I setup a sheet of 1/2″ drywall and anchored a 2×4 stud, live wire (extension cord) and a segment of copper pipe behind it. I cut that little window so the accuracy of the GMS120 would be easy to see.
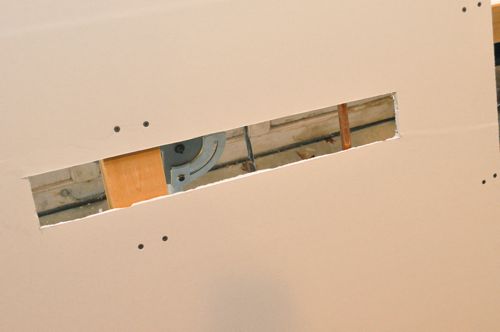
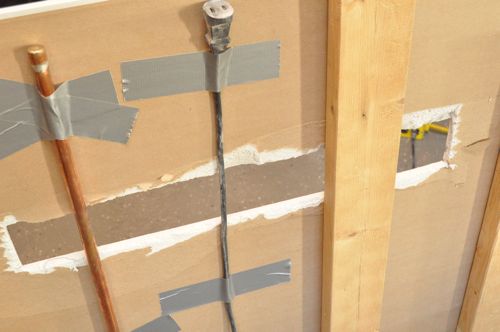
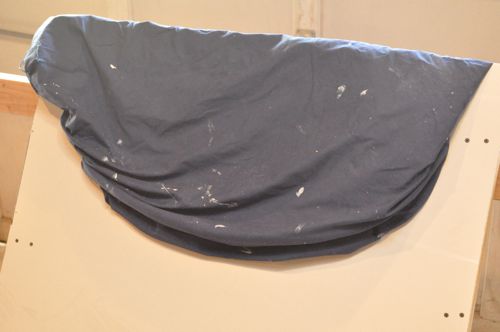
I covered up the window while I was doing the scanning to ensure I didn’t “cheat”.
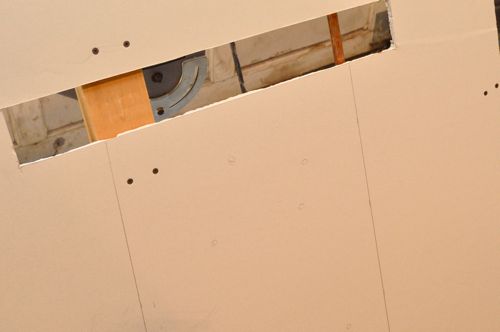
Using the GMS120 in each mode, I looked for the center of each test object and marked the results on the drywall.
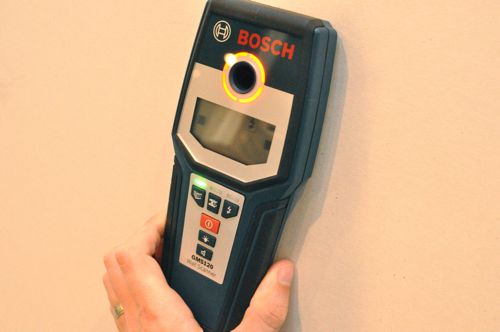
In my testing the GMS120 did an excellent job locating the copper pipe and found center every time. The wall scanner also found the live wire very quickly. Unfortunately, the scatter plot made it a little difficult to pinpoint the exact location. However, I knew a live wire was nearby.
The real test of a wall scanner is how well it detects studs because that’s primarily how most users will employ the GMS120. I took a lot of readings, and the found center was actually more like the left edge. I also tried out the GMS120 in the house to detect known studs (around switch and outlet boxes), and it performed better. Ultimately, I feel like the GMS120 is more reliable than many other stud finders available.
I found it was really tough to see the display with the backlight turned on. If I wasn’t looking straight at the scanner, the display was just about invisible, and that was a bit disappointing.
Again, if you’re looking to purchase the Bosch GMS120, check out your local Lowe’s or Lowes.com.
Specifications: GMS120 Wall Scanner
- Max Detection Depth Copper Wiring: Up to 2″
- Max Detection Depth Ferrous Metals: Up to 4-3/4″
- Max Detection Depth NonFerrous Metals: Up to 3-1/8″
- Max Detection Depth Wood Substructures: Up to 1-1/2″
- Operating Temperature: 14°F / -10°C ~122°F / 50°C
- Battery: 9V
- Weight (lbs.): 0.6
Includes
- (1) – Protective Case
- (1) – Hand Strap
- (1) – 9V Battery
In case you’ve lost it, I found the manual available at that link.


That is a really cool test rig. Is it possible to repeat the test with some cheapie models to see how they compare to the $80-ish Bosch?
HA! I wish I had thought of that before I destroyed the test. You suggest a good idea, and I’ll look for some good head-to-head comparison opportunities.
If you do run it again also have a stud with a live wire attached to it. There are not many unsecured wires in walls.
That is an excellent idea, Steven B.
I liked your comparison to snake oil. Ha!
We have a higher end model and a cheapy one with a magnet. Sometimes I rely on the cheapy one more!
Mine is tries to detect the center of the stud. I paid an extra $15 dollars for that “feature”. I definitely wish I had my cheaper one back that just indicates the edges of the studs. The new one usually has me marking 5 different stud locations and I just hope it hit it in the center mark. I thinks maybe the TSA has some technology they could share!!!
Nice unit. I’m going to stick with my Franklin Sensors ProSensor 710 for now. It hasn’t failed me yet.
This is a cool test. I’m dying to know how well it would perform through lathe/plaster, though. I’ll bet this thing would beat the pants off my $10 Stanley stud finder.
me, too!
Also, this tutorial would be nice to see in a video format.
Do you think the reason it kept saying that the center of the stud was the left side was because you set the stud with the 4 inch side directly against the sheetrock? Most of the studs I have seen have the skinny (2″) side as the one the drywall attaches to. Maybe it’s supposed to sense correctly either way. Cool test! I too would be interested in a comparison.
I considered that too. However, the manual says “Wider objects in the base material are detected through a continuous, high amplitude of measuring indicators [on the display]. [The light ring] lights up yellow. The duration of the high amplitude corresponds approximately with the object width.” I didn’t see that happen either.
I never have any luck with stud finders. I was told that often studs are not 16 inches off center ( or whatever) in many bathrooms because of all the plumbing.
The studs should still be 16″ on center (oc), and plumbers shouldn’t need to move very many studs. Rough-in for a shower is one exception I’ve seen. You can’t have a stud centered on the shower control wall (but you shouldn’t really be trying to drill around the shower controls either).
“should” and “are” too different things, especially in Chicago Rehab Condo Conversion. I gotta think other big city contractors take some short cuts too. I’m not saying mine aren’t, haven’t looked yet.
You are welcome to come out and help update my bathroom, plenty of blog fodder there. 😀
Thanks for the test. The struggle I have with stud finders is usually with older plaster and lath walls. They think the lath is one big stud or that there are no studs. Textured walls also create a challenge because it is difficult to slide the finder smoothly over the texture. Regardless, they are still like weather forecasts. They give you a chance but don’t bet your paycheck on them. Perhaps the extra $ would be better invested in a tube of spackle and a drywall knife.
For textured walls, you can try using a piece of paper or thin cardboard to slide the scanner. I’m not sure how that affect results though.
Could you include the price of tools when reviewing them? If at least a rough/ballpark figure, anyway. I realize that it is subject to change over time but you could note the price on a certain date. It would save me having to go to vendor sites just to see the price.
Or do you get refers for clickthroughs to vendor sites?
I should have included the price, and I’ll update the article. We do sometimes use affiliate links for products. However, not usually in a review, and I didn’t in this article.
Cool, thanks. Also, I didn’t mean to give the impression that I’m opposed to you using vendor links. Go for it!
I’m with you on the stud finder snake oil. If I can I always just find known studs next to outlets and such and measure off of that hoping the framers actually put them 16″ on center. For $80 it should drive the nail in for me and patch the wall if it was wrong. 🙂
I’d especially like to see how this compares to the Zircon 520. It seems to be the most popular. This one seems to be really only ‘good enough’ it would be good to know before spending that much on one.
I have a with stud finders personally. It seems as I hold them they have a constant reading of being on center. Ha! Cool tool! Finding the stud is one thing but the real value is in finding plumbing and wires. If it saves you hitting a live wire or active plumbing, the device pays the $80 itself. But ofcourse not hitting them you wouldn’t understand the value. Being able to read through concrete and stucco is pretty astonishing.
Thank you for posting this very helpful information.
I live in Los Angeles in an old building, which may have lath and plaster. I’m not sure.
I can’t find the studs in the wall but I didn’t use the product you reviewed here. Will this find studs behind lath and plaster?? Are there studs behind lath and plaster?
thanks so much for your help.
Tumaini
Tumaini- The studs are behind the lath and plaster. You can get a good view of what it might look like by Googling Lath and Plaster. The lath should be nailed to the studs, so you should be able to locate them.
I’ve had my share of frustrations with electronic “stud” finders. The one I currently own and use is a Craftsman (Yep, Sears). This particular model will detect metal, studs and electrical wiring behind walls. It picks up all three okay; however, the repeatability is questionable and I find that I have to keep repeating the scan with variations of as much as 1/2″ each time. For wires that is close enough but not when the objective is to establish the edges of a stud. Tonight I opened up the tool to disable the small (albeit loud) piezo buzzer inside as it was really annoying. The LEDs are all I need. Interestingly, the circuit board is made by Zircon. Isn’t that a hoot! I was prepared to upgrade to something better and was considering the Bosch GMS120 until I read so many negative comment about it all over the internet. You mean to tell me that we can send a robot to Mars but can’t make an accurate wall scanner?
Can i use it in petrol pumps near fuel tanks
This is some really good information about scanners. It seems like it would be smart to have a scanner that can detect a pipe or stud. That does seem like it would help you prevent making a major mistake.
Can it detect gold in rocks
I’m not sure it’ll reliably detect the rocks.
It works “Ok” in nice new 1/2″ sheet rock, 5/8’s is iffy. Plaster and Lath is an absolute joke. I can guess with my eyes closed more accurately.