
- Day 1: Excavation
- Day 2: Rebar, Inspection
- Day 3: Pouring Concrete Footers
- Day 4: Building the Block Foundation
- Day 5: Plumbing Rough-in
- Day 6: Pouring the Slab
- Day 7: Beginning Rough Framing
- Day 8: More Framing, House Wrap
- Day 9: Demo, Framing to House
- Pouring Concrete Stairs
Step 1: Frame Floor
Steve’s crew started framing the floor with 2×8’s and 2×6’s. If you recall, the existing floor had a series slope going the wrong way (into the garage), and that made framing the floor a little difficult. Steve’s crew needed to rip and shim board to maintain a consistent height across the floor. You can also see a glimpse of the concrete stairs

They nailed all the boards in place and used adhesive and a powder-actuated nailer around the perimeter.


They laid AdvanTech tongue-and-groove OSB over the framing. If you were with us when Steve built the shed, you’ll remember that he prefers AdvanTech because it handles moisture better than alternative OSB products.
Pro-Tip: Leave 1/8″ gap between sheets of AdvanTech to allow space for expansion.

Steve’s crew only temporarily fastened the floor in place with a few screws because they’ll need to pass inspection before they can insulate the space.

Step 2: Install Roof Trusses
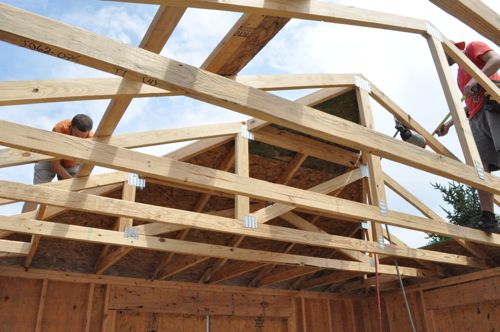
Back outside, the guys installed pre-fabricated roof trusses.

They spaced the trusses at 24″ oc.

In addition to nailing the trusses in place, the guys used these brackets to secure the trusses to the top-plate of the wall framing.
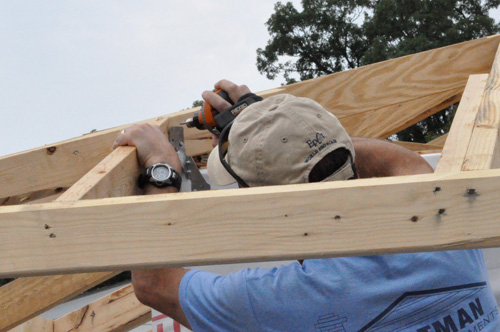


Steve’s crew added temporary braces to keep everything in line before the roof sheathing is installed.

Although these trusses were prefabricated, Steve’s crew found a few problems.

The biggest issue was that some of the trusses were not even with the others, and the guys needed to plane them down.

Even with pre-made trusses, some of the framing needed to be done at the job site. Here’s a look as one of Steve’s guys added some additional framing at one of the corners.


Step 3: Install Roof Sheathing
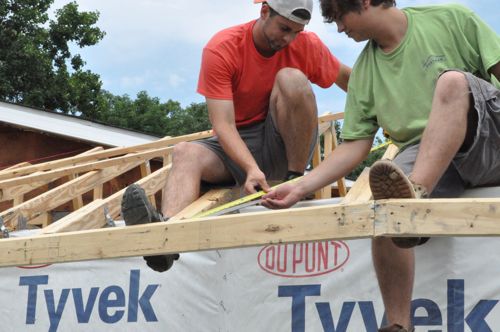
Using a tape measure, square and chalk line, the guys marked guides for the 4 x 8 sheets of OSB.

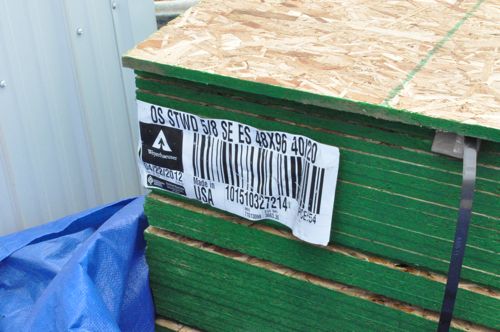
For the roof, they used 5/8″ OSB.
Pro-Tip: Did you know that not all OSB is created equal? Cheaper OSB can contain different species of wood and be sanded to the necessary thickness rather than pressed. These shortcuts weaken the OSB and open the grain to moisture.
Starting in the middle of a section, the guys would anchor a full sheet, making it easier to measure out the adjacent pieces. They used a staple gun to anchor all the OSB. You may have noticed that the guys oriented the OSB with the lines up which is helpful for identifying where the framing is located (and where to nail).
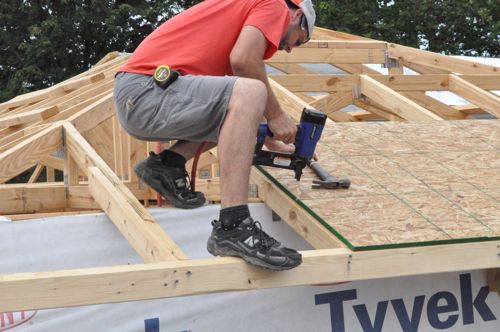
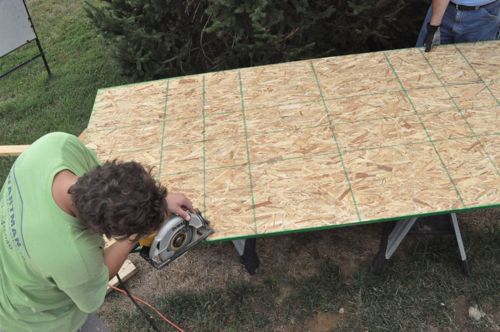
In this way they continued around the entire room, working from the fascia up to the ridge.

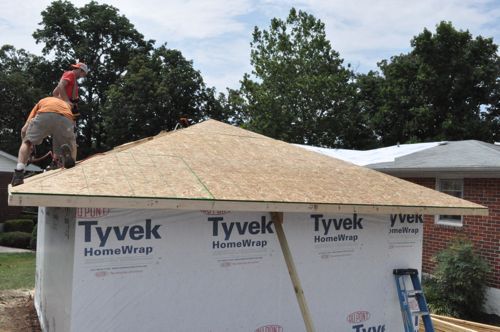
That’s it for today’s Pro-Follow. Next, the guys will be rolling tar paper over the roof, and calling in the roofers soon after. Stick with us!


It’s unfortunate that they have to put down the floor to pass inspection only to pull it up again to insulate. Sometimes the inspection process is backwards. I wonder if the inspector would accept your pictures.
How are they insulating that space? Seems like rigid (or a vapor barrier) is needed because otherwise if fiberglass batting is used and it contacts the slab they may have moisture issues.
I’ve heard of inspectors accepting pictures for things like deck footers. Of course the gamble is that if they find something wrong, you often have a lot of work to undo before you can fix the problem. I’m not sure how they plan to insulate that area. I’ll look into it.
Hmm.. framing out the old garage floor is interesting. Since they were doing so much other masonry on site (and had plenty of excavating equipment around), did they consider just pulling up the concrete floor and pouring a new slab at the desired elevation? Other than cost, would there have been any other drawbacks to pouring a new floor?
Cost would have been the biggest drawback. Victor and Carlos are not an inexpensive group to hire so for something like the garage floor, it’s better to work with what’s there already.
Will they be using brick like the rest of the house ? If so I’m always curious to see how well they match it. A full shot of the house with the addition would be nice.
How do you cut the floor joists to match the slope of the floor? Did they just run a string line at the top of joist and measure down at intervals? I saw how you mentioned the shimming, so do they cut them a little short on purpose to make sure they only have to cut once?