
Last time we left off, Steve Wartman and his crew had removed the garage roof and were securing floor joists. Today’s Pro-Follow update will cover additional framing, laying the flooring, installing a sill plate on top of the garage walls and beginning to build the second story walls.
If you enjoy learning how experienced professional contractors tackle home improvement projects, check out some of our other finished Project Guides like How to Pour Concrete Stairs and How to Build a Shed. Take a moment to become and email or RSS subscriber and never miss a Pro-Follow update or Project Guide.
Step 1: Bathroom / Window Framing
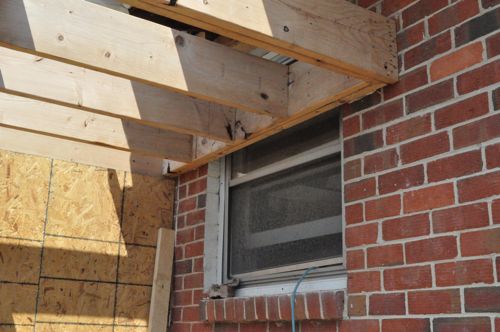
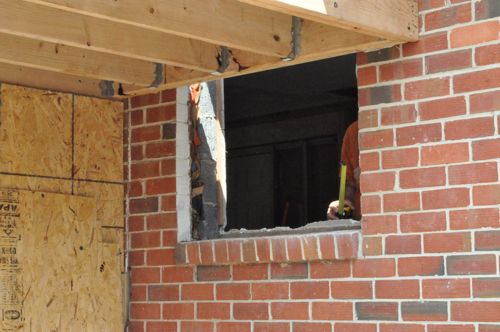
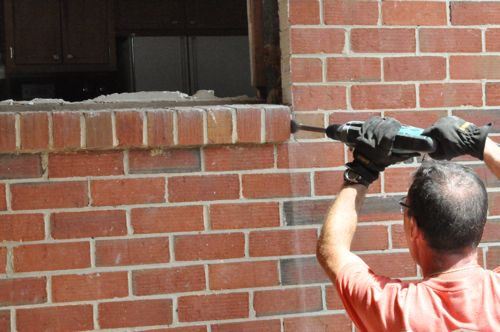
The master bathroom will be situated on the second floor over a small porch-like area along the front side of the house. The window you see will be bricked up except to provide enough access for some plumbing. With the floor and exterior walls, temperature control becomes a concern, and for that reason, Steve’s crew will be “padding” out the framing to make room for extra insulation. Not only will that prevent the bathroom from being hot in the summer and cold in the winter, but it will also protect the pipes from freezing temperatures.
Step 2: Lay AdvanTech Flooring
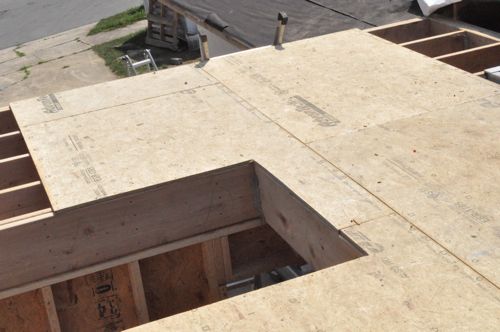
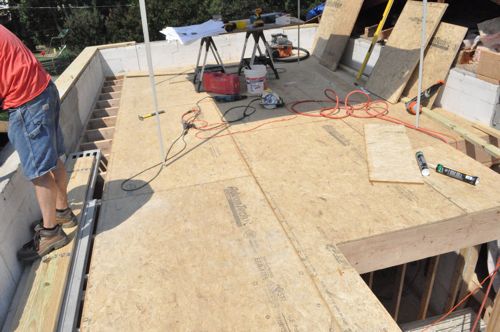
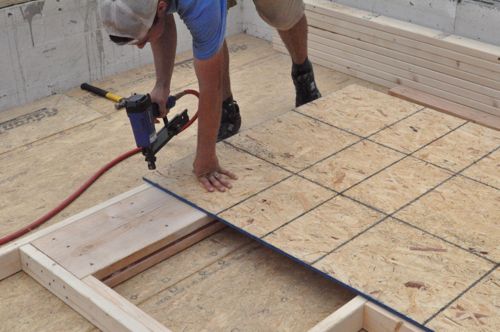
If you’re a regular reader you already know that Steve likes to use AdvanTech OSB for the improved weather and moisture resistance. Another option would be Fir plywood. However, Steve usually goes with AdvanTech, and the two are priced similarly. The guys laid the tongue-and-groove AdvanTech over the floor joists and secured it with construction adhesive and screws.
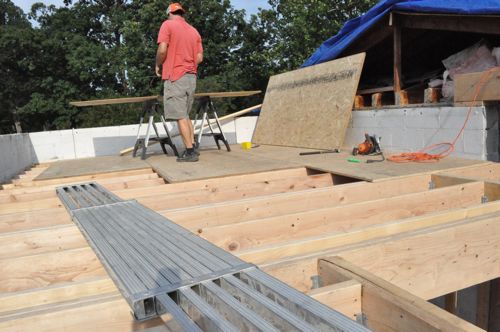
That cutout area will be where the stairs come up to the second floor.
Step 3: Install Sill Plate
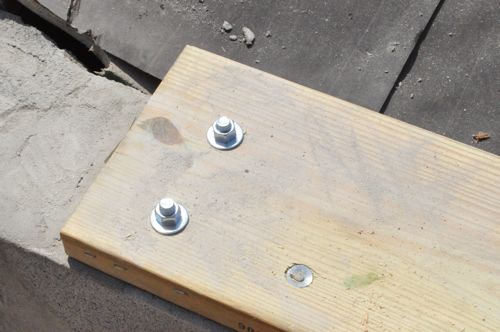
Much like with the new foundation, the guys are installing a sill plate on the top course of block of the old garage. However, they are not using sill sealer (like before) because they need to establish a strong bond with the new framing, and the block wall only has a few J-bolts. Gluing the sill plate directing to the block will ensure a good connection.
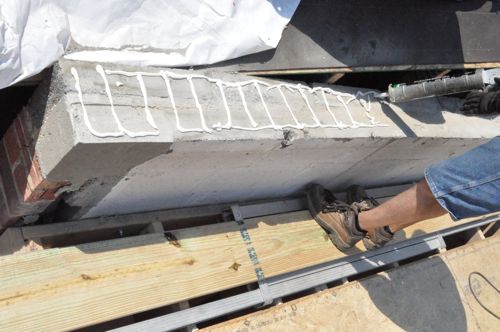
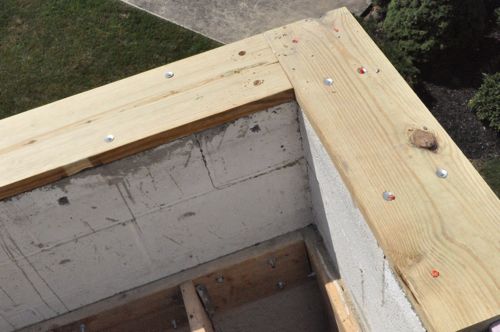
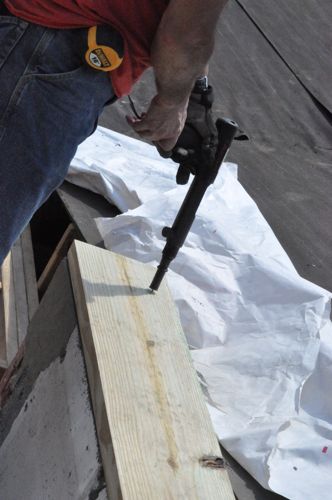
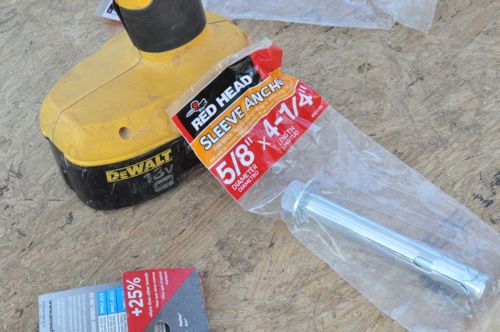
Steve’s crew used the combination of a powder-actuated nailer and Red Head anchors to further secure the sill plate.
Pro-Talk: A powder-actuated nailer is often just called a Ramset after the popular manufacturer.
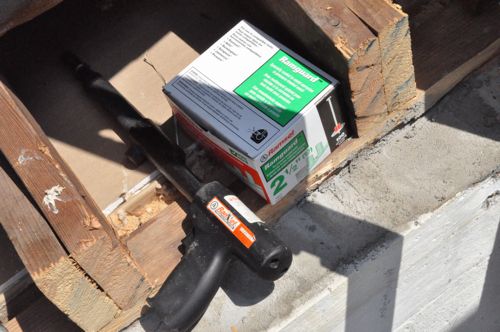
Pro-Tip: Be sure to use ACQ rated nails when nailing into pressure treated wood.
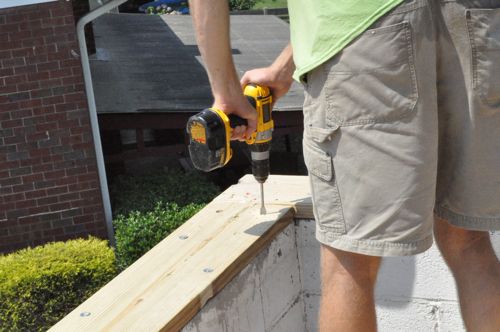
For the Red Heads, the guys predrilled holes before inserting the anchor, and they used a cut-off wheel to trim the excess bolt length afterward.

Step 4: Site with Transit
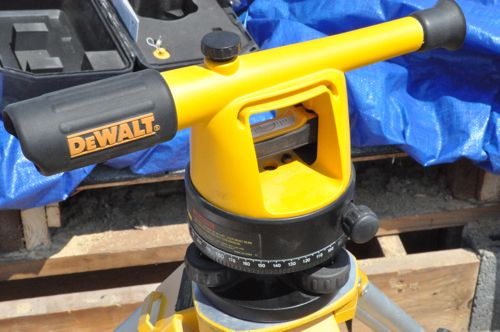
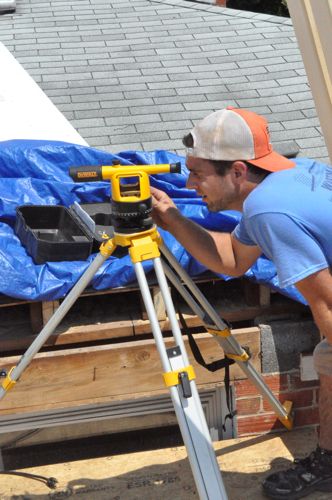
I’ve already mentioned that this area was a garage, and, as with any remodel job, Steve’s crew can’t assume that walls are straight, level, square, etc. Half the challenge for the guys is fixing the existing structure enough to integrate it with the new construction. For this phase, the guys need to site the sill plate to check that it’s at the same level the whole way around. Unfortunately, the block wall wasn’t level, and therefore the sill plate wasn’t level.
Step 5: Plane Bottom Plate
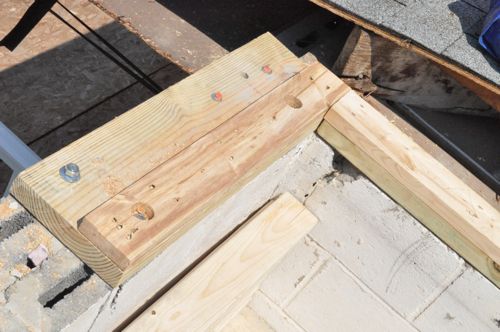
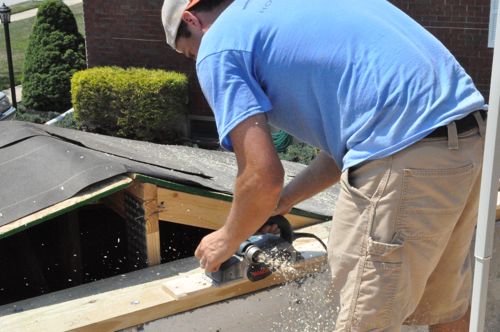
To fix that, the guys went through the tedious process of ripping 2×4’s and planing them.
Step 6: Check for Level and Square Corners
In addition, the guys checked for level (up-and-down and side-to-side).
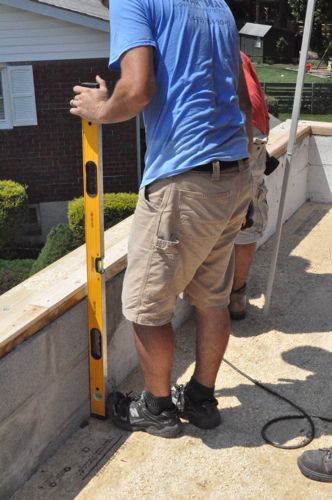
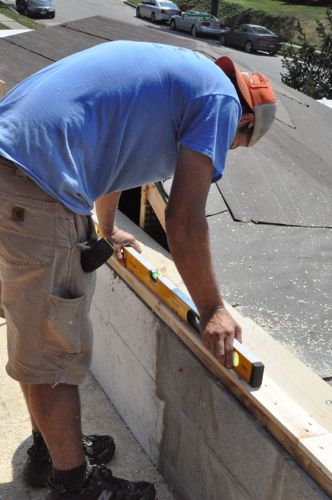
Using a string line and carpenter’s square, they made sure each corner was square.
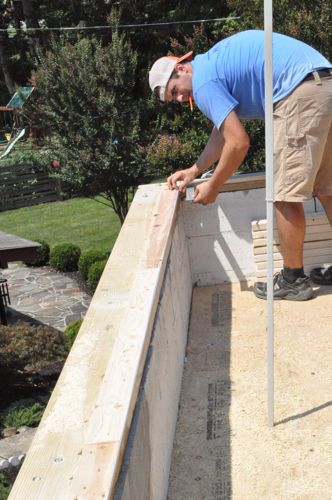
Step 7: Double-Check
After they finished, Steve’s crew double-checked their work.
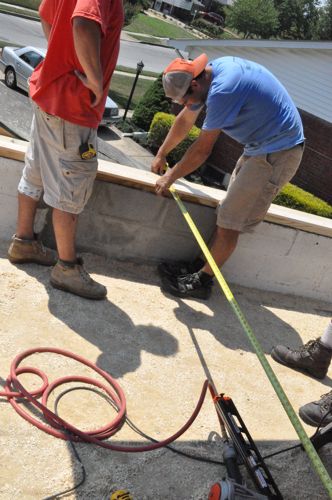
Step 8: Frame the Walls
Like I mentioned before, integrating the new construction with the existing is difficult. For instance, to maintain a consistent total height, the guys had to frame walls at four different heights to incorporate things like a replaced header, where the block wall stops and more.
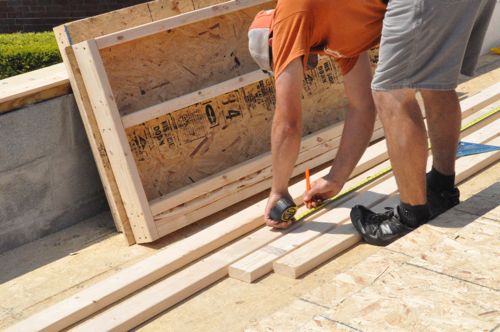
As usual, the walls were framed 16″ o.c. with 2×10 headers and OSB sheathing. Normally the guys would build a few walls and stake them level. Since this is on the second floor, the guys built all the walls and will put them up at (about) the same time so they can support each other.
Tomorrow will be a fun day as the walls will go up, and perhaps the roof trusses as well. Stay tuned!


maybe its just me, but this part of the addition came as a surprise…
The crew sure does seem to do a great job (Mike Holmes might even approve 🙂 ) how are they doing in the heat?
also, it looks like they only put a single 2×4 on top of the sill plate, how are they going to get the walls to match up? brick?
Ha, I was thinking about Mike Holmes when I wrote my comment too.
I love that they take the time to make sure things are level and square so those problems are not chasing them throughout the rest of the build. Spend a little time up front to save a ton of headaches down the line. Steve and his boys really do things the right way.
Could you have planed the sill plate level rather than the bottom plate?
That’s a good question. Let me track down an answer….
Before nailing and bolting, but nailing and bolting would probably then torque it enough to require correction, why do it twice?
They couldn’t do it after, because of all of the fasteners.
looks like it’s coming along nicely. Has this project been impacted by severe weather?
Weather has been a constant struggle as we’ve seen a few pretty heavy storms roll through. Just weatherproofing all the work is a challenge itself (not to mention the lost time).
Looks great. It sounds like they really put a lot of effort into getting that sill plate level and square. In the areas where they’ve added a 2×4 to raise it up, that’s different than the bottom plate for the wall, right? They’ll have a standard 2×4 bottom plate on the walls that will sit on top of that additional 2×4 that they planed and already attached to the sill plate? So the 2×4’s we’re seeing in these photos are just an extension of the sill plate, rather than the bottom plate for the wall?