
We’re back with Day 2 of our most recent Pro-Follow with contractor Steve Wartman. This is a really exciting series as Steve and his crew have just started building an addition for a new in-law suite. If you missed it, Day 1 focused on excavating the site and digging footers. Today’s article will bring you up to speed on laying the rebar, building a couple of forms, and some information on what the inspector will be looking for before giving the OK to pour concrete.
Here’s how everything looked last time we left off, and you can see the footers dug around the perimeter and along the driveway. Victor and his team from Luciano Cristofaro Contractors are back with us for Day 2, and they started the day by laying rebar.
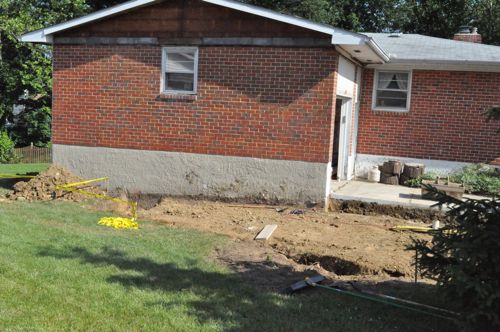
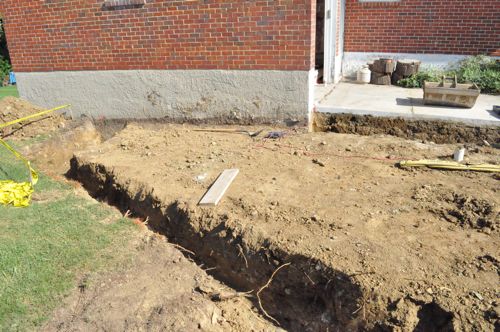
Rebar, a.k.a. reinforcing bar, are ribbed steel bars used to provide tensile strength to concrete. Concrete has very good compression strength (resistance to being pushed together) and very poor tensile strength (resistance to being pulled apart). Integrating rebar greatly improves the tensile strength of concrete, helping to prevent cracks.
Pro-Tip: To avoid using rebar, some contractors use concrete with embedded fibers. However, Victor always uses rebar because nothing else will provide the same long-term durability. To put it into perspective, if a homeowner demands fiber-reinforced concrete, Victor includes a 1 year guarantee for the work (required in our area). Otherwise, the homeowner gets a 10 year guarantee on the work.
Step 1: Drive Rebar into the Ground
Victor and his team began by driving rebar into the ground at about 4′ intervals, setting the rebar at the height of the concrete and keeping each piece level. Initially, the rebar extended about 16″ out of the ground. However, that height changed as the footer slope up or down.
Pro-Tip: In our area, concrete footers need to be at least 8″ thick.
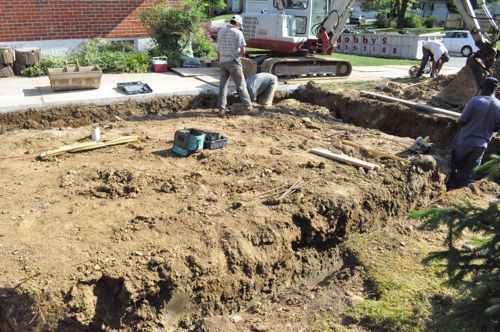
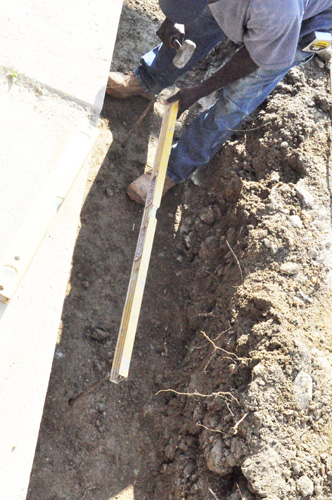
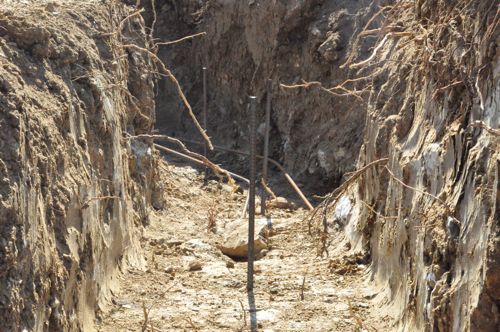
At times, the guys needed to drill through rock to set the rebar in place.
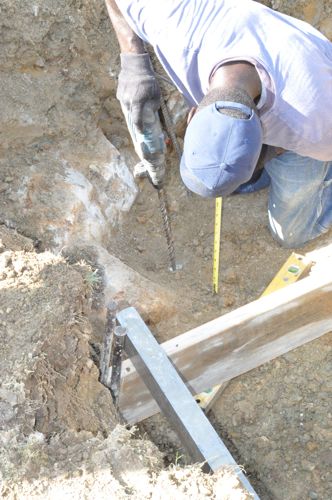

Step 2: Run Rebar Parallel to Ground
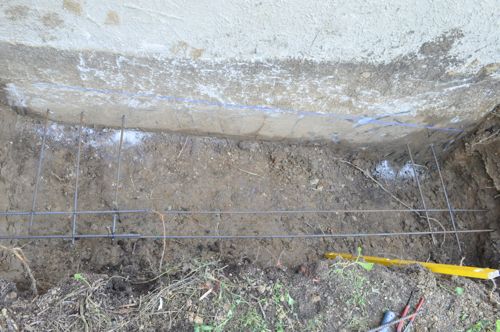
Next, the guys made two parallel runs of rebar spaced about 6 – 12″ apart and a few inches off the ground.
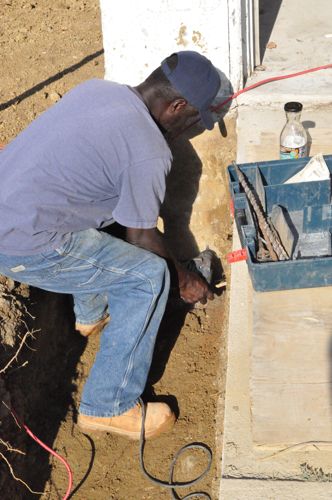
They drilled holes at the beginning and end of these runs to tie them into the house foundation.

The guys used wire ties to join two or more pieces of rebar.
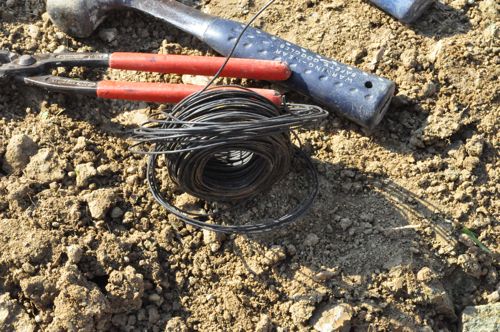
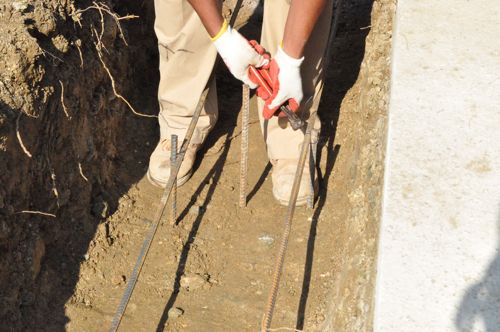
Here’s a picture showing how they turned the corner by overlapping the rebar.
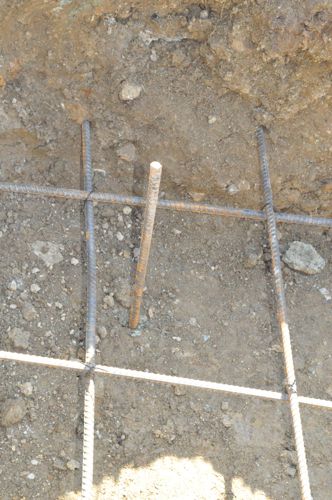
Step 3: Run Rebar Cross Pieces
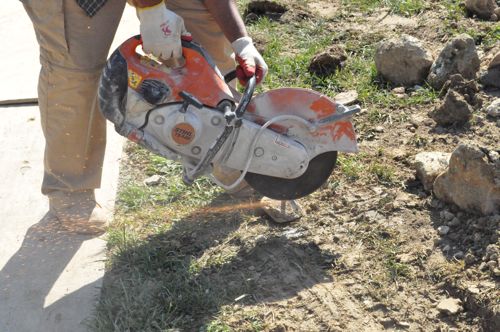
Additionally, they cut small pieces of rebar to run across the footer.
Step 4: Support with Chairs
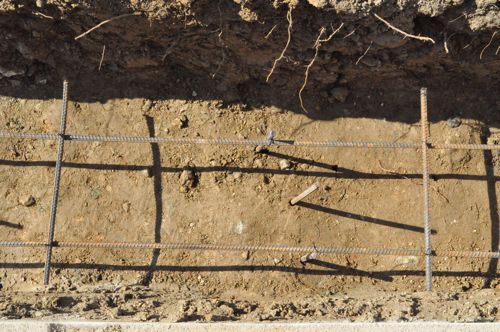
Even after the rebar was secured with ties, Victor and his team went back and placed these rod chairs to further support the rebar and ensure it was up off the ground.


Step 5: Stepped Footers
At a couple of locations, the footers were significantly deeper (+20″) and rather than pouring extra concrete, Victor and his team stepped the footer down to a shorter height. This results in less concrete and an additional course of block. Stepped footers are also useful on a slope to follow the grade while still remaining below the frost line.
For this foundation, the guys will be using (mostly) 8″ block, and that height includes the joint. For that reason, the step must also be 8″. To create the step, a form is placed across the footer, and the guys started by ripping a 2×10″ to size.
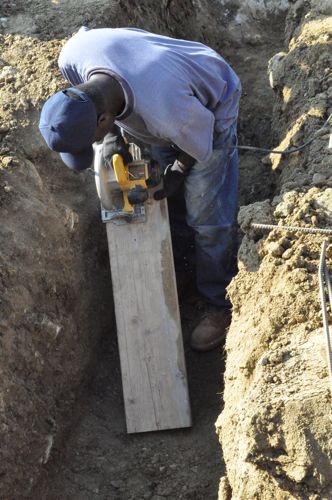
Next, he set it across the footer.
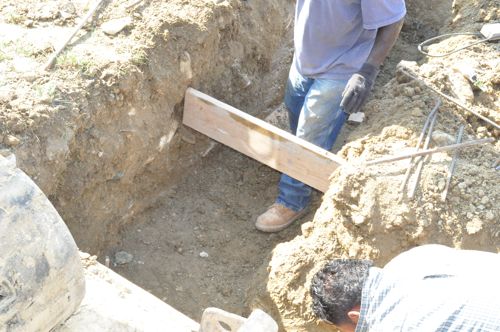
Using stakes, he anchored it in place.
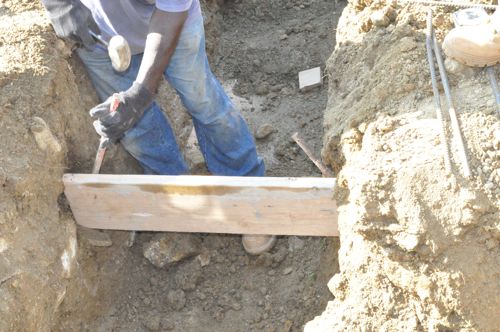
Next, he began leveling the form left-to-right and from the previous piece of rebar.
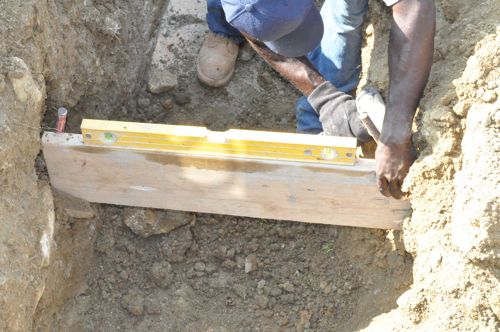
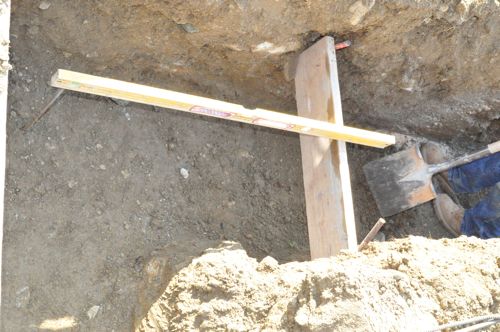
In the picture below, you can see where the concrete will step back up to the original height. All the rebar within the two steps will be at the new (lower) height which is even with the bottom of the form.
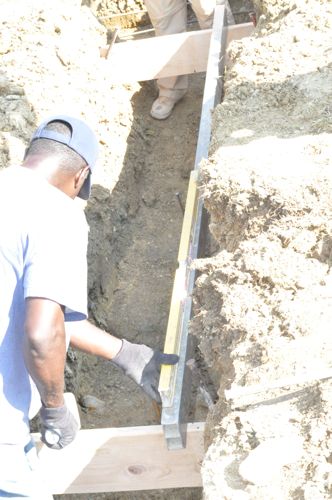
Despite the step, the guys were able to run the parallel supports underneath without any trouble.
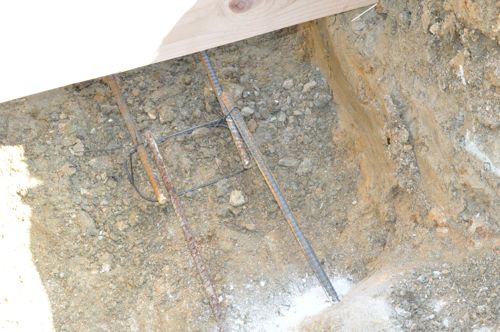
Step 6: Rebar the Bump Out
On the backside of the house, they added rebar in a similar fashion, drilling into the foundation and tying intersections.
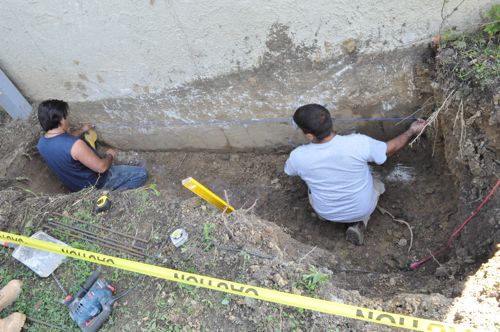

Step 7: Inspection
At this point, the footers need to be inspected before concrete can be poured. The inspector will be checking the depth of the footers, verifying rebar and looking for sitting water or soft soil. The inspector may even probe the ground to ensure adequate soil strength. If there is a problem, the inspector may require the footers to be dug wider and deeper. However, Victor doesn’t foresee any problems on this job.
That’s it for this Pro-Follow. Barring any problems with inspection, we’ll be pouring concrete very soon and laying block soon after that!


To understand the work pace better, I’m curious about how many people are working in this crew.
Day 1 there were three guys and they worked a loooong day. Day 2 there were as many as six, and it was a much shorter day. Plus, laying rebar isn’t as time consuming as digging everything out and hauling the dirt.
It looks like they’re leaving rebar exposed to the soil. doesn’t that give rust a place to start? I thought it was best to make sure rebar is completely encapsulated to prevent water/oxygen from getting to it and starting rust.
I asked about it, and they didn’t have a technical answer. However, Victor assured me rust isn’t a concern. Sorry I couldn’t get a better answer Joe.
no worries, I watch too many extreme engineering shows 🙂 which is really where that concern came from
Why would a homeowner insist on fiber-reinforced concrete instead of rebar? Cost? other reason?
It’s a newer, “popular” product that’s come out, and sometimes homeowners get set on a stuff like that.
In my very limited discussions with folks on fiber-reinforced cement, it seems like the stuff is ridiculously strong – requires much more force to break apart and even fulls concrete diamond-blades faster. While I probably wouldn’t have thought to insist on it, I like the idea…
Would it be possible to combine the rebar and the fiber-reinforced concrete for extra strength? Or is that just over-kill?
We used fiber reinforced + rebar for pouring the pad for Fred and Kim’s shed, and it is super strong. It’s probably overkill for most applications, and an unnecessary cost for contractors.
Fiber reinforced is ridiculously strong. Maybe I’ll post my 6th grade science fair results. How many hits does it take to break a 2.5″ thick slab with the blunt end of a steel punch dropped from 3 feet? Lets just say that unreinforced didn’t take very many drops. Fiber and steel together… I might still be testing.
I also hear that fiber reinforcement is very strong. I’m trying to build a new garage in my urban Minneapolis neighborhood. The old one is sitting on what I expect are some very poor soils – it’s collapsed and makes me think there’s some kind of sink hole under it. But my lot is small so I don’t have any choice but to rebuild in the same location, and I don’t think excavating and fixing the soils will be cost effective or even feasible with the neighbors garage about 2′ from mine. The solution: a ridiculously over-designed slab with microfiber reinforcement and beefed up steel. If there’s a sinkhole down there, I”m just going to try and bridge over it.
I’d seen rebar at jobsites when I was a kid, but had no idea how it was used. This was very interesting. Once the rebar is embedded in concrete, would that prevent rusting?