
Here in Maryland it’s really starting to feel like summer, and that means muggy, 100° weather. It’s tough working outside, but that’s the way it goes for Steve Wartman and his crew. In today’s Pro-Follow, the guys are beginning the rough framing for the addition, and I really enjoy this part because you start the see the project take shape.
If you missed it, I’ve been shadowing contractor Steve Wartman as he tackles an in-law addition. Here’s the progress so far:
- Day 1: Excavation
- Day 2: Rebar, Inspection
- Day 3: Pouring Concrete Footers
- Day 4: Building the Block Foundation
- Day 5: Plumbing Rough-in
- Day 6: Pouring the Slab
Step 1: Site and Level Bottom Plate
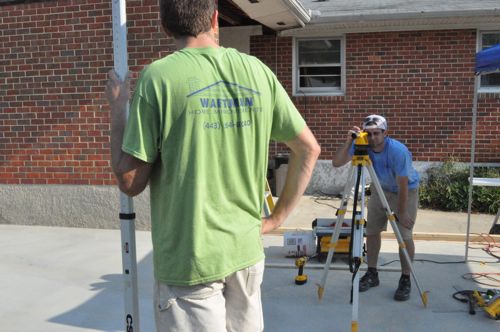
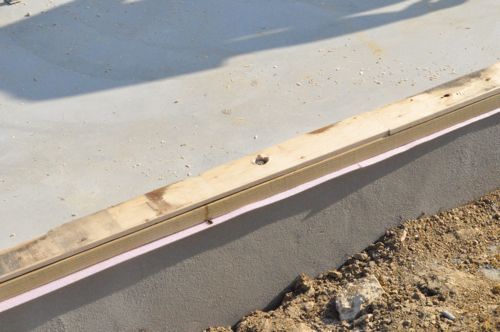
Since the last course of block had to be removed, the top of the foundation wasn’t completely level. The guys needed to re-site everything, and they ripped / planed a second bottom plate to ensure the foundation was at the same height and level.
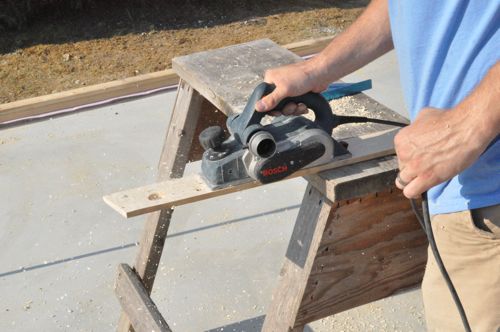
This also allowed them to conceal the j-bolts below the surface of the bottom plate.
Step 2: Layout Framing
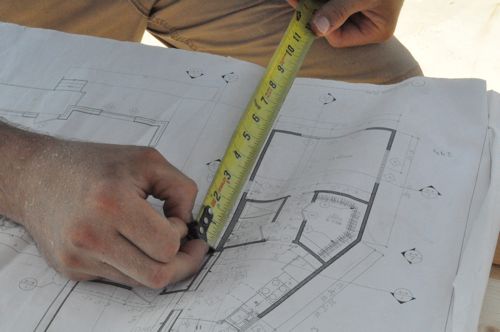
The drawings show several windows, and Steve’s crew needed to determine their exact location to build the walls accordingly.
Pro-Tip: Blueprints are typically 1/4″ or 1/8″ to a foot, and the scale is indicated on the drawings.
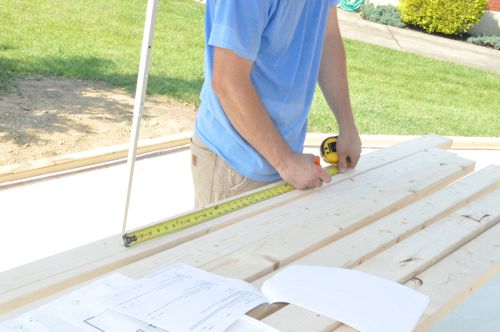
Next, the guys selected a (relatively) straight bottom plate and began marking out the location for studs 16″ on center (oc).
- King Studs or Common Studs: Span from the top plate to the bottom plate (the full height of the wall).
- Jack Studs: Support headers, which span above doors and windows.
- Cripple Studs: Used above or below windows and doors.
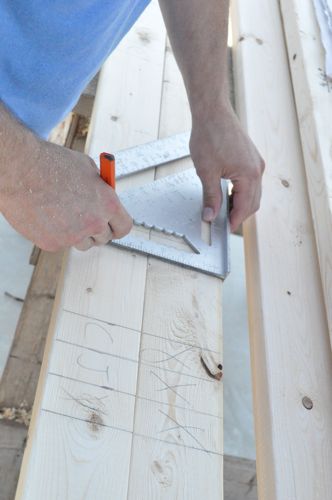
Using a square, they scribed the lines onto the top plate as well. Steve’s crew likes to indicate kings studs with a “X”, jack studs with a “J” and cripple studs with a “C” to help avoid confusion.
Step 3: Frame Walls
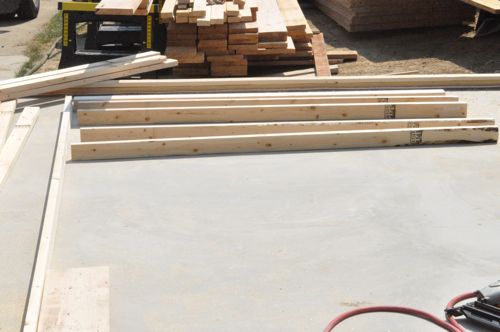
With the top and bottom plate marked out, the guys began laying out studs and making necessary cuts. They checked each board for a crown and placed the boards in the same orientation.
For big jobs like this, Steve purchases pre-cut 2 x 4″ studs to eliminate the need to cut them to size. These studs measure 92-5/8″. Adding 4-1/2″ for the three bottom plates means the walls measure 97-1/8″. When you subtract the thickness of the floor, you get 8′ ceilings.
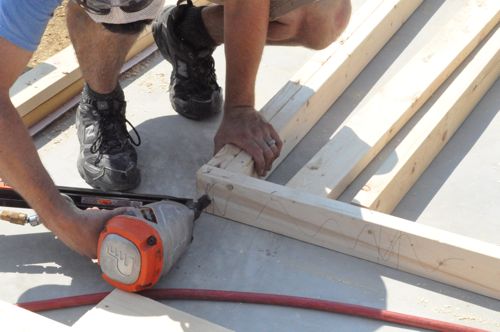
Some of the studs were slightly warped, and Steve’s crew used a Stanley FuBar to bend them into place.

Step 3a: Build Headers
At the same time another member of Steve’s crew was building headers. To accomplish this, he would sandwich 1/2″ OSB between two 2 x 10″. The resulting thickness is 3-1/2″ which matches the width of the studs.
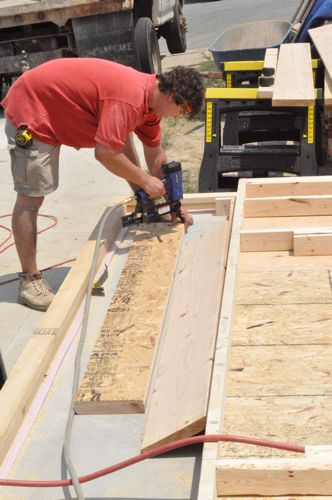
Here’s a picture of Steve nailing the header to an adjacent king stud, and you can see the jack stud supports.
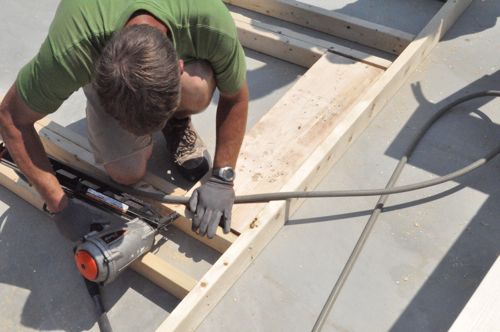
Step 4: Square Walls and Secure Sheathing
The guys worked to square the wall framing because otherwise, the sheathing wouldn’t line up with the studs. In the picture you can see that the first piece of sheathing is plywood while the second piece is OSB. Steve likes to use CDX plywood on all the corners for increased stability.
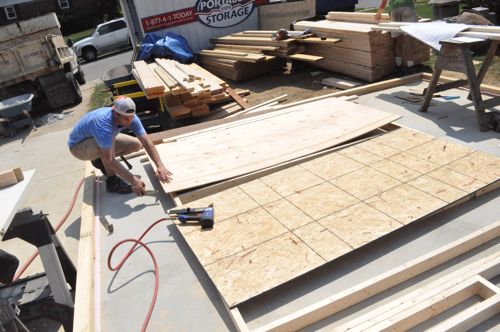
The OSB has lines, but the plywood does not. To mark studs, the guys snapped chalk lines.
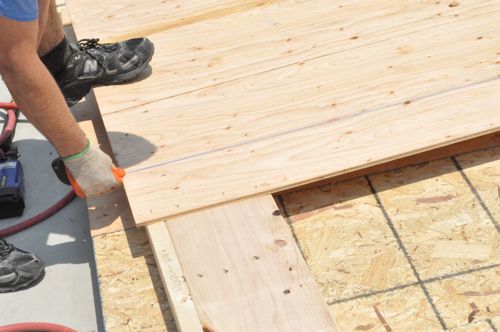
Steve’s crew staples the sheathing rather than nailing it because it provides a better hold.
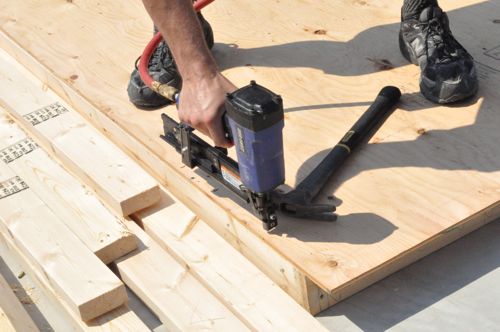
The overhang allows the sheathing to cover over the bottom plates and/or the corners.
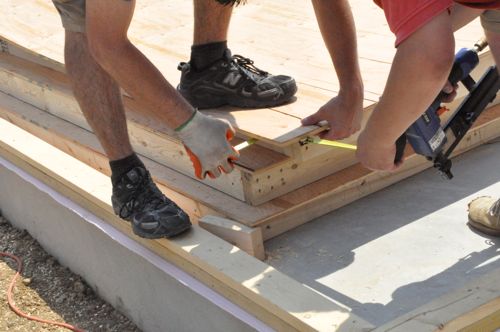
Step 5: Repeat for Other Walls
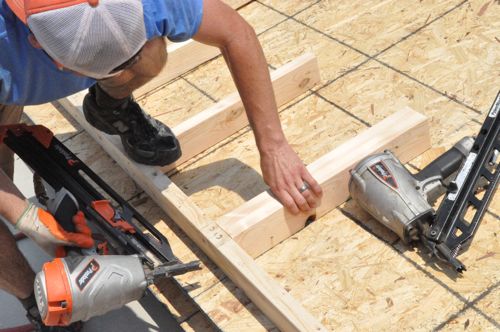
Altogether, they framed three walls in a similar fashion. In the picture below you can see they are nailing a stud perpendicular from the rest, and this is the junction for an inside wall.
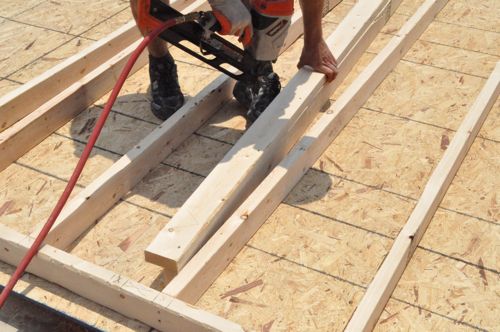
This same wall also features a triple window, and to better support the header, they doubled the jack studs on either side.
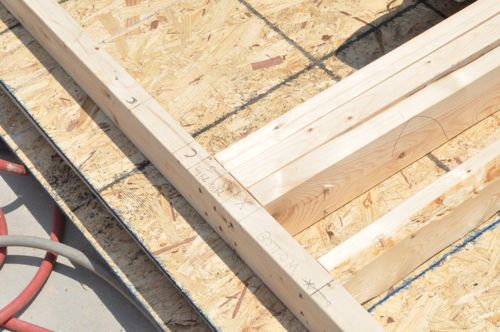
The guys also doubled the center cripple stud.
Steve’s crew built each wall (stacked) with the bottom positioned so they could easily lift it into place.
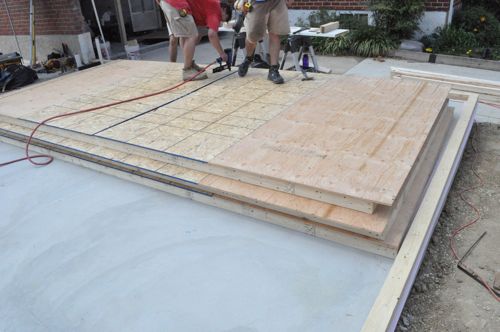
Step 6: Move Walls into Position
After the framing was finished, the guys carried the walls into place.
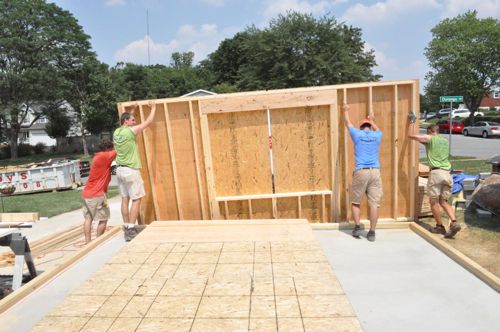
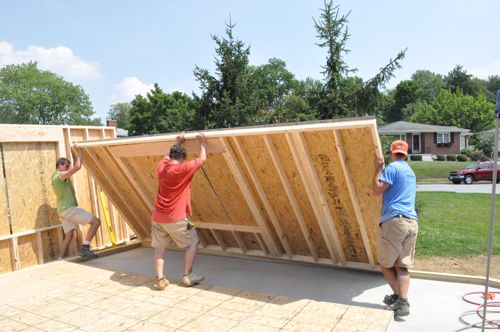
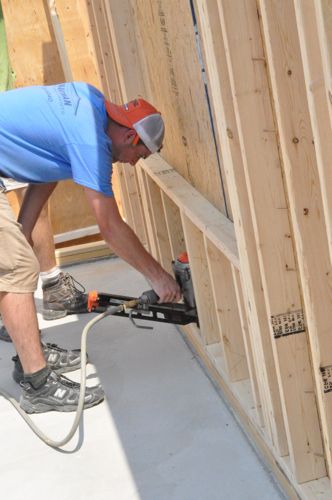
They secured each wall by driving nails into the bottom plate.
Step 7: Check for Level
Next, the guys setup a support beam. They checked the wall for level and then nailed it to keep the wall from moving.


That’s all for today’s Pro-Follow. Tomorrow the guys will continue the rough framing and soon they’ll be starting on the roof. Stick with us!


Great tip on the pre-cut studs Ethan. They save a ton of time and really make a bid difference on cost.
I’d caution readers on note from above. Staples are used by builders for two reasons, speed and cost. Many codes do not allow them as they do not provide sufficient structural strength in high wind or earthquake zones.
We even use staples in some situations, again because of ease and cost. They certainly do not offer as much capacity as a nail though.
Looks like a fun project!
I’ll add this comment as a reply to Todd because I saw it on one of his projects first. With exterior walls instead of making solid wood headers, sandwich in rigid insulation to reduce thermal bridging and offer a little insulation where there traditionally is none. May not be as important in MD but definitely for readers in the north.
Great comments guys.
Steve mentioned (a while back) that they also prefer the staples because they provide a good hold through OSB since the staple grabs more surface area. They aren’t nearly as long as 8d nails so I can understand them not being rated for high wind / earthquake zones.
I passed along the comment about rigid insulation, and they hadn’t heard of that yet. Maybe it’s something they’ll incorporate in the future.
Oh I like that Stanley FuBar. Never heard of that before. I would like one of those. Next Rewards Center item maybe?
That’s actually what that jaw is for on the FuBar….never actually seen it used correctly though…until now of course.
They actually make 3 versions of it 4 if you count the new demo bar. There’s a 15″, 18″ and 30″ (which is like a sledge with prying and board bending tools added on). I have the 18″ and 30″ and they are great for framing and demo work. I often use the 18″ or 30″ for bending boards straight while doing framing. Very handy for this. I think the 18″ is pretty useful as a board bender but is too awkward as a hammer or sledge unless you’ve got tree trunks for arms (it’s 4lbs but it’s balanced oddly due to the thick steel handle). The 30″ is a great all around tool but not great for confined spaces. But it takes a lot less effort to convince boards than it does with the 18″, the joys of a longer lever and all that.
Just added one back into the Rewards Center! Have at it…. I hadn’t seen one of em in action before working with Steve and his crew. They seem really useful for framing and demo work.