
Welcome back to another Pro-Follow. If you’re just joining us, I’ve been shadowing contractor Steve Wartman and his crew through the process of building an in-law addition. So far we’ve made it part way through the rough framing, and that’s where today’s Pro-Follow picks up. If you missed any of the other updates, check out the links below.
- Day 1: Excavation
- Day 2: Rebar, Inspection
- Day 3: Pouring Concrete Footers
- Day 4: Building the Block Foundation
- Day 5: Plumbing Rough-in
- Day 6: Pouring the Slab
- Day 7: Beginning Rough Framing
Framing a Difficult Corner
One of the corners on this addition is not 90°, and to further complicate things, there are windows located on either side. The odd angle presented a small challenged, but the real difficulty lay in addressing the load requirements with the location of these two windows. While these windows have the typical headers, additional steps were taken to ensure a structurally sound wall.
Pro-Tip: Check out the International Building Code (IBC) section 2306.3 for info on shear walls with staples including staple size and spacing.
Steve started by planning out the bottom plates so that the joint was offset from the sill plate joint. He also put two king studs on either side of the corner.
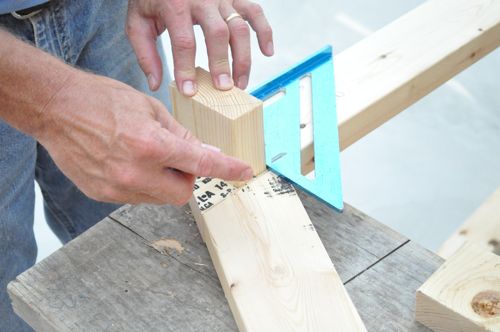
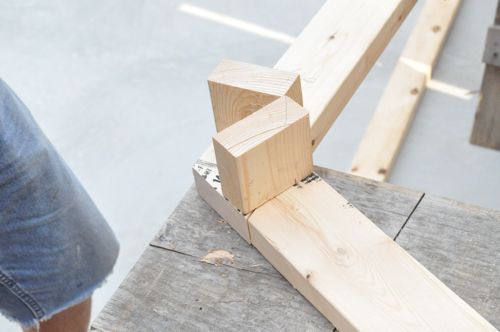
Here’s a look at the top and bottom plate with all the framing members marked out.
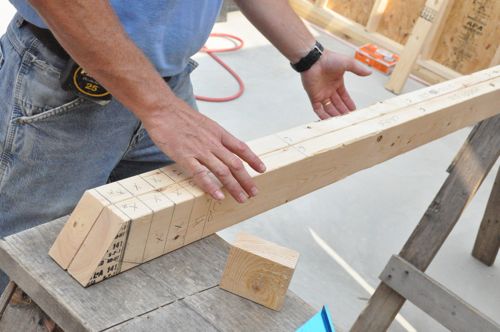
This picture shows Steve’s crew putting together one side of the corner.
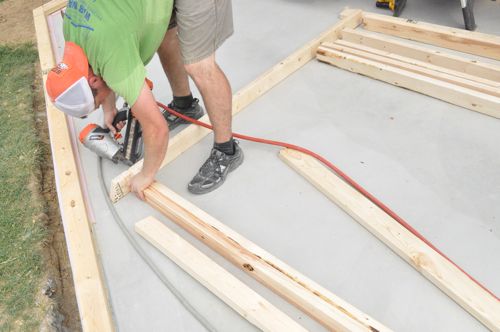
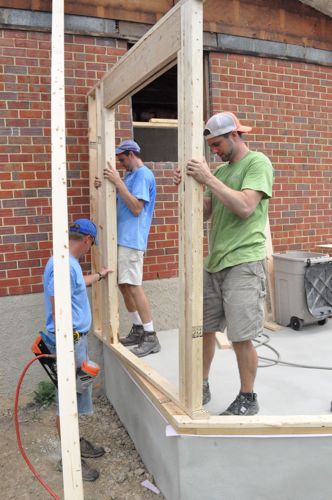
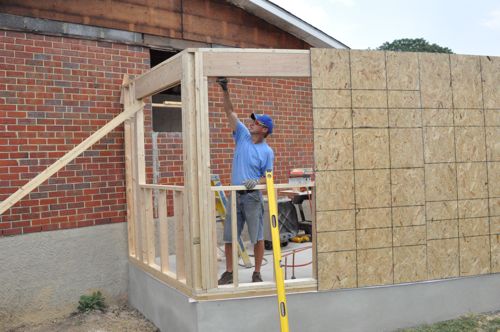
After the guys got both sides of the corner in place and nailed through the bottom plate, they drilled holes for 8″ Timberlok screws to further tie the two walls together.
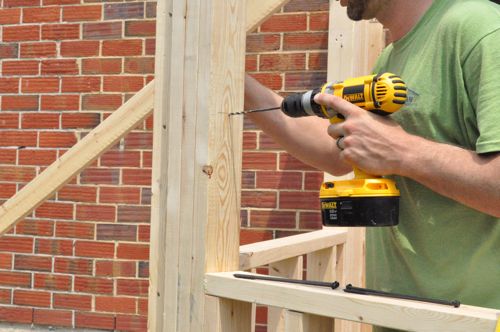
Steve’s crew put in 5 of the Timberloks, spaced along the height of the wall.
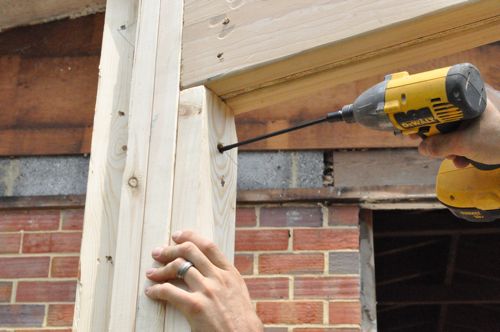
Next, they ripped another king stud into a wedge that fit the corner.
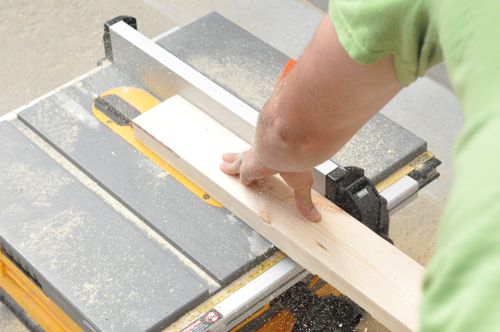
The last thing Steve’s crew did to reinforce this area was to use plywood for the increased strength (rather than OSB).
Pro-Tip: At times you’ll see alternate shear wall measures like let-in diagonal braces and bottom plate hold-downs. These were not necessary in this scenario.
Framing Against Brick
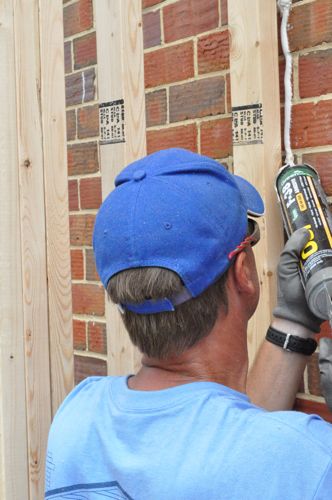
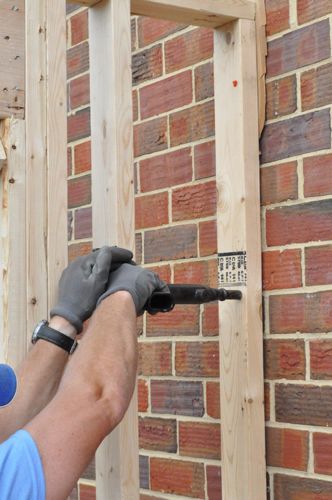
Where the wall met the brick, they checked the wall for level and shimmed a small gap where the brick fell away. Next, Steve put down a bead of adhesive and used a powder-actuated nailer to drive nails into the brick joints. It’s worth mentioning that these bricks had previously been filled solid with mortar to beef up the wall.
House Wrap
With the wall framing and sheathing completed, the next step was to install the house wrap, and Steve recommends avoiding the Big Box store brand house wraps. Tyvek is more expensive, but in this instance you get what you pay for. House wrap helps eliminate air infiltration and water entering the walls.

Installing the wrap on this addition is simple because one piece is enough to cover the sill plate and overlap the top of the walls.
Pro-Tip: House wrap should extend 2″ beyond the sill plate. For multiple rows, start at the bottom and overlap by at least 6″.
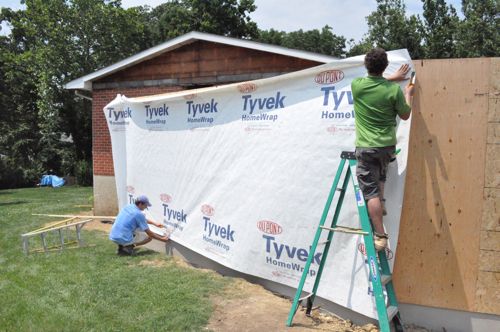
The guys used staples to secure the wrap and they taped all the vertical seams and terminations.

To prevent the walls from moving out of level, Steve’s crew setup a series of braces to hold everything in place.

That’s all for today’s update. Stick around as Steve’s crew will be tackling the roof framing soon!


Something to keep in mind with housewrap is that with many of the major brands you’ll void the warranty by using anything other than cap fasteners. Hand or pneumatic driving nails or staples with metal (hand driven) or metal caps that keep the fastener from pulling through the house wrap.
Good comment, and something I did not check into.
Oof. I was a little out of it this morning.
Here’s what I meant to say.
Something to keep in mind with housewrap is that with many of the major brands you’ll void the warranty by using anything other than cap fasteners. Hand or pneumatic DRIVEN nails or staples with metal (hand driven) or PLASTIC caps that keep the fastener from pulling through the house wrap.
Very cool. This is always my favorite part of the build. You blink and in a day or two a house (or in this case an add on) is framed up out of thin air!
How do they plan on dealing with the openings for the windows? obviously they will cut them out later, but shouldn’t the house wrap wrap around the opening, which obviously cant happen if they cut through it.
I’ll have to follow up with Steve to see what the plan is. I’ll let you know what I find out.
They can cut the upside down wine glass shape in the wrap first, peel it back, and then cut the sheeting.
It’s a heck of a lot easier to get an opening cut in sheet goods when you have a handy guide in place… like rough framing.
Was that in response to what I said or to Joe?
I wasnt saying they should cut the opening before putting the sheets on, but that they might have wanted to do it before putting the housewrap on. this is where my inexperience shows, I have no idea if what they did is completely normal or not.
I checked with Steve’s crew, and they usually cut out the windows before adding the house wrap. This time, they were in a hurry to get the wrap on at the end of the day. That means that they’ll trim the wrap (like Jeff suggested) and then cut the sheathing.
Was the odd angle unavoidable? Was it discovered after the project got to this point or was there some indication of it during the design stage?
It was included in the drawings. That angle actually follows the homeowners property line so it’s kinda unavoidable. Plus, it’s not too much of a hassle.
cool stuff. Framing looks fun. I’ve never framed entire walls before…
Definitely looks fun. This has probably been one of my favourite pro follows so far