
I’m pleased to announce the start of yet another Pro-Follow! This time I’m shadowing Mike, one of the carpenters that works with Steve Wartman. Mike is very skilled at custom woodworking, tackling all sorts of projects ranging from shelves to furniture to kitchen cabinets. Today we’ve partnered together to build some built-in cabinets and shelves. As you’ll see in the article, Mike is a big fan of Kreg tools, and he feels confident that with only a few Kreg products, even inexperienced woodworkers can create beautiful custom pieces.
Step 1: Check and Measure Space
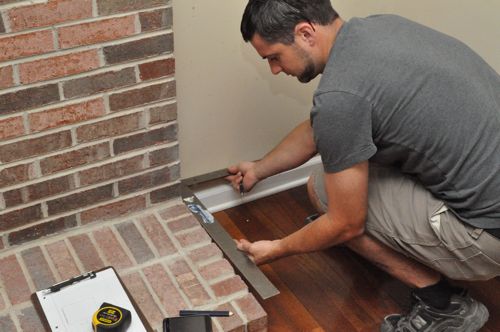
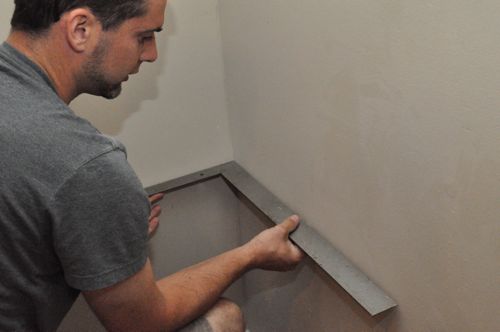
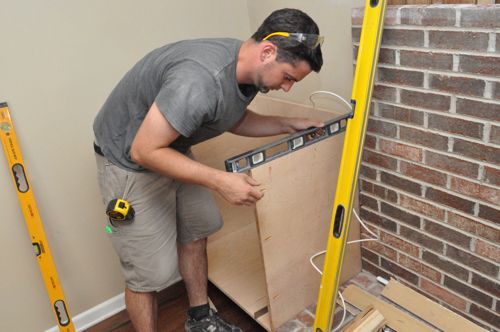
Mike built a base cabinet and shelf unit for each side of a fireplace, and he began by checking the space with a square and level. Walls and corners are rarely straight or square so Mike sized the base cabinets for the smallest dimension. He’ll work to conceal any gaps afterward with trim and additional padding.
The base cabinets will extend flush with the front of the hearth, and the hearth is about 1/4″ out of square with the wall.

Step 2: Cut Pieces
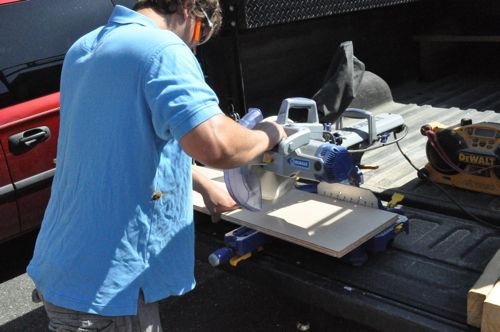
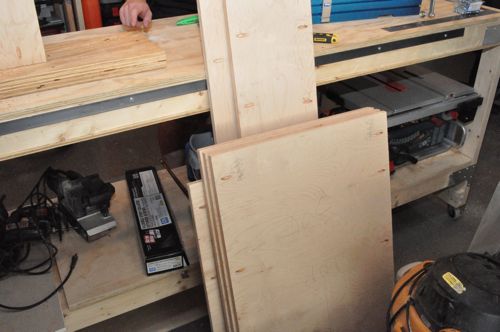
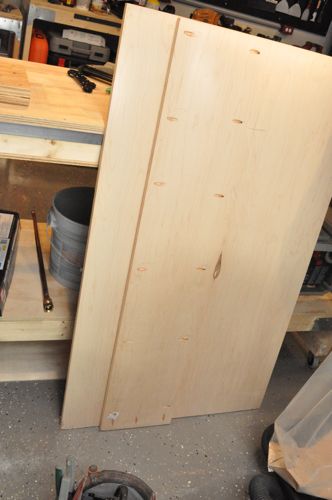
Mike made a shopping list of the necessary pieces, and he used a combination of table saw, Kreg Rip-Cut attachment and miter saw to cut all the pieces. All of the base cabinets and shelves were made from 3/4″ top choice maple plywood.

Step 3: Mark and Label Each Piece
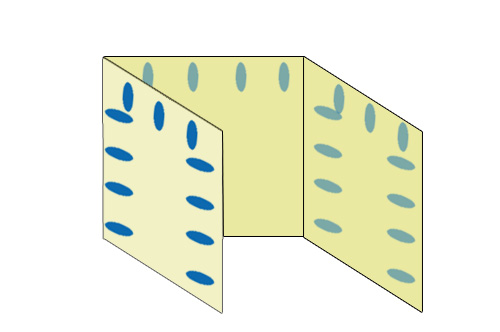
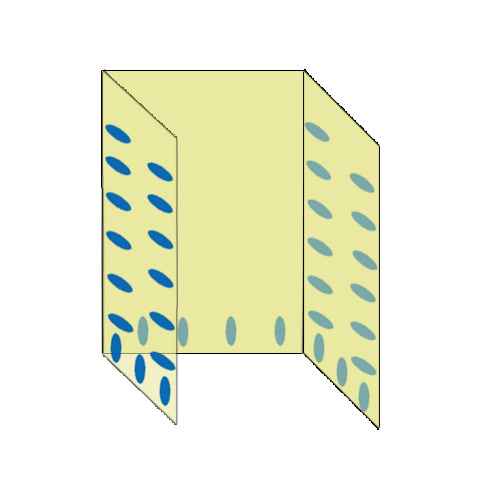
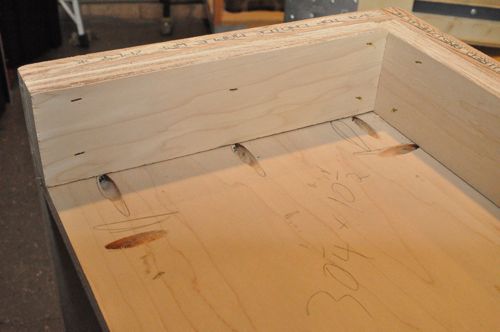
As each piece was cut out, Mike labeled them and drew the rough locations for the pocket holes. Pictured is the bottom of a base cabinet and you can see the markings for pocket holes on the underside (where they won’t be visible).
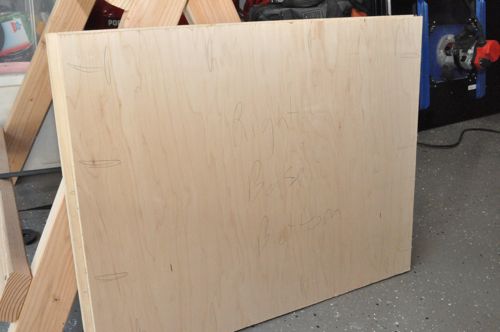
Here are some diagrams indicating where the pocket holes were marked. Remember, these were drilled on the outside / underside of the board where they will not be visible after the built-ins are installed.

Step 4: Drill Pocket Holes
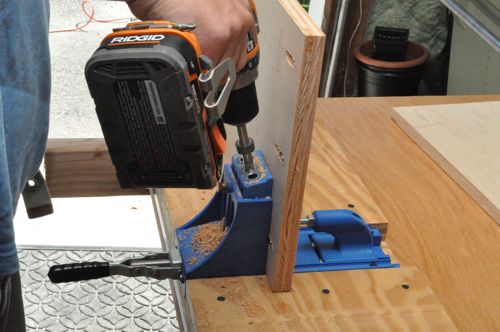
Mike used a Kreg pocket hole jig that he mounted to some LVL for easy transportation and setup. If you’ve never used one of these jigs, they make drilling pocket holes very easy. A clamp holds the work piece in place, and a collar on the drill bit sets a consistent depth
Step 5: Clamp and Screw Sides
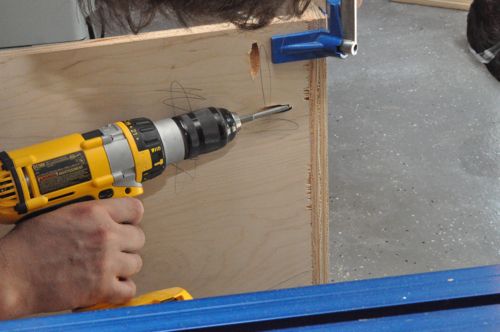
Mike has a variety of Kreg clamps that hold work pieces steady while he drives the screws.
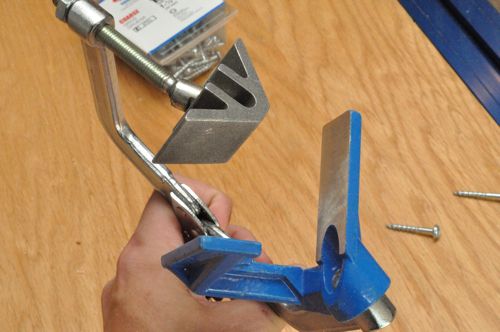
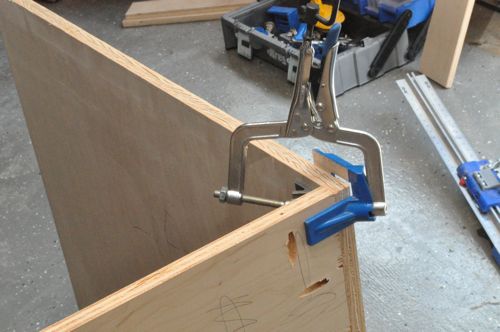
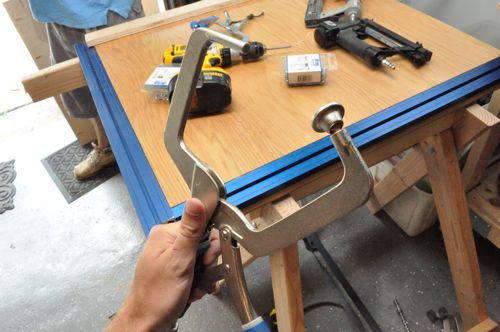
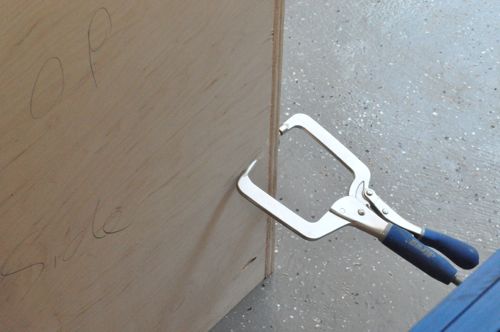
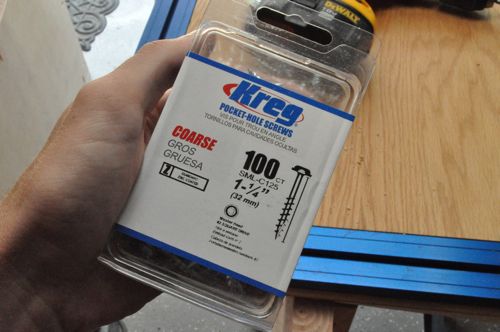
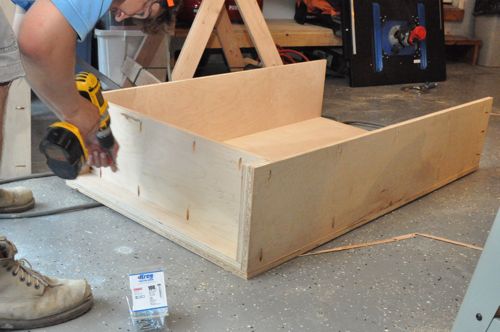
Mike joined the sides together using 1-1/4″ Kreg screws.
Step 6: Install Support Boards
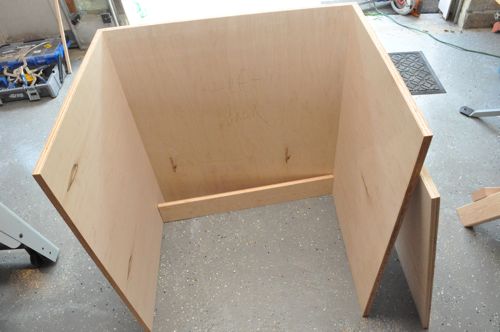
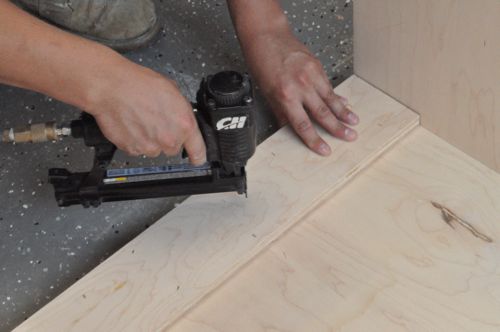
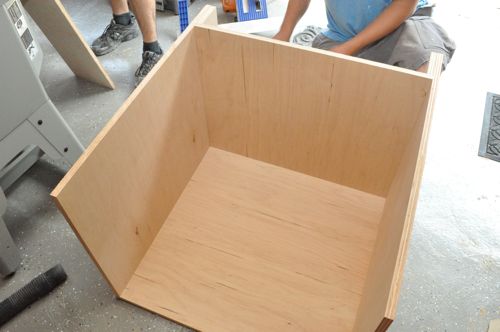
Before installing the bottom, Mike cut 4″ support / spacer boards on the back and sides. These boards were secured with a brad nailer.
Step 7: Secure the Bottom
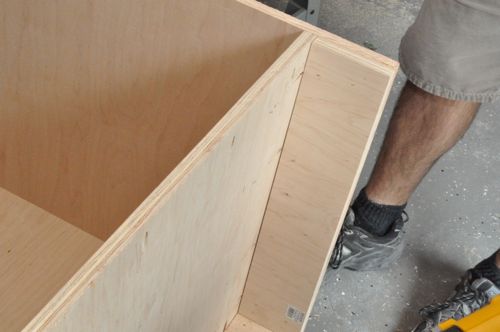
With the support boards in place, Mike installed the bottom of the base cabinet and secured it with Kreg screws.
Step 8: Cut baseboard
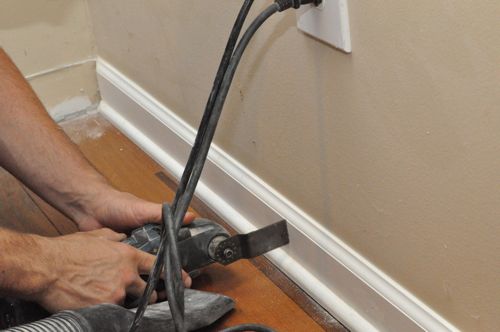
Back inside Mike used a Bosch OMT to trim the baseboard.
Step 9: Plane (if necessary)
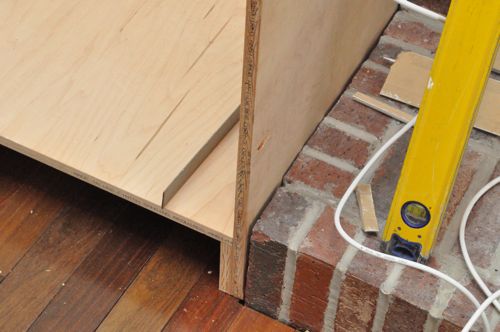
After attempting a dry fit, Mike discovered the need to plane a small amount off the right-side base cabinet.

Step 10: Test for Fit
After planing the one corner, the base cabinets fit well. You can see the slight gap along the hearth and brick facade. That gap and the visible pocket holes will be concealed with another piece of 1/4″ plywood.

Step 11: Shim Level
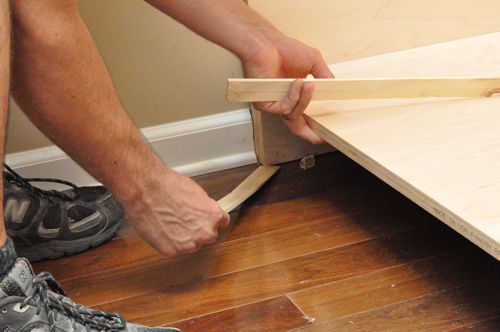
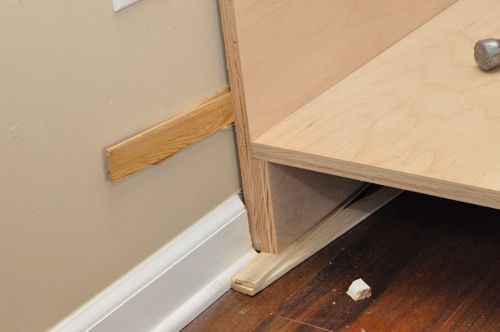
Mike inserted shims on the bottom, sides and back until the base cabinets were completely level.
Step 12: Cut Countertop
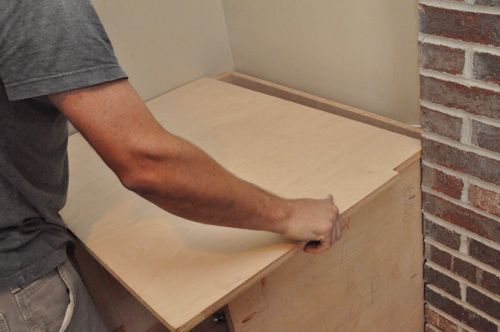
Mike measured each side individually and added a 3/4″ overhang for the countertop. At this point, it was not screwed in yet. Before mounting the countertop, Mike will add a veneer with an eased edged to the exposed sides (also secured with pocket holes).
Step 13: Build Hutch
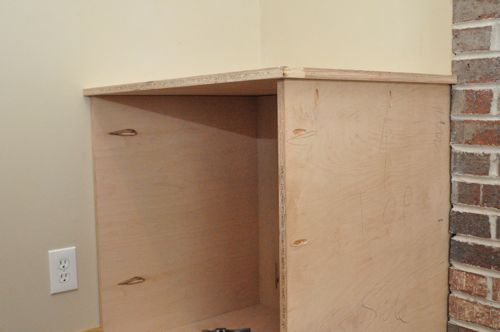
Back out in the garage Mike assembled the hutches in a similar fashion to the base cabinets.
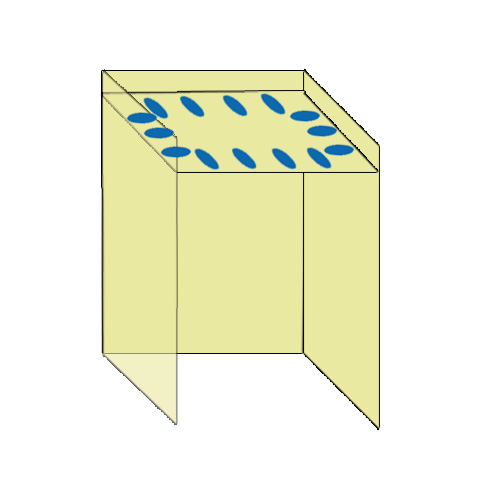
The notable difference is that the bottom is left open and the support / spacer boards are at the top of the hutch.
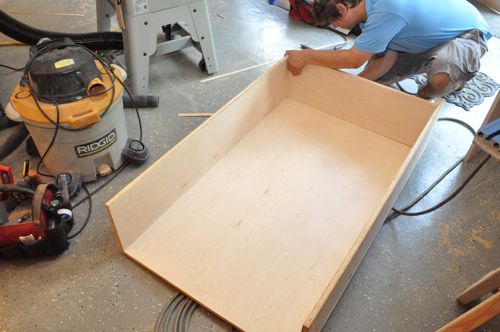
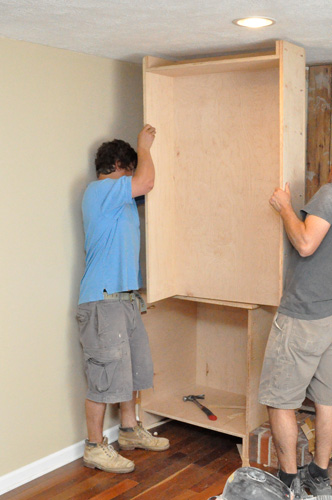
Again, Mike put the hutches in place to see how well they fit. Eventually, crown molding will go across the top concealing the small gap between the built-ins and the ceiling.
That’s all for this Pro-Follow update. The next time we pick up this story, you’ll see how we built the face frames, painted everything, added the shelves and more!


Very nice article. The cabinets seem to go together pretty quickly with the Kreg system. Have you had an article on pocket hole systems before or are you planning to do one in the future?
Hey Byeedo,
We’ve got an old article that provides an overview of the Kreg K4 pocket hole jig, and we’ll be doing a review of the precision face framer when the time comes.
I think the Kreg K4 jig is definitely going on the wishlist this Christmas. Looking forward to the face frame review. Keep up the good work.
I’m a huge fan of pocket holes, I use them all the time. I like how he recessed the jig so that long work pieces are supported while drilling the holes. I also like that he used 3/4″ ply all the way around. While he may not have needed that for the back of the cabinet they will be stronger because of it. Looks like Fred and Kim are getting new cabinets… I’d recognize the OPC shop anywhere!
Yeah Mike is a bit of a Kreg fanatic, and he’s got a great setup. Again, nothing gets by you! I should have mentioned it was at Fred and Kim’s house 🙂
This is great. I can’t wait to see the whole project come together. I’m interested to find out how he will attach it permanently to the walls/floor
I think you’ll all be really impressed with the end results and that this is definitely a great DIY project. I’m not sure how it’ll attach to the floor / walls (or if it will need to).
I’ve been thinking about getting a Kreg system because they seem so handy. Do you need to use the Kreg system screws? Is there something different about them from other screws?
You don’t need to use Kreg screws. However, I’ve heard you get the good, consistent results with ’em.
looks good, nice to see a more in depth look at using pocket holes. is it going to tie in with whatever is being done over the fireplace? that looks like it has been taken apart as well.
Fred and I removed a bunch of the brick above his fireplace, and these built-ins will “integrate” with our plans there. That’ll be its own separate article.
So I take it he will paint instead of stain?
Exactly. The plan is to paint them white.
Boy those clamps look handy. Making a note of those.
Does one buy different length brads for their gun? How do you gauge if it will be strong enough without going through the other side?
And lastly…I’m hoping that the finishing touch on the project is an awesome mantle over the fireplace
Great follow! How does he plan on maintaining a level surface with the shims? Will he leave them in for good? To another commenter above: The Kreg screws give you much better results, and being that they are not THAT much more expensive than normal screws, totally worth springing for the Kreg brand screws. Love the woodworking posts do more of those!!!
Great post! We’re going to be doing some built-ins over Christmas break. I’ll be reading this one many times!
I have read Part 1 of Building Built-in Cabinets. Have you posted the other tutorials as of yet?
Is this a do it yourself project or did you hire somebody to build the built ins. We are building a house in MD “woodbine” and want to add built ins.
do you have a supply list or any step by step instructions for this project?
Was there ever a follow up to “Building Built-In Cabinets and Shelves (part 1)”? This is exactly what I’m looking to do. You’ve peaked my interest but where’s the rest?
I’m ready to start this project but was wondering when you are finishing the shelves and trim work. I have run into a problem with the mantle that sits of bricks is not flush with the brick hearth. Any suggestions?