
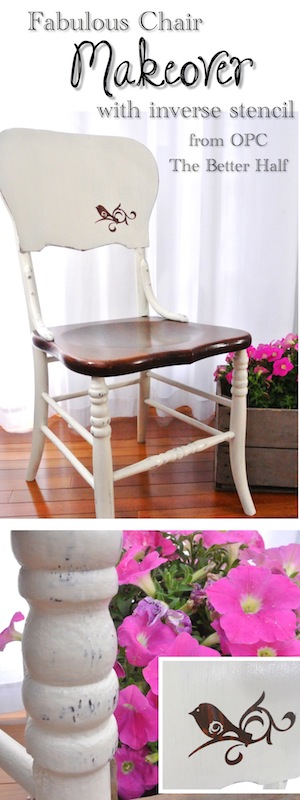
This has been a project long in the works, and I am so excited to finally share with you my Chalk Paint Tutorial: how I gave some old chairs a dramatic new look!
Remember a few months ago when Ethan’s aunt and uncle gave us a bunch of family heirlooms, like a 48 star American flag, an antique dresser for Lucy’s room, and the secretary desk that is currently in our dining room? Well, we also were passed six beautiful dining chairs that were built by Ethan’s grandfather!
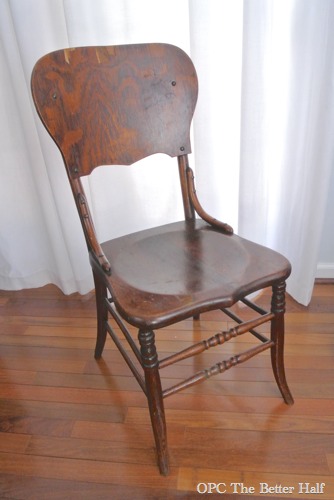
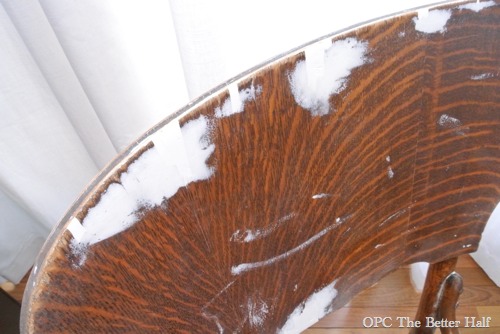
When we got the chairs, they needed some serious TLC, but Ethan and I were at odds about what to do. The main structure of the chair was fine but the veneer backing was chipping and in really bad shape!
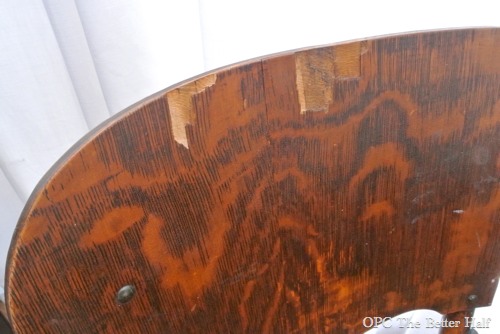
I wanted to paint them and Ethan wanted to preserve the natural wood and grain. The wood and grain really were beautiful so I can see where he was coming from, but in repairing the damage to the wood veneer it would be impossible to stain without looking kinda funny. We talked about covering them in fabric or replacing the veneer entirely, but we were stuck at an impasse, unable to agree.
So I waited, worked on some other projects, and then brought it up again a few months later. We agreed that something needed to be done with the chairs, and Ethan trusted me that I would do my best to preserve the wood and show off their best features. 🙂
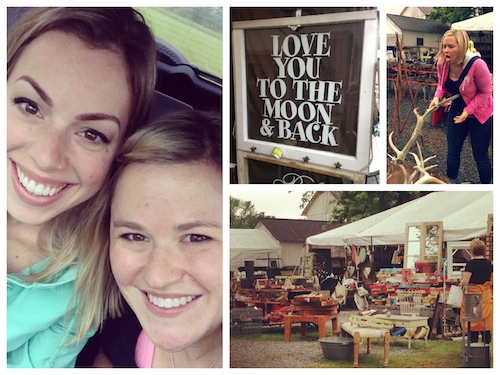
This past weekend, while shopping at Luckett’s with my bloggy BFF, Liz at Naptime Decorator, I picked up some Annie Sloan Chalk Paint in Old White to match the farmhouse style table and buffet that I painted using Old White. In case you missed my Facebook and Instagram pix…here’s a few of my faves. Oops, I may have accidentally tripped and impaled myself on some antlers! lol.
After gathering my supplies, Ethan helped out by repairing the damaged chairs with wood putty, then I sanded and cleaned them with a mild vinegar solution.
After they were completely dry, I painted them with two coats of Annie Sloan Chalk Paint in Old White. It was a slow process because of all the spindles, but I got to catch up on Grey’s Anatomy, so it wasn’t all bad.

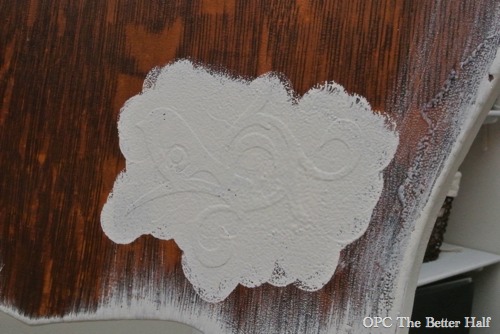
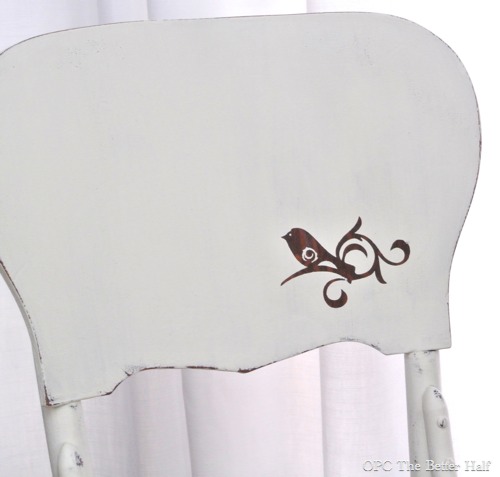
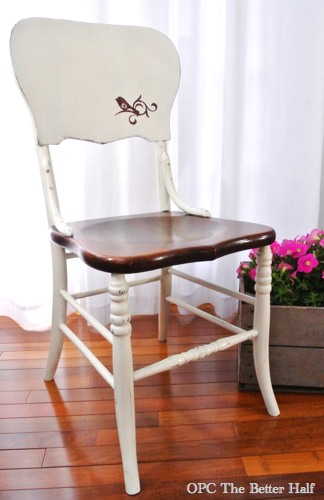
Again, we wanted to display some of the original wood and Ethan doesn’t love the idea of painted seats with kids (because they take such a beating). So, I decided not to paint the seats and paint an inverse stencil on the back of the seat. An inverse stencil is where you paint around the stencil rather than inside it. This allows some of the underneath wood to pop out!
Originally I was going to paint numbers on the chairs but a friend suggested that I may be driven mad trying to keep them in order. So I browsed the Silhouette Store and found a super cute bird with a bit of a flourish – just the right amount of fancy!
So I stuck the inside of the stencil to the bottom right of the chair back and made sure to press it down evenly and fully. I then painted the entire chair backing and removed the stencil while the paint was still wet.
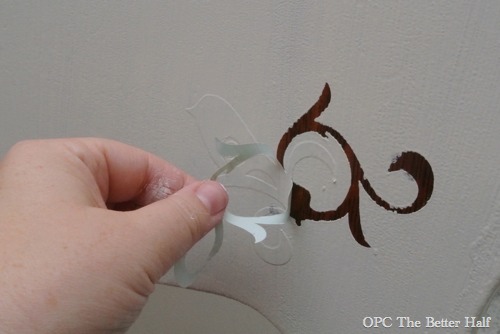
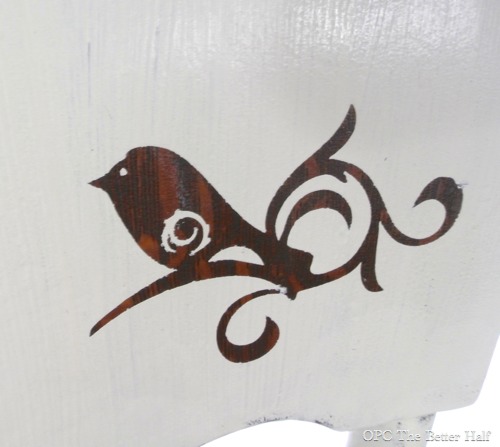
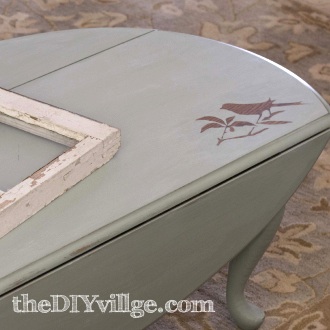
After I had finished I realized that I must have subconsciously been knocking off my friend Jacque from the DIY Village. Have you seen her fabulous coffee table makeover that she also used inverse stenciling on to expose the underlying wood?
I let the chairs sit overnight and then tool them outside to distress. It was a hot mess so thank goodness it was a pretty day!
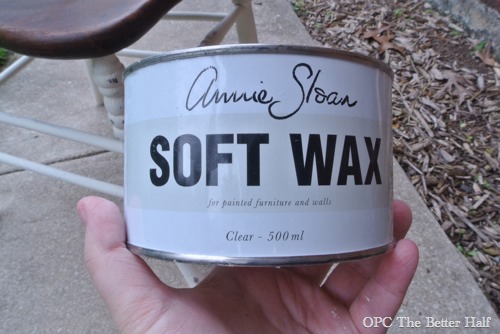
Next, I waxed them with Annie Sloan clear wax – this stuff rocks!
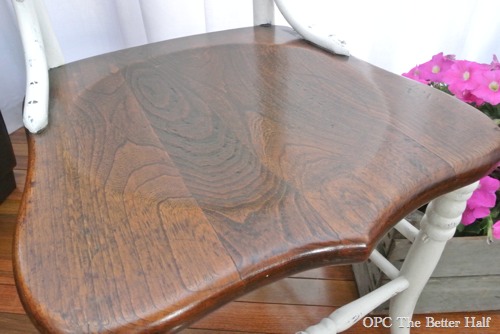
A couple of hours later, after buffing them, I realized the seats now looked a little dull and beat up. So I pulled out some Rust-Oleum Semi-gloss polyurethane and covered the seats. I was a little surprised that it went on with a slight blue hue, but that went away when it dried and it looks fabulous!

I now have three of the 6 chairs done and it makes a HUGE difference!! I really love them. Here’s some close-ups of the details…
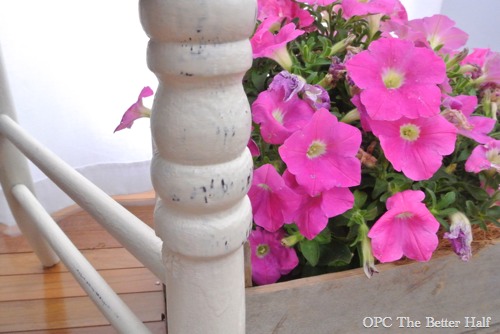
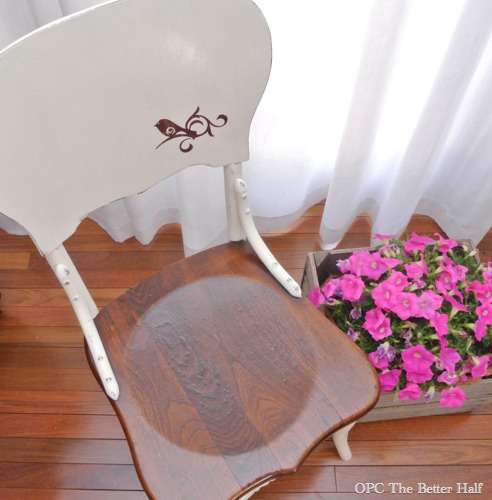
And the chairs in the dining room…
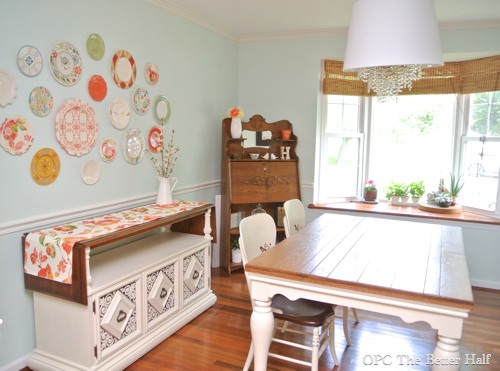
Oh, and Izzie REALLY wanted to be in a picture when she came down from her nap and saw that I was taking pictures! lol.
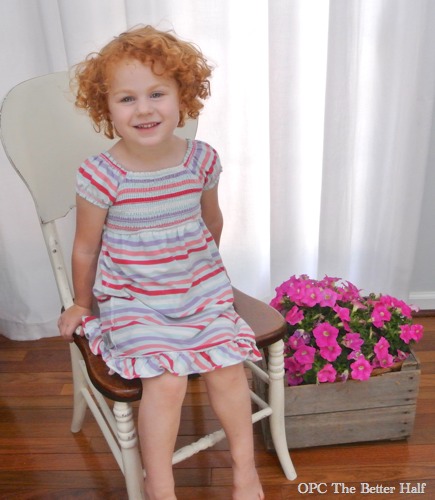
And finally, here’s my favorite picture of the bunch!
What do you think? How would you have updated the chairs?
Thanks so much for reading along about our Chalk Paint Chair Makeover with an inverse stencil!


The chairs look great, especially with the table! I like how they match with all the horizontal surfaces in wood.
Love..love…love! Old white is a perfect choice. Love the stencil too! off to pin:)
Oh, my goodness, your chairs are gorgeous, Jocie! I love the inversed stencil- I may be copying you on that one! 🙂 You did a great job compromising with hubby and it turned out wonderfully.
Such a huge difference that design on the back makes…it is fantastic! The chairs look really nice.
Oh and love the antler picture, haha
Love it! Glad you kep some of the original wood! 🙂
I think you must have the happiest dining room ever. Love the solution you came up with for the chairs. The best of both worlds!
That wood grain is just gorgeous! That was a good plan of attack to both show off the wood and hide the damaged veneer.
Great job!!…I love the stencil and really love that you kept the wood finish on the seat…and such a pretty “model” on the chair!!
Well since you asked Jocie….
Though personally I would have refinished these chairs, the tops would have posed a bit of a problem because of the fill needed. A cute fitted natural linen slip cover could have easily been made to cure that problem.
That being said, I adore how you did them. They look so cute in your home and with your table. Giving your dining room the perfect mix of painted and stained surfaces. I love it! As always Izzy is the perfect finishing touch! <3
Nice work – my wife and I are working on some stencil ideas for some furniture and also some canvases we are going to spray paint!
I love it! I love that you kept the seat wood! Very nice job!
I absolutely LOVE your compromise to leave some of the original wood and a modern hint with the fancy stencil! Gorgeous!
They turned out gorgeous, Jocie! What a fabulous idea to leave the seats in the original wood. That stencil is just perfect. 🙂
You keep me wanting to try out this chalk paint too. You always have such beautiful projects with it.
These really look great, Jocie! A perfect mix of old and new, weathered and polished. I adore how your dining room is coming together.
I love this, it turned out beautifully!!!! I love the contrast of the stain on the chair and the ASCP, great job girl!
I agree with you now! You did a beautiful job on these chairs! My makeover hero!!!
I think you did a fabulous job!!
These chairs looks BEAUTIFUL
I really like the stencil
Wow very nice. I had my doubts when you said you were leaving some of the chair unpainted, but it totally works here. Great job. Also, how did you fix that paint bleed with your Silhouette stencil. My mom has a Silhouette, and I have wanted to try it for a while, so I’m looking for tips. Could be a good article… Silhouette tips…
I love the combination of painted backs with the natural wood seats. It really makes them stand out. Your little sweetheart really fills out the chair. Are they small sized?
GORgeous!!! Love the bird stencil part…and your little one is too adorable!
I adore this!!! I’ve wanted to try the inverse stenciling for a while… I love the look!
Wow, I love it! The stencil and the painted/wood finished combo are perfect!
They look great Jocie! Now you and Ethan both get a little of what you wanted. I know I said it before when you showed us the chairs but they are the coolest shape EVER! So pretty!
So classy and simplistic!
I love it! I’ve been wanting to paint the base of my circular dining table in a distressed white and leave the table top the warm brown wood that it is and this is a great inspiration! How did you distress it and what did you do with the wax?