
I’m excited to let you know that today’s Pro-Follow is the work of a new contractor named Chuck Thompson. Chuck is the owner of County Comfort LLC and an experienced HVAC specialist. Look for his information to appear on our Meet the Pros page soon and more Pro-Follows to come. Chuck received a service call that a homeowner’s air conditioning wasn’t working, and he let me shadow him on the job.
The Symptoms
A homeowner’s A/C can quit for several different reasons. In this case, the homeowners realized that there wasn’t any cold air circulating, and on further inspection, they found the indoor air coil wasn’t even cold. This is the information Chuck had when he arrived.
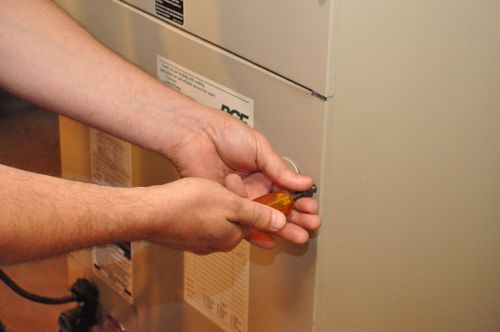
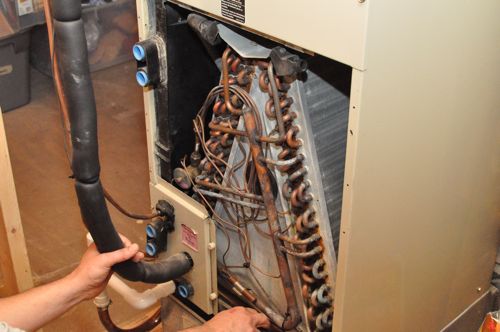
Diagnosing the Problem
Chuck performed a few diagnostics to determine what the problem was. Here are the steps he took (most of which homeowner’s can do too).
Step 1: Check the Air Filter
Chuck started with the easiest diagnostic of examining the air filter. The homeowners was using a 3-month filter, and it was almost due to be changed. As you may expect, it was quite dirty which hampers air flow causing the unit to work even harder to regulate the temperature.
Instead of trusting the manufacturer’s instructions, Chuck suggests visually inspecting the filter periodically or simply changing it monthly.
Pro-Tip: Inexpensive filters, changed monthly work just fine to protect your HVAC equipment. Consider upgrading to pleated filter to better remove allergens.
Step 2: Check HVAC Fuse
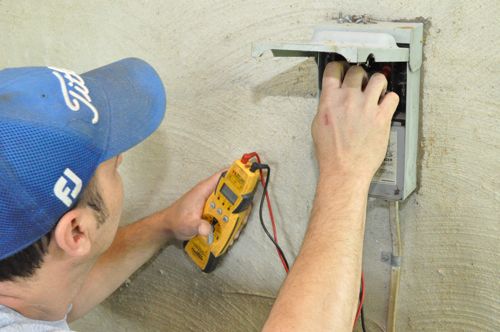
Since the outdoor unit was attempting to cool air, it was unlikely that the fuse had gone bad. Even so, Chuck grabbed his multimeter and checked the fuse and the fuse box.
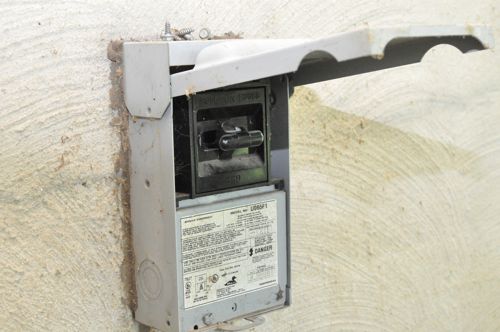
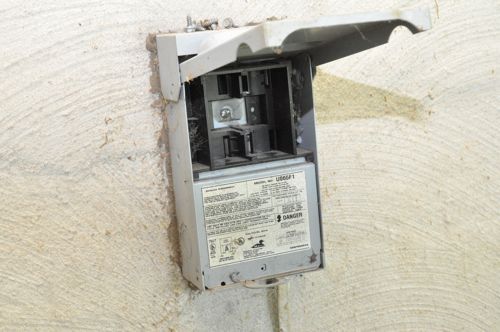

Chuck checked the fuse by setting the multimeter to the ohm function and touching the probes to either side of the fuse. A good fuse will read zero (or about that) resistance, and a bad fuse will read infinity or OL on some multimeters. He did the same for the fuse box and found both were functional.
Step 3: Check Freon Levels
The next diagnostic Chuck performed was a coolant pressure check to look for any leaks. He connected a pressure gauge to the high-pressure and low-pressure lines.
Pro-Talk: The small diameter line is called the high-pressure or liquid line, and the large diameter, insulated line is called the low-pressure or suction line.
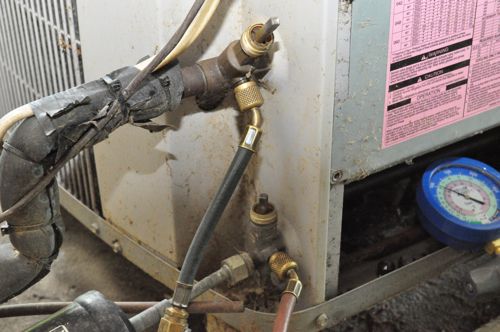
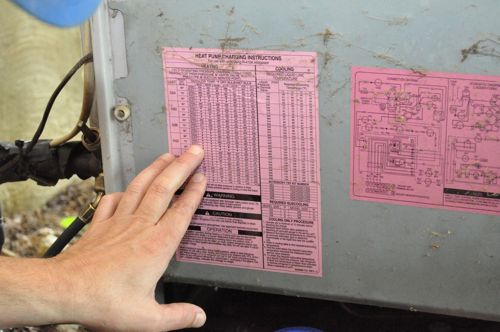
Next, he compared the readings to the pressure charging table found on the side of the unit.
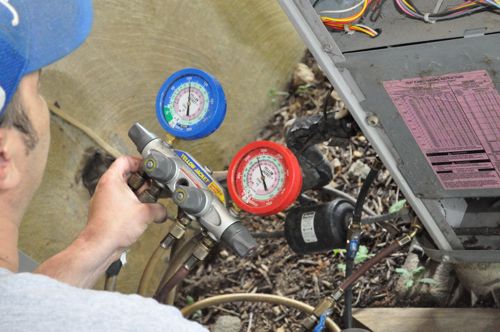
Chuck found that all the readings were within the normal range.
Step 4: Check High-Pressure Line Temperature
The next step was to check the high-pressure line temperature and compare that to another chart. He placed his temperature probe along the high-pressure line and wrapped it with an insulated tape. Chuck found the temperature was within range too.
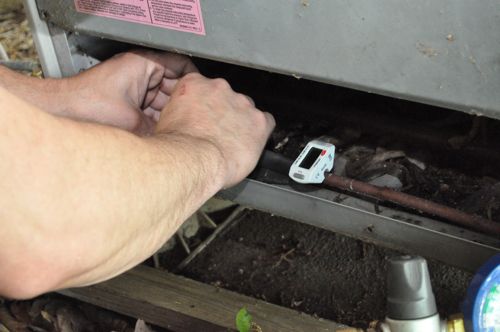
Pro-Tip: The new freon, R410A, is actually composed of three different types of freon.
Step 5: Check Air Temperature Change
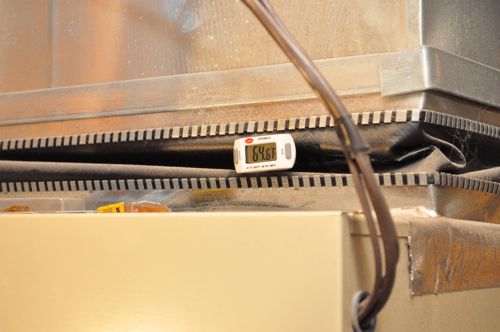
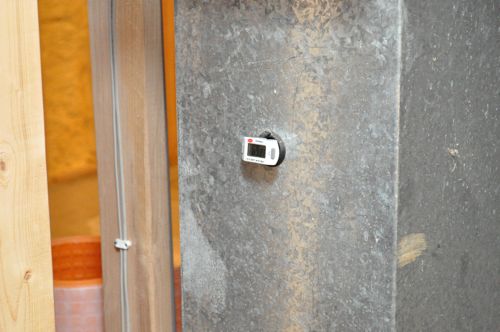
Back inside, Chuck measured the temperature of the air after the coil and the temperature of the air in the return, and ideally the difference should be 18° (16° – 20° is acceptable). He found this temperature difference was 17°.
Pro-Tip: You can check these temperatures with a simple, digital cooking thermometer.
Step 6: Check HVAC Drain Line
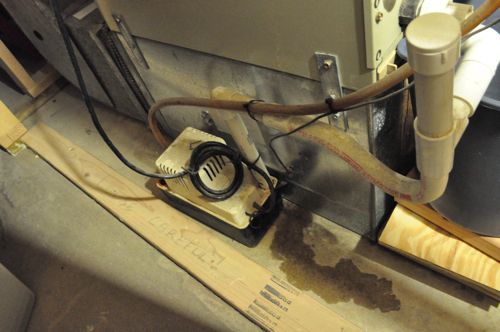
The last thing Chuck examined was the HVAC drain line to make sure it wasn’t clogged and that the trap wasn’t too large (inhibiting drainage). While a little nasty, he found it working properly.
Pro-Tip: During the winter months, water in the drain line can stagnate and create a blockage. That’s why it’s recommended to pour a little bleach through the line.
Pro-Tip: In some areas, an emergency drain line is required, and if you ever see your HVAC draining through the emergency line, you know there’s a problem with the primary drain.
Pro-Tip: Some drain lines feature a float that will automatically shut off the unit should the drain line get backed up.
The Problem and Solution
Ultimately, the dirty air filter was the culprit, and after changing it out, the HVAC system functioned properly. It doesn’t seem like such a mundane thing could be the source of the problem, and hopefully this is a reminder of how important simple maintenance can be.
OnTime Air Filters is a subscription service that delivers replacement air filters. All you have to do is pick your air filter type and how often you’d like them to ship. When OnTime sends a new filter, that signals it’s time to replace the old one. Find out more at the OnTime Air Filters website.


Good to know, so the moral of the story is, change the filter before calling anyone… I guess that’s the HVAC equivalent of “is the computer turned on and plugged in?” 🙂
Seems like these few steps are a great way to do some easy troubleshooting, and this is where I’ll start if I ever bump into problems.
All that work for a filter to be changed? Wow. I guess thats the first thing you should check. Did you hear there are shortages on Freon?
http://blog.benmaines.com/2012/05/08/freon-shortages/
It always amazes me when you find a seemingly complex problem is solved by one of the most basic repairs.
Nice piece & great to see him going through all the checks.
I do have one word of warning though on the first “pro tip” on changing to pleated filters for allergens. While the unit should be designed to handle & use these filters, many are not. This can cause an issue with static pressure or the unit being able to get enough air and it freezing up or playing like this one did with the dirty filter.
As long as the technician has a manometer on him, it is a relatively quick check to see if the unit is operating within norms or if you might need to have some duct work completed in order to use said filter.
Along the allergens front, it would be wise to have the ducts tested for leakiness via a pressure test & then have the static pressure checked again. http://alagbs.com/duct-testing-faq
Great addition Sean! Is it the case that most newer unit are designed to handle pleated filters?
It depends – while HVAC contractors are supposed to do a Manual J, S, T & D – most don’t (Load – Unit size based on load – choosing duct – designing duct to handle needed load per room, returns & add ons)
Many contractors also do not check the static pressure even though it is in all the manufacturers installation directions that I have seen. Now I know there are some of them that do all this (and this does vary in some areas depending on AHJ, etc…), but in general most don’t
If you are considering getting a new unit installed or building a new house you may wish to look for an ENERGY STAR installer (Right now this cert is only through the ACCA) or one that will follow those steps & of course have a pressure test done
I always recommend that people not wait until the extreme hot/cold weather arrives to run their AC or heat. If you encounter an unseasonably warm or cool day a few weeks or months before summer/winter, it’s a good opportunity to test these systems. If you find a problem, you have a few weeks to save $$ and shop around for the best deal instead of being at the mercy of the repairman.
That reminds me of when my AC unit wouldn’t work after moving the register during my basement finishing project. My builder had put the register in the dining room, which didn’t make any sense to me, so I moved it to a central location next to the alarm intercom while I still had access to everything from below in the basement. When I went to use the AC for the first time, no cold air, although the digital register was sending the signal. Some digging around in the unit and research online revealed a blown 5 amp fuse, which blew because I forgot to disconnect the power to the unit when I cut the wire to shorten it. A quick trip to the car store and some spare change for a new fuse beat the heck out of a service call.
My office was having problems with the our unit over cooling some of the rooms. It would run and run and freeze me out. Lots of diagnostic tests were run, and finally one guy realized there was a computer directly under the thermostat that was putting off heat and so the unit thought it was always too warm in the office. Another easy fix that was easily preventable!
The same can happen with lights, especially the old incandescent bulbs. It’s less of a problem with CFL’s and not a problem at all with LED’s.
I’m especially glad to know the bit about the drain valves. We had excessive drainange and a float that kept tripping causing our unit to shut off. I’m going to have to investigate the emergency drain after hearing that they exist. Thanks for the good walkthrough.
Not all units have the emergency drain connected, and I’d be curious why the float keeps getting tripped. Have you run bleach through your drain recently?
Hi:
Two questions:
(1) Any thoughts on products like Cal-Spray evap foam no rinse to clean the cooling coils, good or bad idea? Seems safer than brushing the coils and possibly causing damage.
(2) Occasional musty/metallic odor from air vents, usually when the central heater is running but not when A/C is running. Possible causes/remedies?
Thanks.
Hi CJ,
Let me round back with Chuck to get his take on these questions. Thanks for the comment.
Thank you for explaining that if the HVAC is draining through an emergency drain it means there is something wrong with the primary drain. I’ve started to notice that my AC isn’t cooling as it used to and I’m not sure why. I’ll check the drains but I think the best idea would be to get a professional to take a look.
Thanks for explaining how to diagnose a broken air conditioning system. We recently moved to an old house and the A/C doesn’t work. My husband was thinking about fixing it himself but in my opinion, it would be better to get a professional to do it.