
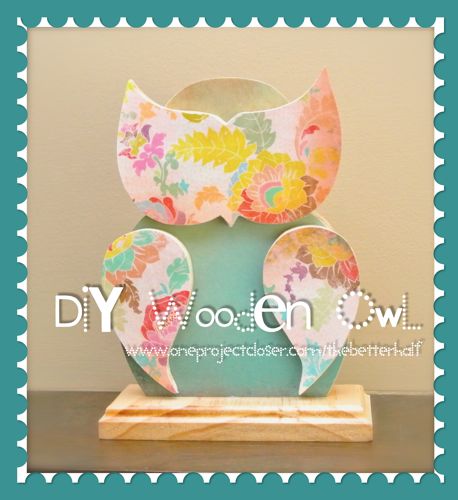
Don’t worry moms, there are no naked owls in this post! Only exciting and titilating crafting verbage and detailed tutorials! hahaha

I’ve been doing a lot lately with my homemade Mod Podge and woodworking, but most of it has been child oriented. I wanted to do another project that was for adults but classy and colorful. My cousin, Beth loves owls, and so eventhough I did wooden owls as a baby gift, I decided to upgrade the same concept. Beth – If you’re reading this, I have fallen in love with the owl and I may not give it to you. But, its the thought that counts, right?
Make sure and read to the end, cause here’s the exciting part…we are adding a kit to our Project Rewards so you to make one too! Don’t worry, read along for a detailed tutorial on making your own.
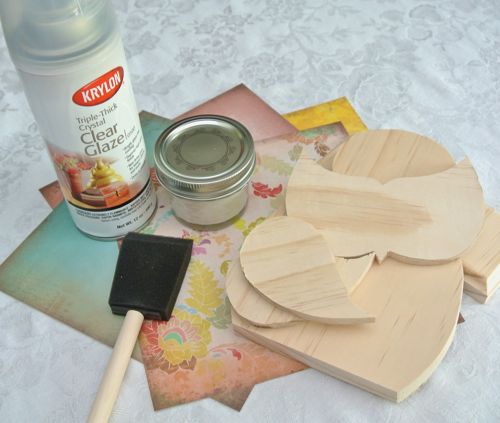
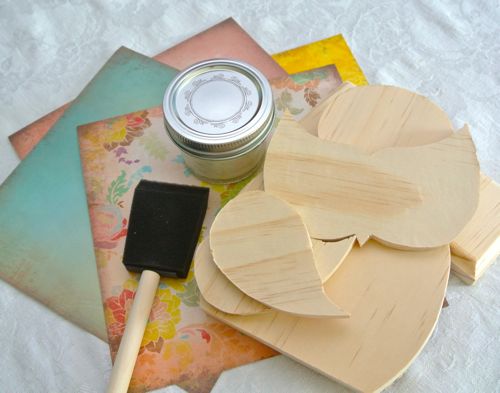
Materials and Tools Needed:
- Solid wood (we used Birch)
- Scrapbook paper or cardstock
- Mod Podge or Elmer’s Glue
- Jigsaw
- Sandpaper
- Pen blade or VERY sharp knife
- Sponge brush
- Clear lacquer
Step 1: Print and cut out Stencils
We made stencils for the owls, wings, and eyes, so all you need to do is print them out and cut them! When you print, you can adjust the scale of the image for a bigger or smaller owl.
Click for full size image
Step 2: Trace the Owl, Eyes, and Wings
Trace the owl, eyes, and wings onto the wood. We used solid 3/4″ Birch for the owl body, but you can choose thinner or thicker wood depending on the look you want. The wood we used worked really well to create a heavier owl that sits well on shelves. However, a thinner owl would go great above a door frame. Whatever wood you choose, make sure it is decent quality and can be sanded to look pretty (don’t go for the cheapo plywood). I also wanted a thinner wood for the eyes and wings, but Ethan couldn’t find a thinner, good quality wood, so he actually cut the 3/4″ birch in half! He is so a-mah-zing!
Step 3: Cut and Sand!
Cut out the shapes using a jigsaw. Use a fresh blade and go slow, cutting away tiny pieces to make it easier. Be sure and wear gloves and eye wear for protection!
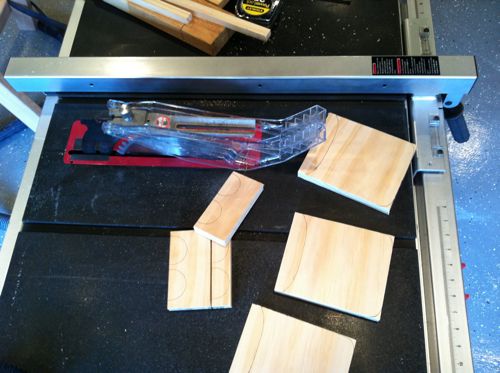
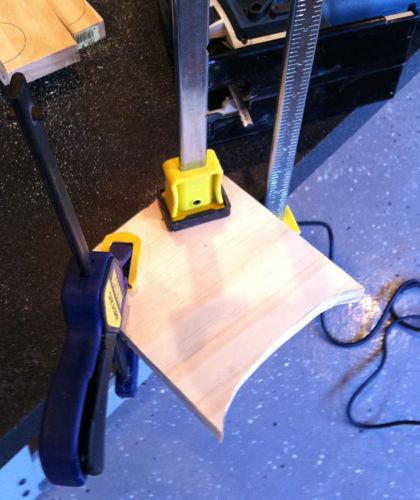
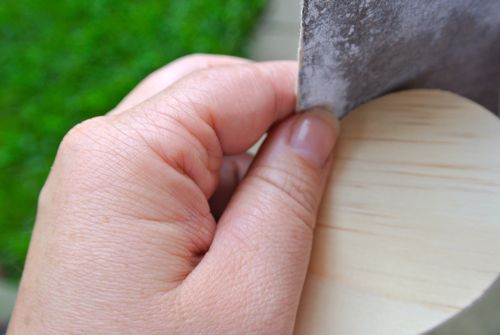
I hand-sanded the owls and feet, first starting with a coarse sandpaper then using a fine paper to create more polish. You can also use an electric sander, but be careful and wear gloves so you don’t sand off you hands. After sanding, wipe the wood down with a damp cloth to remove any sawdust.
Step 4: Cut the Paper
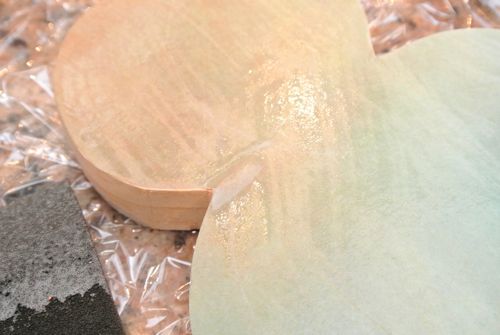
Choosing your paper is really what makes these owls unique! Patterns and shapes can create a lot of interest and define the style of the owl. I love this scrapbook paper with the vintage feel and bold patterns! Also, when choosing your paper, scrapbook paper comes in lots of cool patterns, but cardstock is easier to apply to the wood without air bubbles forming. Check out this bubble that was fortunately covered by the owl eyes.
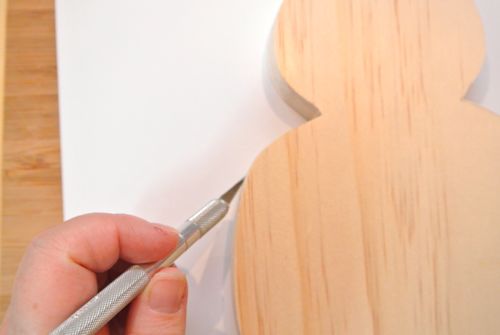
On a cutting board (or an old magazine if you don’t have anything else), place the owl face down on your scrapbook paper or cardstock and trace the outside edge of the owl with the Pen blade or knife. Apply a good amount of pressure as you go, otherwise you may need to re-trace the owl. Ideally, you will completely cut the paper to the exact size of the owl. It is important to do this with each piece because even though you used a stencil, each piece will be slightly different, and you want your paper to be the exact size of the owl or piece you are tracing. I originally tried tracing on the paper with a pen and then cutting it out, but it was not precise enough.
Step 5: Mod Podge!
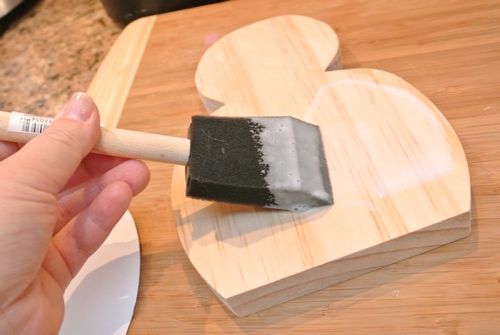
This was the fun and quick part for me. Using Mod Podge (see here how to make your own Mod Podge for CHEAP) and a sponge brush, apply a decent coat to the front of the wooden owl.
Then, place the scrapbook paper on the owl starting on a corner and slowly pressing down while working your way across the owl. Press down the paper, even moving it around a bit to make sure the entire surface between the wood and paper is coated in Mod Podge and to ensure there are no air bubbles.
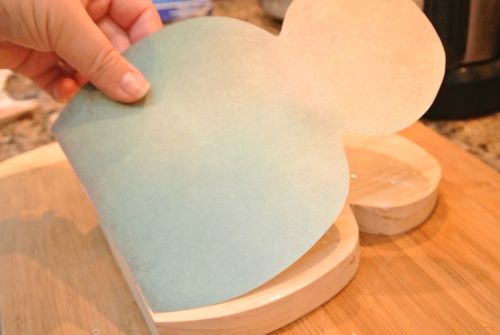
Apply another coat of Mod Podge on top of the paper. Again, check for air bubbles. You may need to use a hard, flat surface (Pampered Chef scrapers are great for this) to run along the owl to push out any bubbles. Apply two coats of Mod Podge in total, allowing it to dry in between coats.
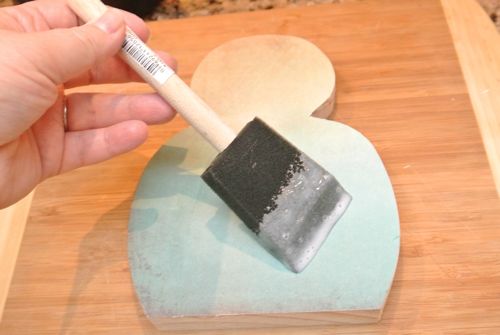
Use this same process for the owl wings and eyes.
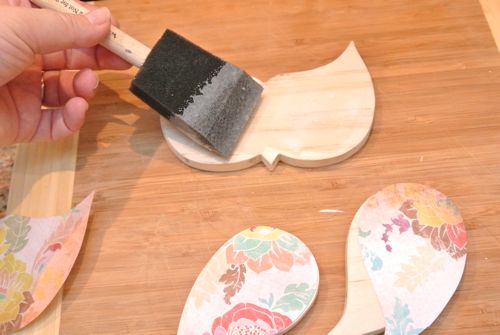
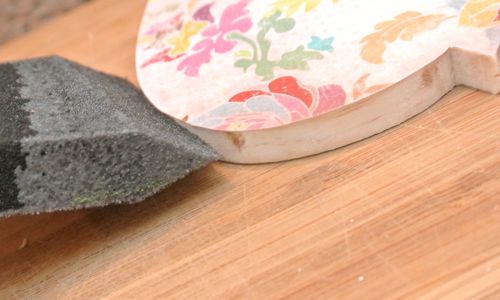
Be sure to also Mod Podge the sides of the wood. If you don’t the wood will appear uneven in color once you apply the glaze.
Step 6: Glue the Eyes and Wings
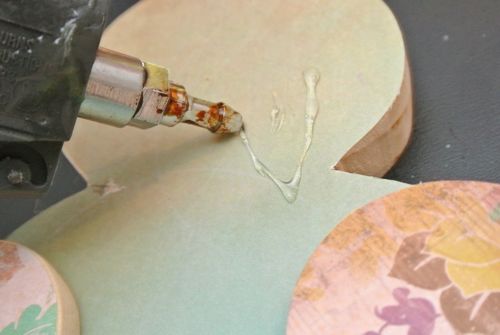
Since these are really just decorative pieces, I used hot glue (one of my favorite craft go-to’s) to affix the eyes and wings to the owl. Press down REALLy hard and wipe any excess glue that seeps out while the glue is still warm.
Step 7: Glue the Owl to the Base
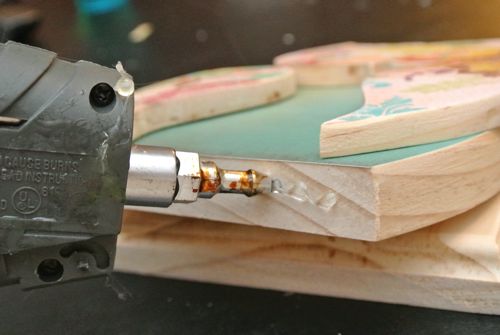
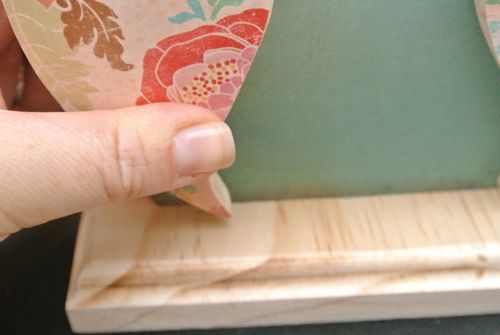
Apply a long, thin bead of hot glue down the center of the bottom of the owl and firmly place it on the top of the wooden base. I eye-balled it to center it, but you can also use a tape measure and pencil. Wipe any hot glue that seeps out while its still warm. I figured hot glue would the adequate for the job since it is a decorative piece that will be sitting on a shelf. If your owl will see more action, screw the owl on from the bottom of the base.
Step 8: John Hancock it up!
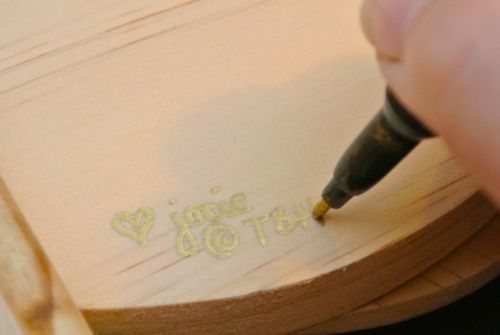
Sign the heck out of your owl because trust me, you will want to take credit for this! I used a paint pen, but if you’re desperate you can also use a sharpie.
Step 8: Spray a Finishing Lacquer
Mod Podge leaves a matte finish on the owls, so I used a crafting Finishing Glaze to seal the owl and create a slight sheen and a much more polished look. As with most spray paint and lacquers, it is best to apply 2 -3 thin coats in a well-ventilated area.
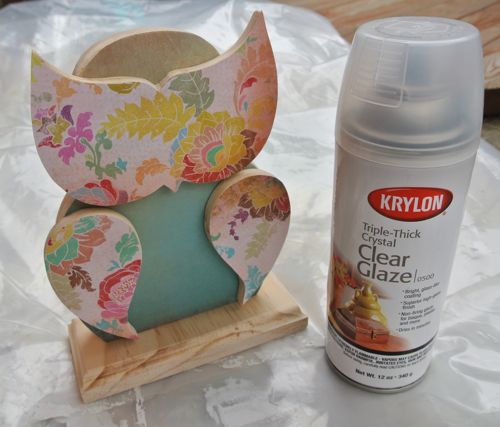
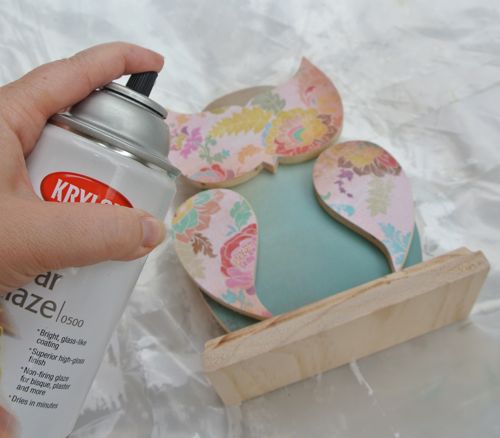
Finished!
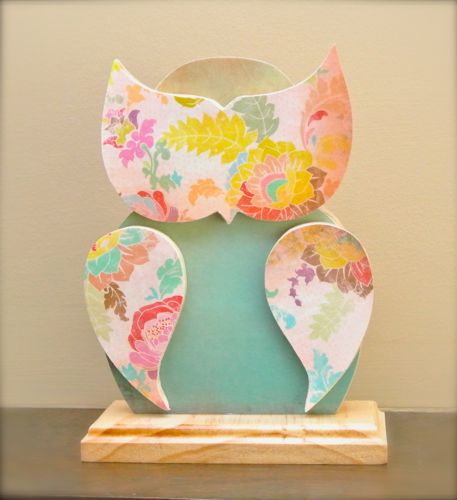
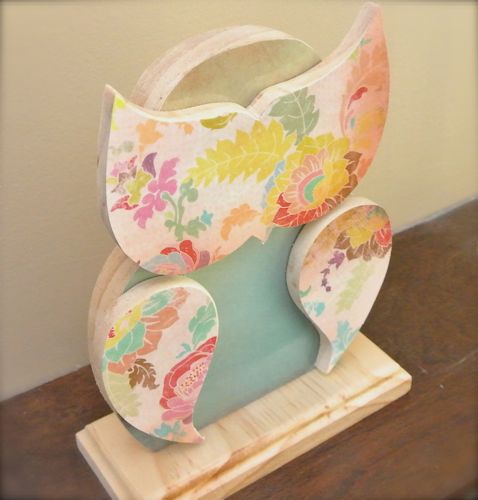
THE BEST PART…
If you don’t have all these wood working tools at home, check out our Project Rewards section to bid on a kit for making one of these awesome owls! If you haven’t heard, Project Rewards is super simple and FREE! Create an account with our site and every time you log in (once per day) and comment on our site you will earn points. You can use these points to bid on tools, gift cards, and now wooden owl kits!
Question: Where would you put your owl?
As Always, thanks for reading!

Don’t forget to check out our weekly Link-up Parties on Fridays, where you can submit your own DIY projects and crafts!
We linked up this post at: Home Stories A2Z, The DIY Dreamer




I love this owl- cannot wait to make one!
Pinning her too!
Hugs, Jen @ f5
Hey Jen,
So glad you like it. When I finished this post last night I forgot to include how to get an owl kit from our Project Rewards to make your own. Just updated it! 🙂
I just saw the kit for this in the rewards center and I love it! Maybe you should think about selling more kits for those that don’t win the one you have available. Just a thought.
don’t worry, i’m sure we can make that happen. eventually we will put ones in there for the other wood working projects. if there has been one in particular on The Better Half or OPC that you want, let us know and we’ll try to put it in the Rewards Center. 🙂
Thanks Jocie. I was thinking of others though. We have a wood working shop in our basement.
Ha ha! I love the censor lines! SOOO – you are making me an owl fan! I love this!!! I think it would be cute with a nice sparrow silhouette .. Have you thought about doing a train or car for a little boy’s room?
We can put it on the to-do list, for sure! 🙂 any specific requests, say for a certain little boy’s room?
Pretty cool project. What would you guess the minimum age for a child to be able to handle this and stay interested in long enough to finish it?
It really would depend on the child though with my experience working with elementary age children I’d say first grade or older. (I used to teach reading and also did crafts at each birthday party for our daughter.) There will be some younger children that will enjoy doing a project like this, but you may have to do it in stages. Our four year old grandson does crafts and really enjoys them, but if the projects take more than a half hour he’s off to something else.
I agree with Just Me. Depends on the child. I also think pretty much any kid above 3 could do the Mod Podging, but I would leave the Exacto cutting to the adults. 🙂
That’s how old Owen was when he started crafting. Three.
Any idea how durable mod podge crafts are? I have an idea for a calendar I’d like my kids to use on a daily basis. I thought I might mod podge it, but never having done this before, I’m concerned the paper might peel up after repeated use. Thoughts?
pretty durable, especially if you finish it with a lacquer to protect the paper. i say go for it. I have thought about doing something similar with a calendar with chores, seasons, activities, etc. let me know what you decide and how it goes! 🙂
so stinking cute! little man’s room is woodlad themed and has owls galore!
Takes me back to memories of an eccentric landlady who had a fascination with owls. She had MANY keychains made, with a plastic owl,the words, ” We Give a Hoot”. Have to admit it was fun listening to the owls in her large oak trees. If she was alive today, I’d make her one of these! Nice job!