
Thanks for sticking with us during my blog-silence over the holidays. It was a wonderful time for us as a family and I’m hoping you were filled with the same peace and joy!
I’m loving the deer craze these days and am happy to be swept up by it, but, boy is it expensive! So, when my cousin called craft night I decided to do my own DIY deer head art. Its going to be part of a gallery wall as I continue to work on it, so be sure to check back.
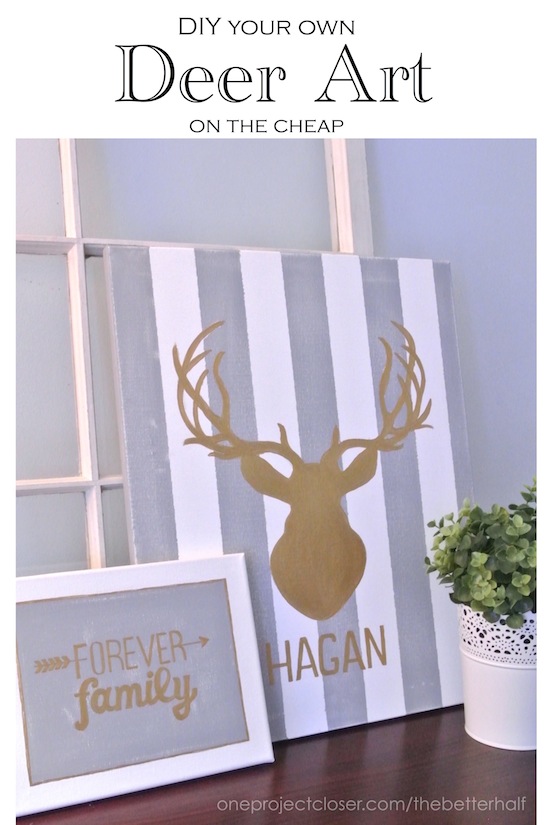
If you’ve seen some of my other art, you know I’m pretty comfortable free handing off of a design. But I recently picked up a little trick that makes it quicker than free-handing, so don’t be scared off – keep reading. 🙂
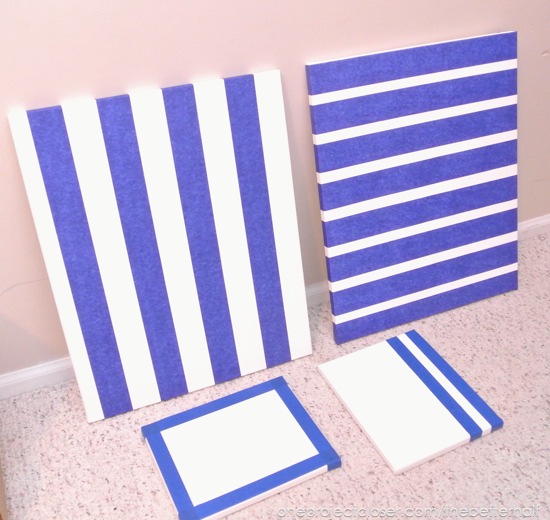
First, I used some blank canvases I had laying around and taped them off using painter’s tape.
Then, I painted them medium, slate gray. Don’t be jealous of my wicked cool Cabbage Patch sheets.
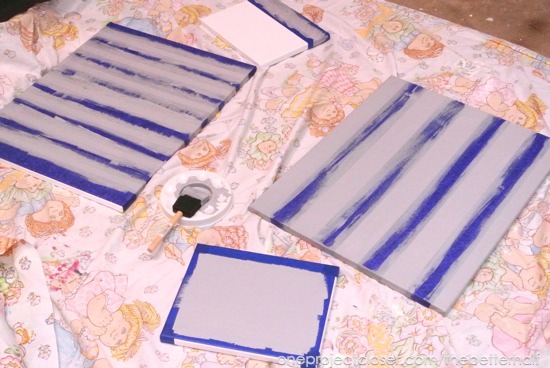
Once dry, I peeled the tape and distressed them using a medium grit sanding block. I’m sure the real artists out there are gasping in disgust, but I wanted a softer, wood-like appearance so I sanded it. It actually turned out so much better than I expected. I mean, of course, I knew it would be awesome.
Then, I printed out some designs using my most favoritest app ever, Rhonna Designs. Seriously, go buy it! Really though, you can google any image and print it out. Then, using carbon paper faced down on the canvas, trace the image, then paint it.

And that’s it. That easy. Not special skills needed, just a little time and maybe wine. heehee
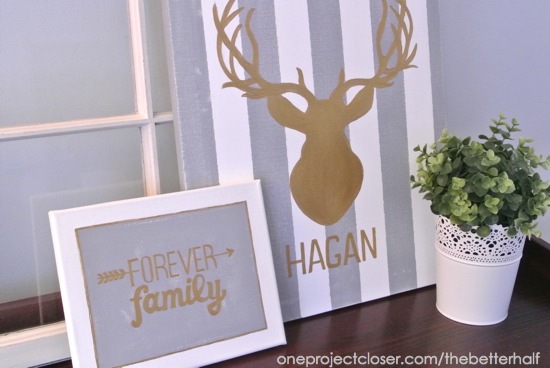
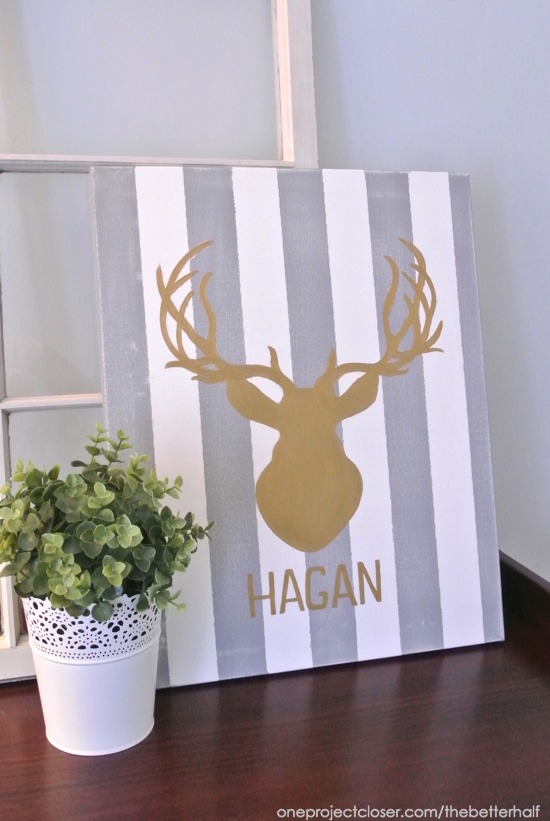
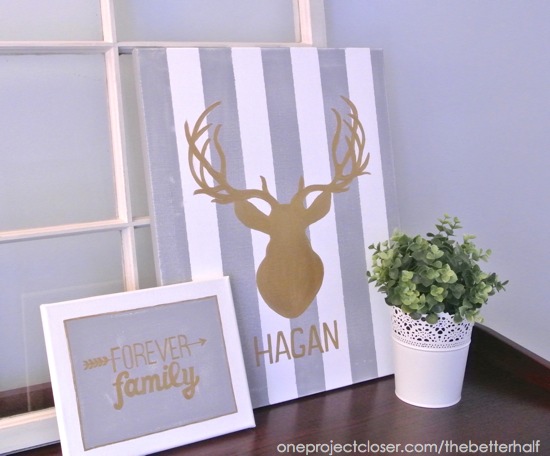
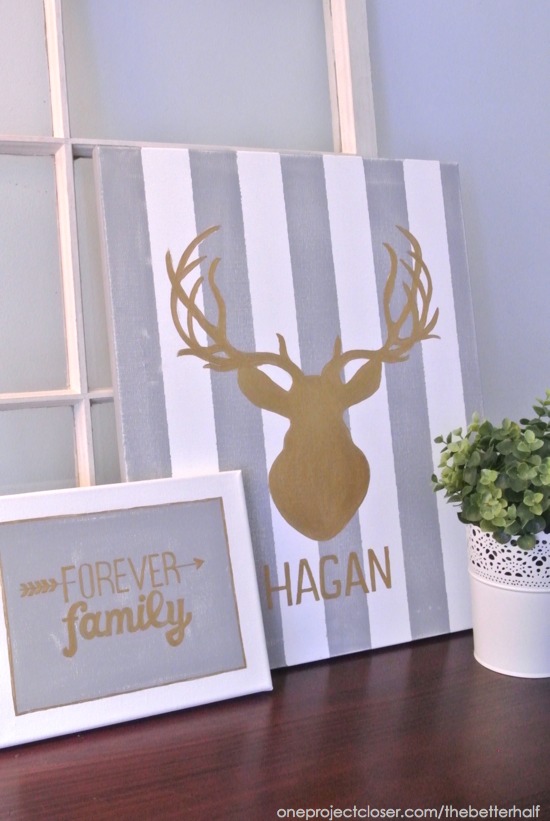
What do you think? How do you Deer DIY on the cheap?
As always, thanks for reading along with us on this easy DIY deer head art!


You are brilliant, and this is seriously awesome! Yes, love deer everything and I have to check out this app, thank you Jocie!
xo, Tanya
Beautiful! Love the colors and the design!
Why oh WHY can’t I live closer! This is on my absolute must make list – pinned!
LOVE your deer, Jocie! Stripes are awesome, yo.
That is so cool! It looks awesome Jocie!