
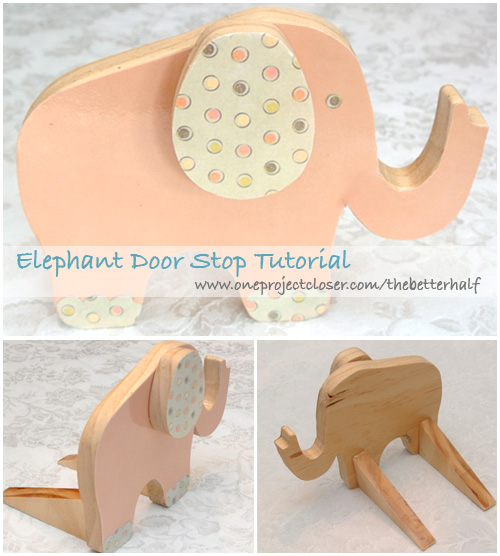
We have been very fortunate to have the BEST next door neighbors (which is extra important when you share a wall in a townhouse community)! Our neighbors, Justin and Jeanine, have always been very thoughtful – sharing toys, hanging out with the kids, and even shoveling our sidewalk when we cam home from the hospital with Lucy. They have a daughter Izzie’s age and they had a second daughter last week. So, I really wanted to make something special to celebrate thier new baby since they have been so good to us. When I wrote about the Wooden Owls I made for another friend, one of our loyal readers, JustMe, suggested that we make a door stop using the same idea.
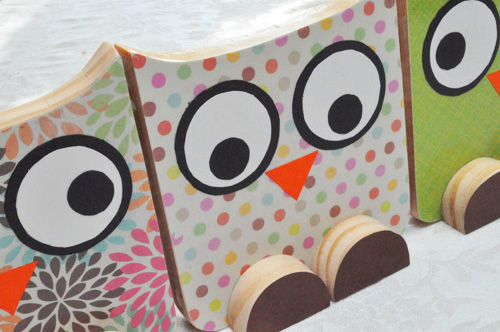
It ended up being an even quicker and easier project because I was only making one elephant instead of three owls. It was a great project using supplies we already had on hand and scrap wood.
Materials and Tools Needed:
- Solid wood (we used Oak)
- Scrapbook paper or cardstock
- Mod Podge or Elmer’s Glue
- Jigsaw
- Sandpaper
- Pen blade or VERY sharp knife
- Sponge brush
- Wood Glue
- 1/4′ Wooden Dowel Pins
- Clear lacquer
Step 1: Print and cut out Stencils
I free-handed this design looking at other baby elephant art online. To make things a little easier for you, we made stencils for the elephant body, and ear, so all you need to do is print them out and cut them! Click on the image and save it to your computer.
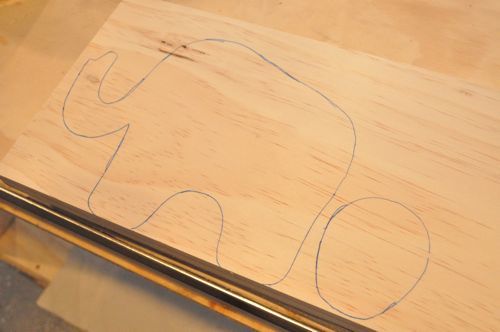
Step 2: Trace the Elephant, Ear, and Door Stop
Trace the elephant, its ear, and the two door stops onto wood. We used solid 3/4″ Oak, but you can choose thinner or thicker wood depending on the look you want. I really liked this wood – it made for a study elephant that is sure to be occasionally kicked and beat up since it will be sitting on the floor. Whatever wood you choose, make sure it is decent quality and can be sanded to look pretty (don’t go for the cheapo plywood).
Step 3: Cut and Sand!
Cut out the shapes using a jigsaw. Use a fresh blade and go slow, cutting away tiny pieces to make it easier. Be sure and wear gloves and eye wear for protection!
When sanding, first start with a coarse sandpaper then use a fine paper to create more polish. You can also use an electric sander, but be careful and wear gloves so you don’t sand off you hands. I liked sanding using loose sandpaper because it allowed me to get in the grooves of the trunk and in between the elephant legs.
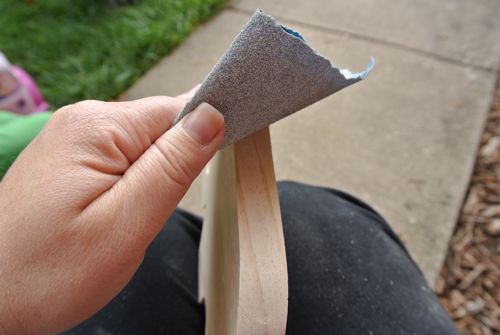
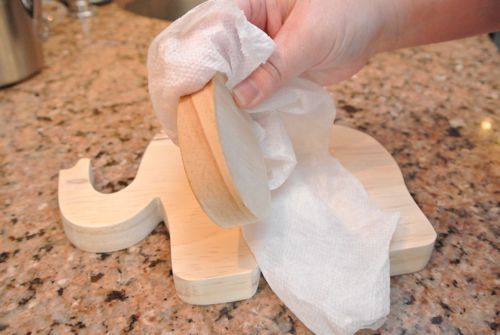
After sanding, wipe the wood down with a damp cloth to remove any sawdust.
Step 4: Cut the Paper
Choosing your paper is really what makes your elephant unique! Patterns and shapes create a lot of interest but be careful not to use too large or busy of a print or it will detract from the elephant. Using pastels will create more of a child-like feel, but darker colors and metallics will make them more appropriate for adult decor. Also, scrapbook paper comes in lots of cool patterns, but cardstock is easier to apply to the wood without air bubbles forming. I chose a more muted, pastel pattern because I was unsure of the decor in the baby’s nursery. I wanted to choose colors and patterns that would not clash or detract the already existing decor. I eneded up with a very classic baby elephant, and if I had to do it over, I may have chosen more bold colors to create a more dynamic piece.
On a cutting board (or an old magazine if you don’t have anything else), place the elephant face down on your scrapbook paper or cardstock and trace the outside edge of the elephant with the Pen blade or knife. If your paper is two-sided, make sure the desired print is fac down also. Apply a good amount of pressure as you go, otherwise you may need to re-trace the shape. Ideally, you will completely cut the paper to the exact size of the elephant. If doing multiple elephants, it is important to do this with each individual shape because even though you used a stencil, each piece will be slightly different, and you want your paper to be the exact size.
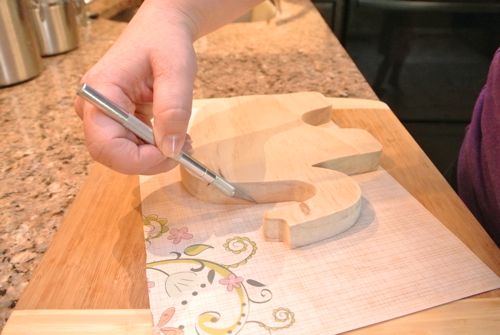
A few tips I learnd on this project…. First, it is preferable to use paper that is one color all the way through. My two-sided paper frayed when cutting the trunk and was very obvious because you could see the underlying white paper beneath the pink. I ended up re-cutting just the trunk because the imperfections drove me crazy! lol! Second tip – I used a fresh pen blade on this project which was nice because it cut my paper quickly, but also if I was not careful it also shaved off some of the wood. whoops! It was really an art keeping the blade flush with the wood to cut the paper and not the wood, especially around turns.
Step 5: Mod Podge the Paper to the Elephant and Ear
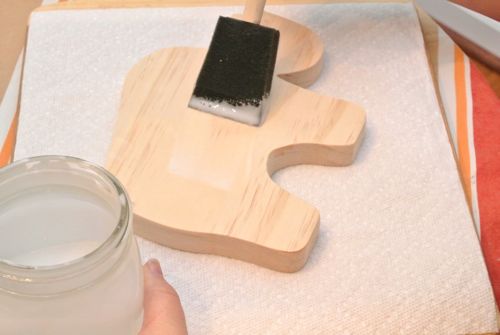
This was the fun and quick part for me. Using Mod Podge and a sponge brush, apply a generous coat to the front of the elephant. A thick coat of mod podge will help prevent air bubbles from forming. See here how to make your own MOD PODGE for cheap.
Then, place the scrapbook paper face up on the elephant, starting on a corner and slowly pressing down while working your way across the owl. Press down the paper, even moving it around a bit to make sure the entire surface between the wood and paper is coated in Mod Podge and to ensure there are no air bubbles.
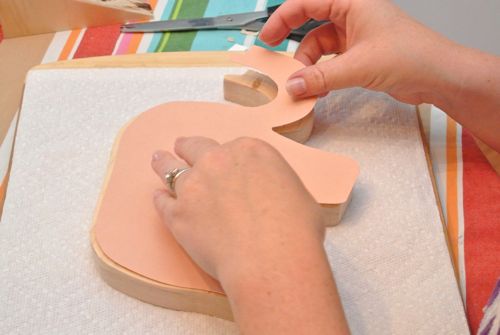
Apply another coat of Mod Podge on top of the paper, paying extra attention to the edges. Again, check for air bubbles. You may need to use a hard, flat surface (Pampered Chef scrapers are great for this) to run along the elephant to push out any bubbles. Apply two coats of Mod Podge in total, allowing it to dry in between coats.
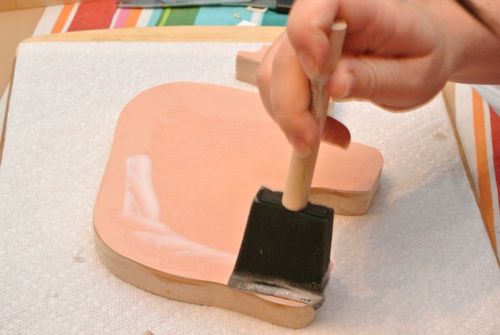
Also apply a coat of mod podge around the exterior edges of the elephant. This helps the edges to look uniform when you spray laquer at the end.
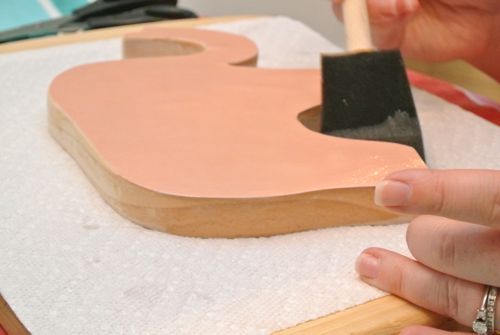
Use this same process for the elephant ear.
Step 6: Glue the ear
Since this are really just a decorative piece, I used Elmer’s Glue to affix the ear to the elephant. If you are more in a hurry, hot glue will work just as well.
Step 7: Mod Podge the Eye and Feet
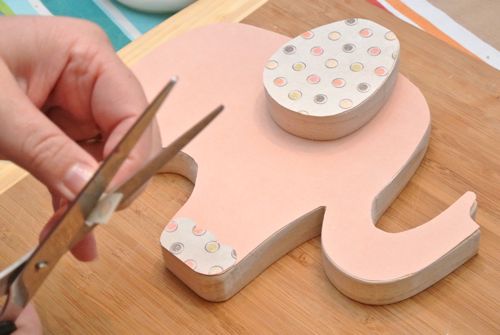
I purposefully glued the ear first so that you can space the eye correctly in relation to the ear. Once the ear is dry, place the eye on the elephant and figure out the spacing before you glue. For the eye, I cut out one of the polka dots from the paper I used for the ear and feet. You can really use anything, even a standard hole punch to create an eye. Mod Podge the the eye and the feet to the elephant using two thin coats and dabbing the brush rather than wiping. This is important because if you use a darker colored paper the ink from the paper can run onto the elephat, so be careful and make sure to let your Mod Podge completely dry in between coats.
Step 8: Affix Door Stop
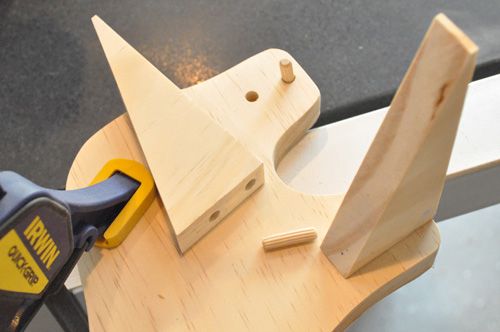
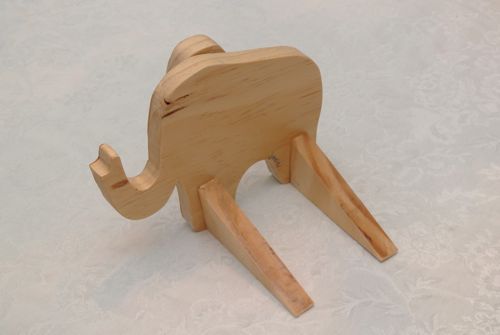
I purposefully waited until after Mod Podging all the paper to affix the door stop because I wanted to be able to work with the elephant laying flat. Also, I chose to have two door stops, one on each elephant foot, but you really only need one. If you use the stencil for the owls, you would only need door stop.
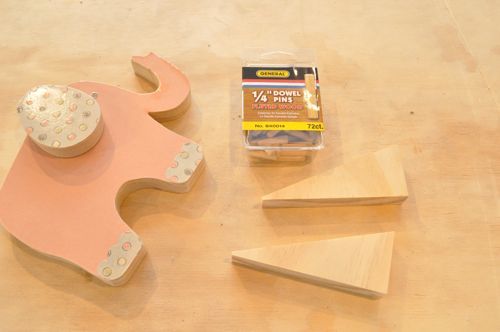
Drill a hole in both the door stop and elephant using a 1/4″ brad-point drill bit, making sure your holes line up. Put a small bit of wood glue in each hole, the insert the dowel pin into one side, then attaching the other. This is the ideal way to attach the door stop bcause it can be done after mod podging, but it is kinda tricky. Another alternative would be screwing the door stop into place prior to mod podging the paper and them using cardstock paper to cover the screw heads.
Step 9: Spray a Finishing Glaze
Mod Podge leaves a matte finish on the elephant, so I used a crafting Finishing Lacquer to seal the it and create a slight sheen and a much more polished look. This is particularly imprtant since it will be sitting on the floor and may need to be wiped clean from time to time. Remember to sign the back of your elephant or write a personalized message on the back before spraying the lacquer. As with most spray paint and lacquers, it is best to apply 2 -3 thin coats in a well-ventilated area.
Finished!
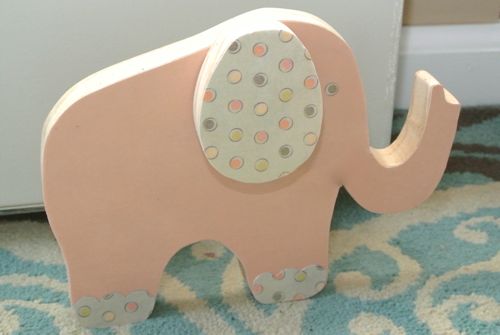
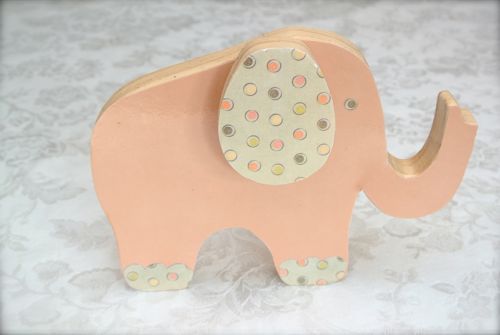
What do you think? What animal should we make next?
As Always, thanks for reading!
Don’t forget to check out our weekly Link-up Parties every Friday, where you can submit your own DIY projects and crafts!


Super Cute…the possibilities are endless, especially if the nursery is done in a jungle or zoo theme!
adorable… i cannot wait to make some for the holidays too!
How did you measure the door stops? And about how tall and wide is it? I’m going to try to make this for my sister for Christmas. She loves elephants