
I hope everyone had a great holiday! I took a brief hiatus between Christmas and New Years, and now it’s back to the grind (literally). Today’s article is about the Drill Doctor 500X which uses a diamond sharpening wheel to give drill bits new life.
Drill Doctor offered us the opportunity to use their 500X model, and over the holidays, I put it to the test. I wanted to know how easy it was to sharpen drill bits and if it was actually worth the time.
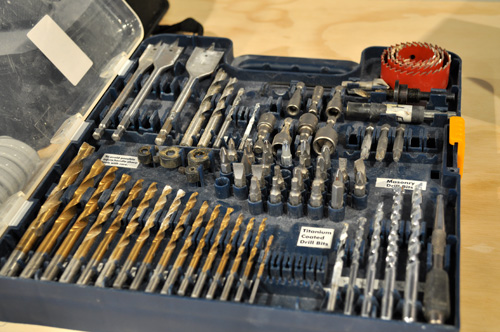
Drill Doctor 500X Review
How It Works
The Drill Doctor 500X is designed to sharpen twist bits ranging in size from 3/32″ to 1/2″. It works on High-speed Steel, Carbide, TiN-coated and Masonry bits. To understand how the 500X works, I think it’s important to quickly review the anatomy of a drill bit.
- Chisel Edge- the line across the point of the drill bit tip
- Cutting Edge- the leading sharp edges that scoop out material
- Flutes- funnel chips away from the hole
- Split Point- a tip modification that helps prevent the bit from “walking”
- Shank- part that is secured by the chuck
- Point Angle- the angle formed at the tip of the bit
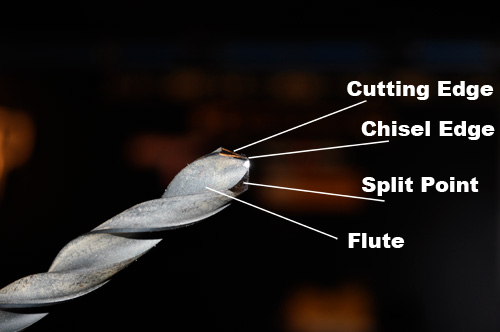
The Drill Doctor 500X works by precisely aligning the bit in a chuck, and then sharpening the chisel edge and cutting edge. Additionally, you can split the point with an optional, extra step. Sharpening drill bits is difficult because maintaining the exact geometry is crucial to the performance of the bit. Being able to consistently and accurately sharpen drill bits is what the Drill Doctor is all about.
Steps to Sharpen a Drill Bit
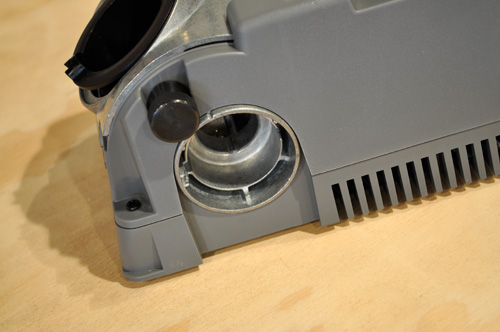
The 500X has three ports. In the picture below, the alignment port is on the left, the sharpening port is on the right, and the split point port is on the opposite side.
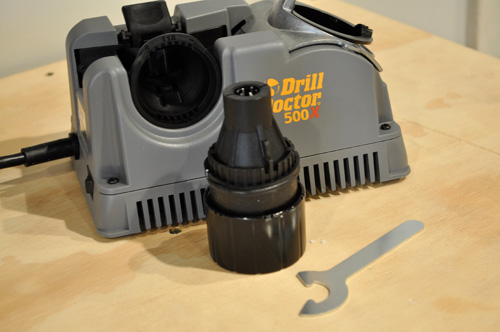
Step 1: Alignment
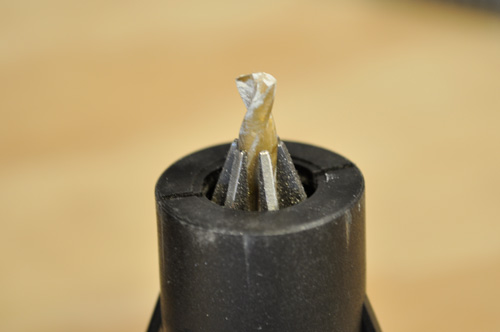
Aligning the bit is so important because it sets the distance that the bit extends out of the chuck and aligns the flutes so they will properly contact the diamond sharpening wheel in the sharpening and split point ports. Begin by inserting the drill bit into the chuck. Tighten the chuck until the drill bit can just barely slide in and out.
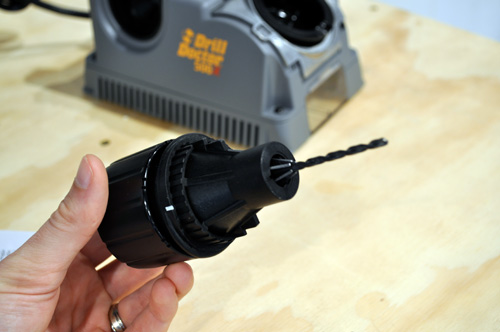
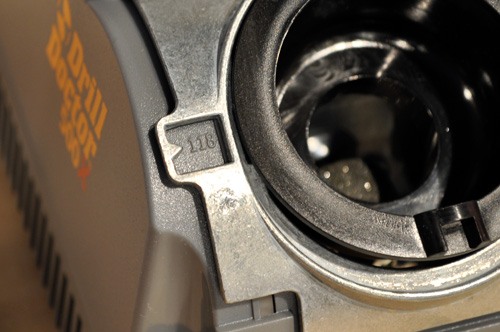
Press the alignment button (left) which will open two clamp arms. Slide the chuck into the alignment port, taking care to match up the chuck guide with the 118° notch on the port.
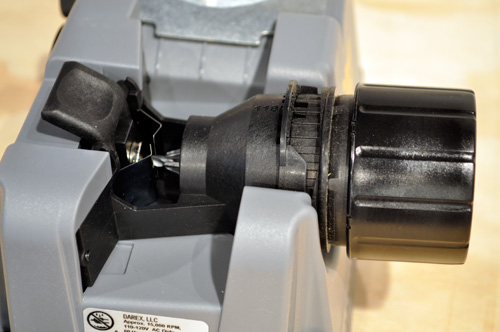
Make sure the drill bit tip rests against the drill stop, and release the alignment button. Rotate the bit until the clamp arms grasp the bit at it narrowest spot. Tighten up the chuck and remove from it from the alignment port.
Step 2: Sharpen
Set the point angle before inserting the chuck into the sharpening port. Most twist bits have a point angle of 118°, however bits designed for harder materials like stainless steel have a point angle of 135°. The Drill Doctor manual has pictures in the manual to help determine the bit angle.
To adjust the bit angle, loosen the knob on the right side of the sharpening point and slide the metal plate to either 118° or 135°.
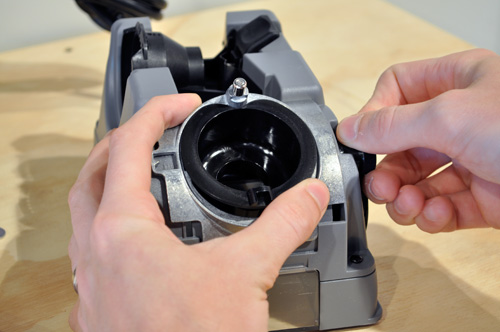
Flip the switch, and the diamond wheel will start spinning. Line up the cam guide with the sharpening guide and insert the chuck.
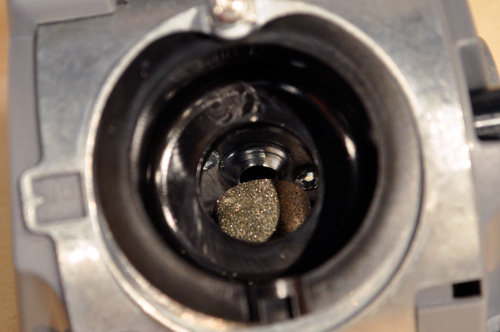
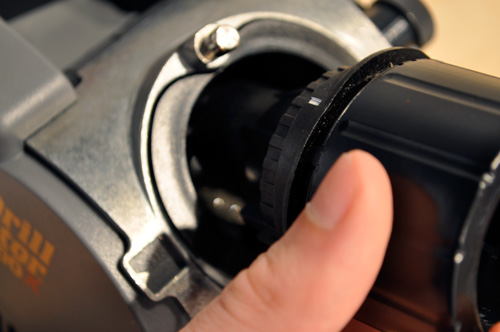
To sharpen the bit, rotate the chuck clockwise with a 1/2 turn. The oblong cam will move the bit in contact with the diamond wheel; only apply light pressure. The number of times you rotate the chuck depends on the bit size and how much material needs to be removed. Larger bits typically require 16 – 20 turns while smaller bits only need 2 – 4 turns. Be sure to turn the chuck an equal number of turns to sharpen both sides evenly.
Step 3: Splitting the Point
This optional step will help prevent the drill bit from “walking” which is especially useful on things like tempered steel and hard cast materials.
Adjacent to the sharpening port is the split point port. Before inserting the chuck, remove the grit tube attachment (not pictured) which helps reduce dust. With the diamond wheel spinning, line up the guides and press the chuck in slowly and firmly. Rotate the chuck a 1/2 turn and repeat.
My Thoughts on Operating the 500X
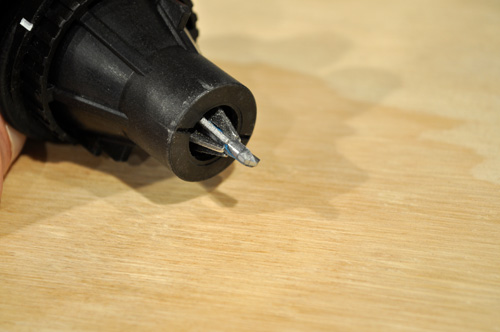
If these directions sound a little confusing, you’re not alone. It took me forever to sharpen the first bit because I was constantly referring back to the instructions and flipping around to find diagrams. I think the worst part is that Drill Doctor utilizes multiple guides (alignment guides on chuck, notch on alignment port, cam guide, splitting guide) and they all look different. At one point, I even stopped to watch a video to ensure I was matching everything correctly. After I learned the process, the next drill bit only took a few minutes.
There are a few additional steps for sharpening a masonry bit. The steps are not onerous, even though you have to use yet another guide- the masonry sharpening marks.
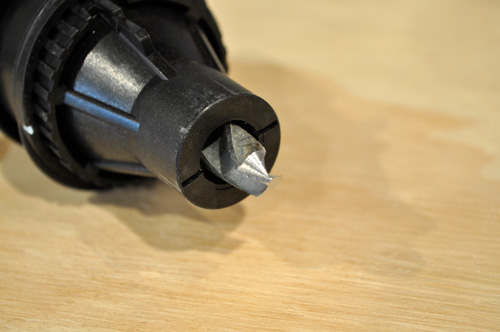
It’s handy to have an unused drill bit to act as a reference for what the end product should look like. It’ll help you identify if the chisel edge isn’t right or if the split point is under or overdone.
Performance
If you’re like me, you’ve got plenty of dull drill bits lying around. For some reason, I never throw them away. Luckily, they provided plenty of fodder to try out the Drill Doctor 500X.
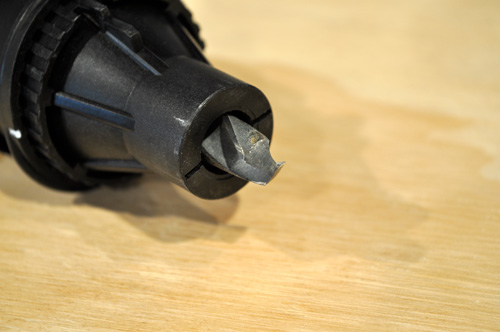
With a little practice, I feel that the 500X is a great option for sharpening bits. You can get consistent results and salvage those dull, dinged-up drill bits. It’s important to understand what a properly sharpened bit looks like so you can make minor tweaks (apply more or less pressure, ensure proper alignment, get a good split point).
I also found that smaller bits are tougher to sharpen as they are much more difficult to align.
Is It Worth It?
Dull drill bits move slower, can scorch or damage work materials, and are unsafe when you’re exerting extra pressure to finish the job. Since we understand the importance of using sharp bits, the million dollar question becomes, “Is it worth purchasing a Drill Doctor or just buying a new bit set?”
A quick check shows that Amazon offers the Drill Doctor 500X for $99.00. If you shop drill bits, you’ll see that bigger bits can cost significantly more than smaller bits. For that reason and the difficulty in sharpening smaller bits, I recommend purchasing the Drill Doctor for sharpening larger drill bits. If you find yourself moving through drill bits quickly, the Drill Doctor will more than pay for itself in no time.
Additional Capabilities
- User replaceable diamond sharpening wheel design for simple replacement
- User can adjust chisel and relief angles
- Cast aluminum point angle shuttle for added durability
- Sharpens both 118° and 135° point angles
- Increase capacity with optional ¾” chuck accessory (extra purchase)
- Can sharpen reverse-twist (left-hand) drill bits with optional accessory (extra purchase)


Happy New Year! Good post to start the year off. On an unrelated note, it seems the “notify me of followup comments via e-mail” option isn’t working correctly. As often as I check the box, I have yet to receive an email telling me of a repsonse to any comments I post.
Thanks for the heads-up about the “notify me….” We’ll check it out.
Well, I lose my bits so often I guess I’ll just keep buying them new! ha
This product sounds like a good thing for more responsible DIYers.
Hehe… responsible DIYers. Almost seems like an oxymoron.
How about the performance of the drill bits once they were sharpened? Did they work like new?
I did use a dull bit on some spare walnut, sharpened it and tried it again. After sharpening, I definitely noticed an improvement. I should have included that in the review…
I didn’t write on durability b/c a friend told me that he found the newly sharpened cutting edges didn’t last nearly as long as the original manufacturers edges. I haven’t had enough time to say either way. You have any experience with that?
Was that friend referring to coated bits perhaps? I would think hardened bits would hold their edge just as long unless they originally came with a micro bevel on the very edge of the cutting face (like on chisels).
Joe, I used one of the sharpened bits over the weekend and found that it “walked” a bit. I don’t think Ethan split-pointed the bit using that feature on the Drill Doctor, though. We’re going to take a second look at sharpening it and then try it again. If its tough to get right, I would be considerably less inclined to purchase this tool…
Really nice article. Looks like a really handy tool.
Too bad this didn’t come before Christmas. This would have been the perfect present for my FIL. He has a ton of dull bits, but still uses them. Maybe for Father’s day or his birthday.
Most of my drill bit needs call for the smaller ones. Thanks for helping me realize this isn’t something I need, as I was wondering about getting one.