
Eat, Pray, Love…Or Just EAT! I never read the book or saw the movie, but it is a cute saying. But in my kitchen, I simplified it to just eating. I do pray before I eat and I do love to eat, so really EAT sums it up! lol.
As my efforts to redesign my kitchen moved forward, I bought wooden letters at Joann’s 50% off to spell eat. Then I bought a really roughed up chalkboard for a dollar at a yard sale….and then I got to work!
The wooden letters were meant to be the simplest project for the kitchen. Buy the letters. Paint the letters. Hang the letters. Easiest project and post ever!
But you know me… I like to complicate things.
I originally painted the letters yellow and hung them over the door frame from our kitchen into our dining room. While it matches and was pretty, it didn’t sit well with me. Maybe too much yellow. Maybe not the right placement. So, I changed it up.
Down the letters came and were promptly painted white, or rather the color of the walls, which is not entirely white.
I then went in search of yellow and gray scrapbook paper. Let me tell you, that was easier said than done. I went to three different stores and what I settled on was not ideal but better than the rest of the very limited options, which were more geared towards baby.
Once I had the paper in hand, I used my handy dandy x-acto self-healing mat and blade to cut the paper with the blade, tracing around each letter. (I had to go through two rounds of this because hot tea got spilled on the first batch) This is the same technique I used to make wooden owls.
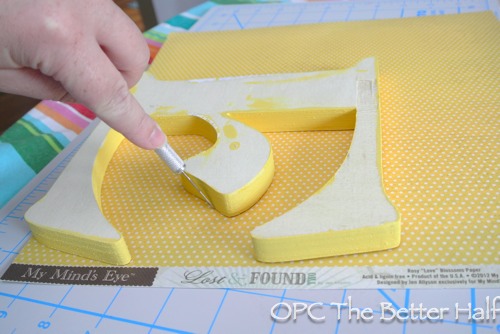
Then I ModPodged the paper to the wooden letter, using my homemade ModPodge (has saved me the most money of any of my crafts!)
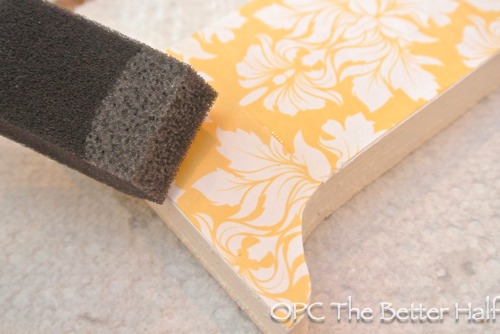
Finally, I hung it back on the wall, a different wall, with my 3M Command strips. <3
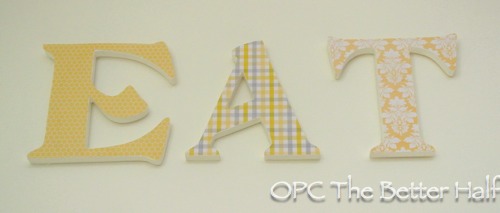
I bet the suspense is killing you, but I hung the EAT right over my new favorite kitchen project – the chalkboard!
Here’s the hideous before.
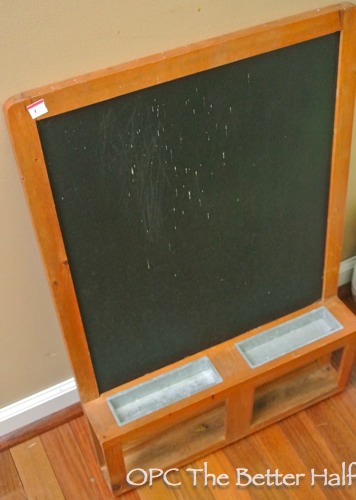
The chalkboard itself was really scratched up but the wood was in great shape, just incredibly dirty.
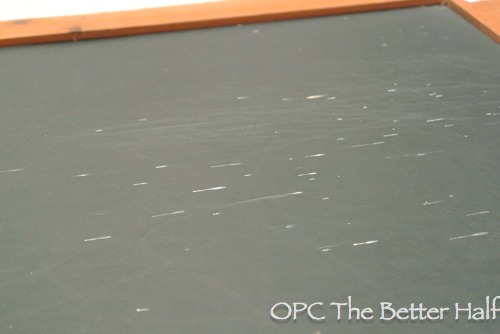
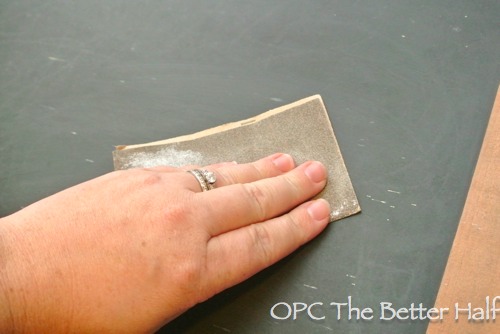
Even before I cleaned it up, I used very fine sandpaper on the chalkboard until the scratches were gone.
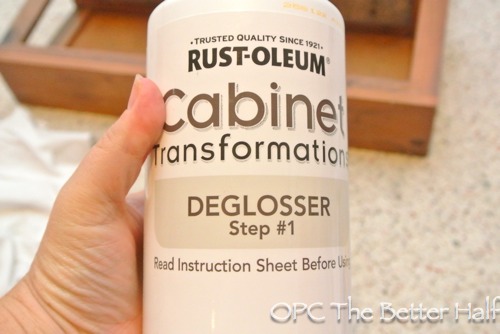
Then I wiped the whole thing down with a wet paper towel and then used the leftover Rustoleum De-glosser from my sister’s Cabinet Transformation to prep the wood frame.
I then taped off the frame with Scotch Blue and sprayed several thin coats of Chalkboard paint, the spray paint form. Super easy!
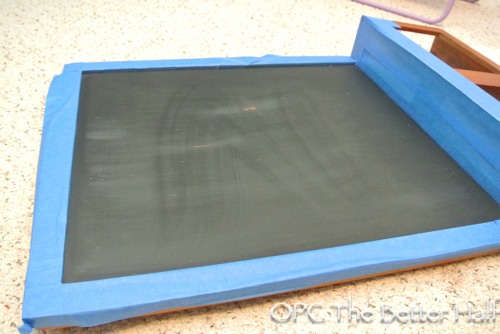
Once it was dry (at least over night), I taped the edges of the chalkboard and painted the frame the color of the walls.
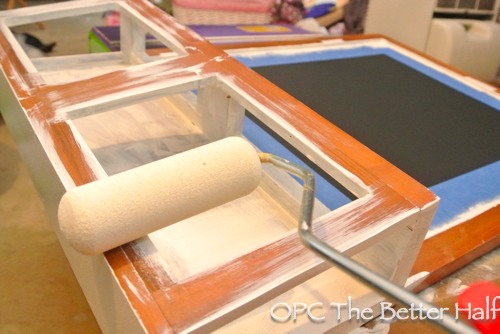
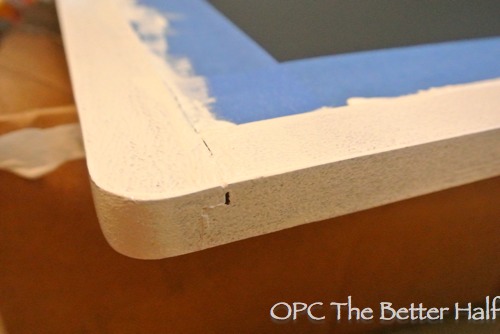
After the paint was dry, I added scrapbook paper to the back of the underside compartment. It still felt a little lacking, so I added some fabric rosette flowers.
Ethan then hung it on the wall using anchors so it doesn’t fall on one of the kids.
Oh, then I free-handed some chalk art, subway style. Yay! Cutest part of the kitchen!
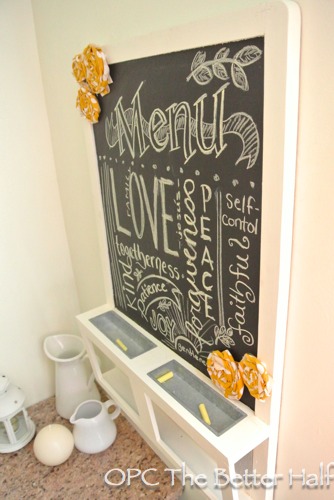
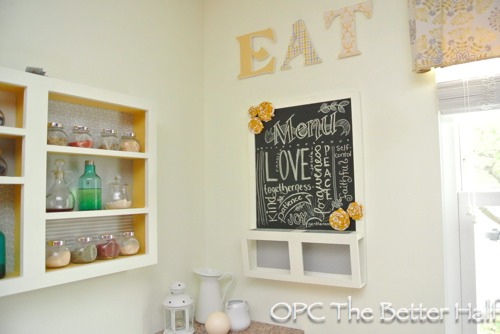
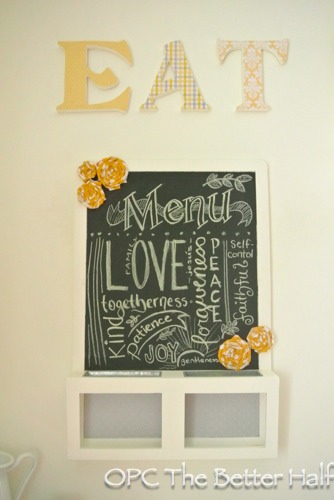
What do you think? Which EAT do you like best?
As Always, thanks for reading!


Looks awesome! I love the modge-podge version of the letters best! The chalkboard looks great too! What is the open place underneath for? Is something in there?
Thanks! There is an open space under the chalkboard, but i’m not really sure what to put there….thoughts?
Cute! Will you leave the chalkboard decorated or use it for menu planning, grocery lists, etc?
For now, I’ll leave it decorated bc its so cheerful, but eventually I’ll wipe it clean and use it for menu planning! 🙂
I have the same chalkboard (IKEA I think?) waiting for some love. This is soooo cute!!
xoxo, Tanya
Someone else said they had the same one from IKEA so that’s probably a good bet, although I got mine at a yard sale! 🙂 Thanks, Tanya!
The chalkboard is super cute!! I love the free hand subway art too!
Thanks, Christine! This was first time writing on a chalkboard since i was little so it was fun!
Beautiful Jocie…the colours are just so calming and peaceful…I’ve never read the book either…but i sure know how to do two of them and really trying to get my praying in there too…:) thank you so much for sharing with us…so happy to have you…talk to you soon…xo
Lucy
Thanks Lucy! My youngest daughter’s name is Lucy, so I immediately feel like we’re friends! 🙂
Love the chalkboard so cute! I love chalkboard art too 🙂
Thanks so much Kelly, and thanks for visiting!
Oh my goodness what a perfect little up-cycle! I love the chalk board and I LOVE those letters!!! 🙂 SOOO cute!!! Thank you SO much for sharing at happy hour too!!!
Jaime
Thanks Jaime and thanks so much for hosting!
So cute! I love the colors you chose and everything turned out so great! Love the letters!!
Thanks so much Ellora! And thanks for visiting! Hope to see you back again!
Oh what a fun project! I just love the chalkboard center. What a super cute idea and I have to say the writing is beautiful! I’ve always hated my handwriting, so I am always envious of those who can write beautifully! Thanks for linking up 🙂
Thanks Taryn!!! 🙂
LOVE the chalkboard! There is one for $24 at Ikea that looks just like this, but I don’t like the wood – might just have to buy and personalize it as you did!
Thanks Thalita! I have heard from readers that this chalkboard was likely from Ikea originally. Let me know how yours turns out!
This is adorable!
Thanks Kristy, and thanks for visiting. Hope to have you back again!
I absolutely love how the chalkboard turned out! It looks amazing! And I’d never thought of sanding to freshen up the board. So simple…I feel dumb for not thinking of it haha
Thanks, Trebor. Glad you liked it!!!
The chalkboard is magnetic too. My wifey had me take it apart before repainting all the parts (repainted 3 times now) and thats how I discovered the steel sheet sandwiched in there. You seem to have similar taste, she also put scrapbook paper in that bottom compartment.
Fun project! I have yet to use chalkboard paint, but with baby on the way I think I am in for some in the near future.
So cute! What a great piece. What color is that grey on the chalkboard?
Nice job! I love this!
I LOVE this!! I want to do something similar with chalk in our dining room over a coffee bar! This is great inspiration!