
I’m back with another Pro-Follow update, and today’s article focuses on waterproofing a leaky deck ledger board. A few years ago, Fred and Kim had their small deck replaced with a much larger one. It’s a beautiful deck. Unfortunately, the contractor did not properly flash the ledger board, and Fred discovered a leak in the basement. If you’re a regular reader, you know that Fred and Kim have hired Joe Bianco to remodel the basement, and part of that remodel is to permanently address the leaky ledger board.
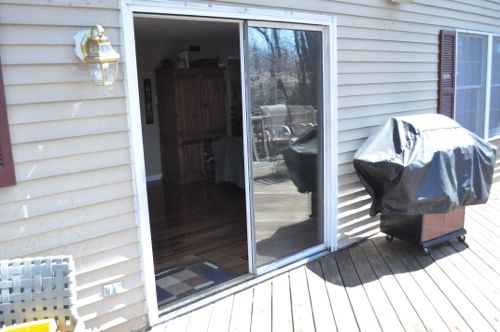
When the deck was built the contractor should have at least installed metal flashing above the ledger board (not to mention a waterproof membrane behind the ledger and silicone on the bolt heads). This didn’t take place, and Fred found a leak where the old deck was situated. As a temporary fix, he loaded the area with silicone to divert water away from the house, and it worked. Now Joe is providing a more permanent solution.
Step 1: Replace Old Sliding Glass Door
Fred and Kim are having the old sliding glass door replaced as well. It’s not part of the problem, but this was an ideal time to remove the old slider and install a new one. If you’re considering replacing a patio door, click that link for a detailed tutorial.
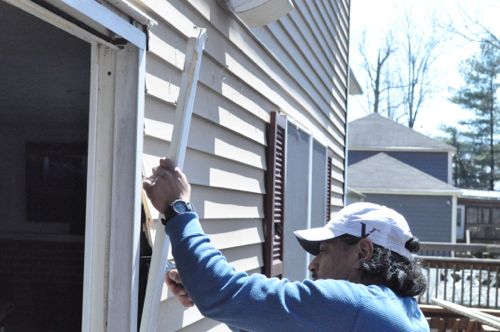
Joe and Frank removed the old door, frame and sill plate.
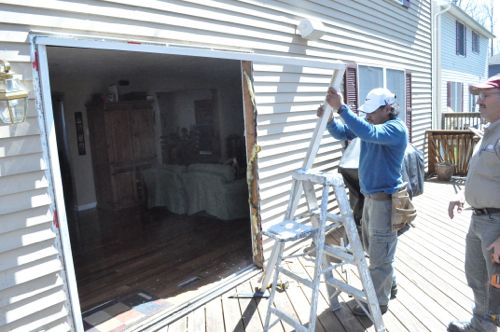
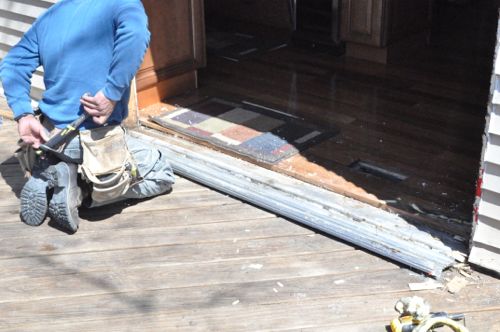
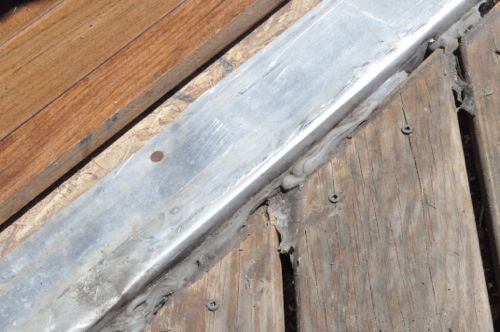
You can see the door was flashed so that was not the source of the leak. This picture also shows the silicone Fred used to seal the top of the ledger board.
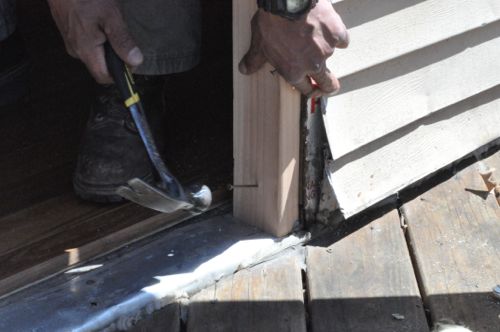
Joe and Frank framed out the rough opening, sealed the sill plate with waterproof adhesive moved the new door into position.
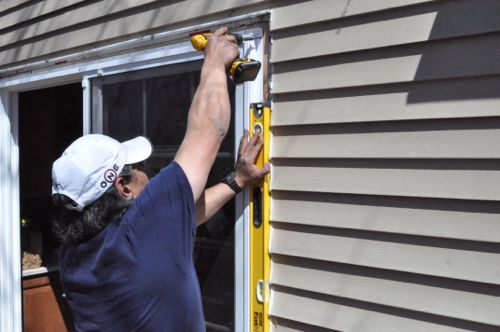
They leveled the door and screwed it into the rough framing.
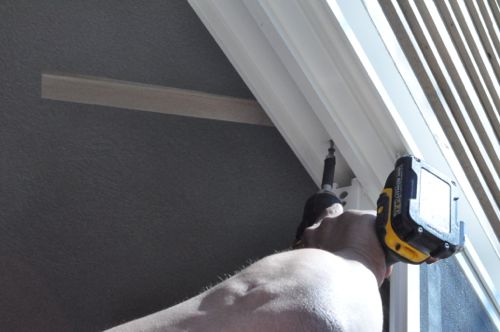
Next, the guys trimmed the door opening with PVC boards.
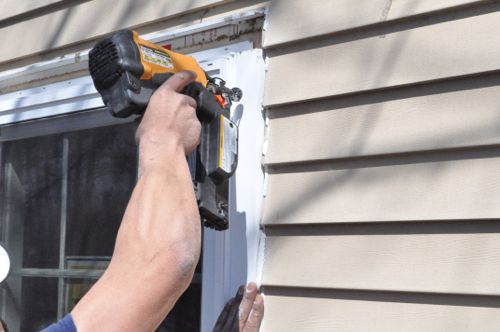
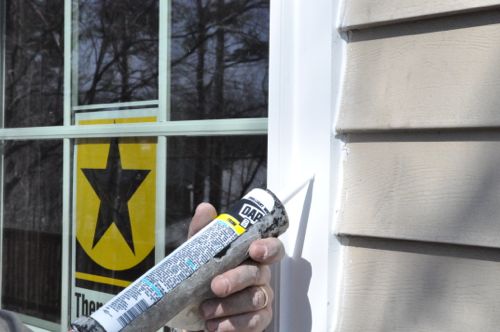
With the door (mostly) finished, the guys moved on to address the deck.
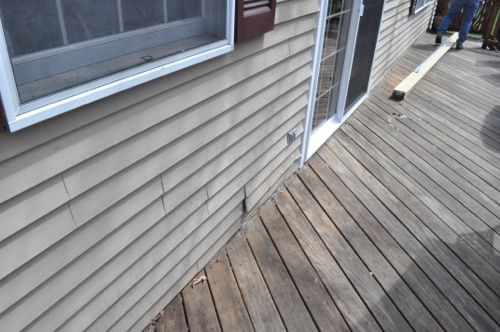
Step 2: Block Underside of Deck
When Joe’s crew did a little framing inside the basement, he also had them add blocking between all the deck joists.
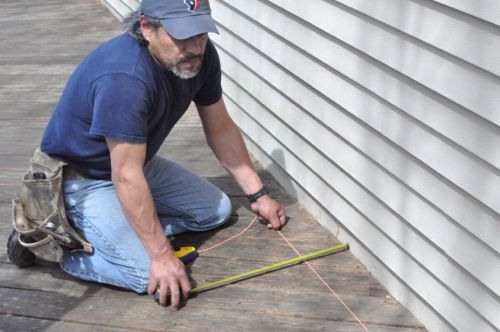
Step 3: Measure Board Width Off Siding
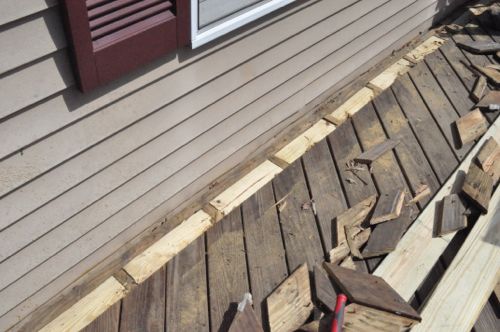
Next, Joe and Frank measured off a board width from the house and snapped chalk lines.
Step 4: Cut and Remove Deck Boards
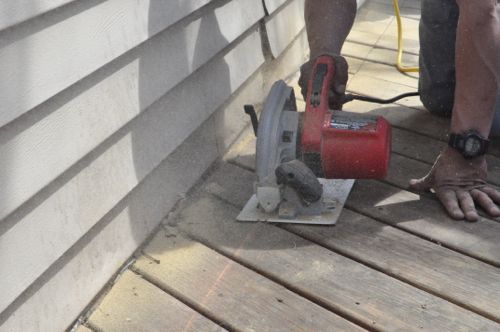
Frank set his circular saw just deep enough to cut through the deck boards, and he made the cut along the entire length of the deck.
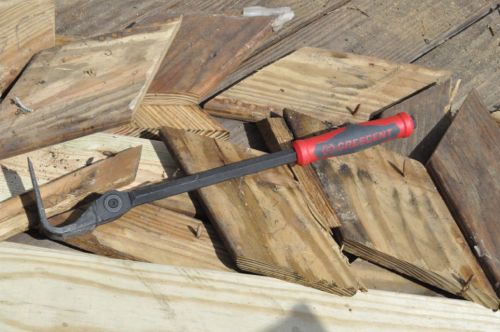
The guys used this Crescent 18″ indexing pry-bar to pull up all the pieces, and it was perfect for this.
Step 5: Fit New Flashing
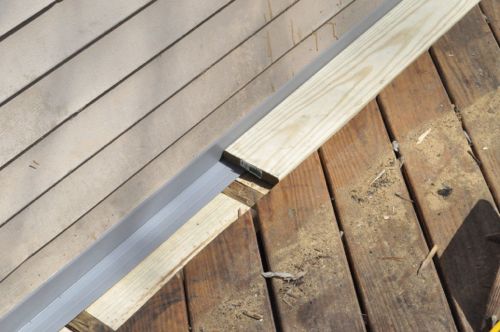
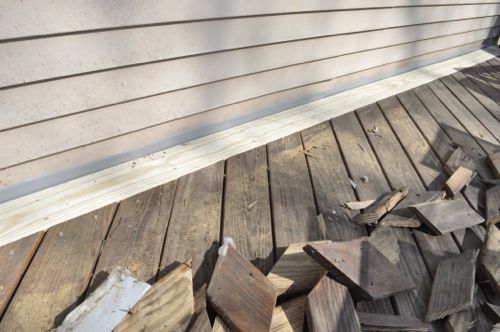
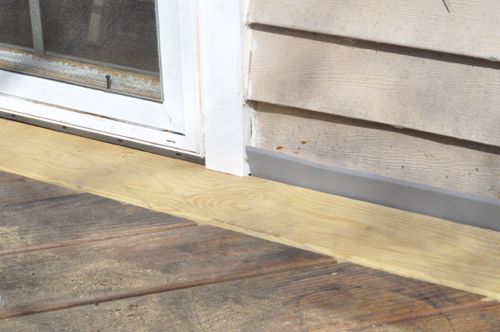
Next, Joe and Frank fit new flashing along the house, overlapping with the door flashing.
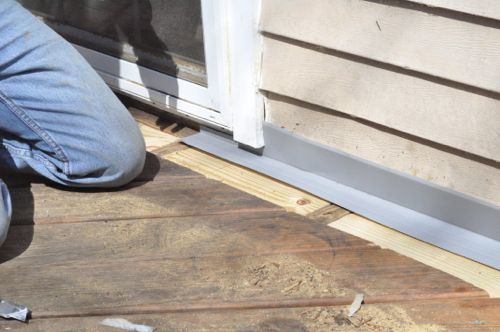
They also put the new deck boards in place.
Step 6: Screw New Deck Board
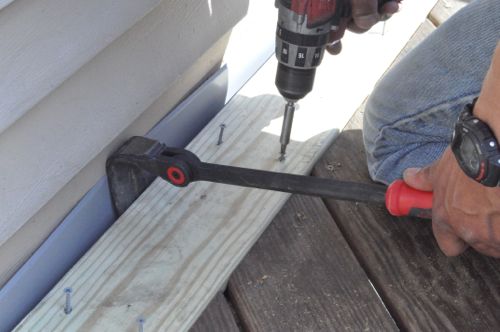
Joe and Frank screwed the new deck board and the old deck boards to the blocking underneath.
Pro-Tip: All the fasteners are rated for exterior use.
Step 7: Cut and Screw PVC Board
Next, the guys cut a chamfer on some PVC board and ripped it to fit just underneath the previous course of siding.
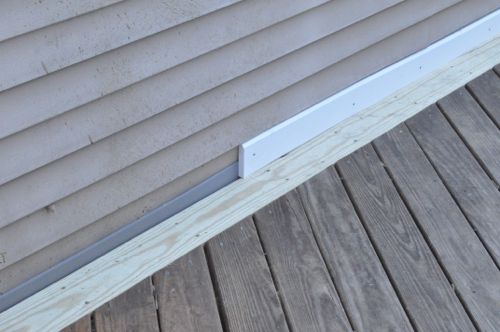
They screwed the PVC in place.

Step 8: Seal Edge
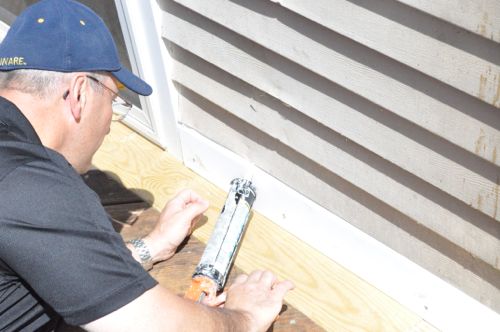
After that, the guys sealed the upper edge of the PVC board with silicone.
Step 9: Prime and Paint
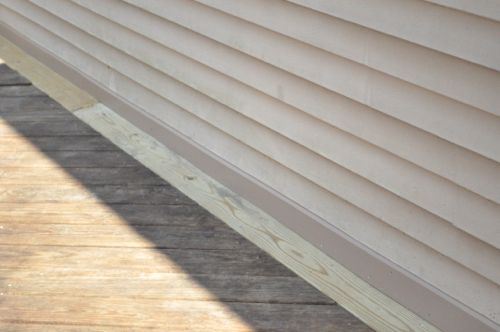
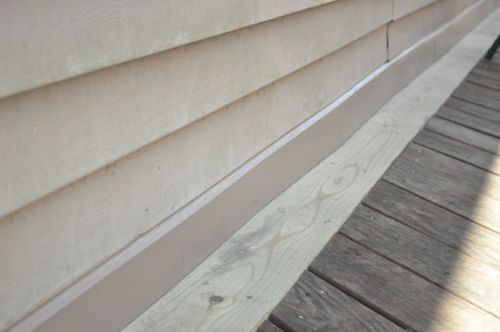
After priming and painting the PVC board, it blends in well with the siding. The new deck boards stand out now, but that’ll change after they weather some.



How did they tie in the house wrap to the new door? I didn’t see any flashing tape in the pictures.
Hey Jeff. The old sill had metal flashing, and the guys reused that so the sill is protected. Between that and the sealant, water shouldn’t be a problem around the door.
I really like how they cut away the deck one board width along the length of the house. Brilliant. I wouldn’t have thought of that. I’m curious why they went with the pvc board strategy to cover the top of the flashing. It looks like vinyl siding on the house. My first thought would have been to tuck the flashing underneath the siding.
The siding actually continues down behind the ledger board. To tuck the flashing would have meant cutting it, and the guys opted to leave it as intact as possible. If the siding ended at the deck, I think it would have been a better choice.
Agree with Reuben I think I would have tried to preserve the uniform look of the siding. What was the reason for going with a PVC kick moulding?
The siding is aluminum and the last piece before the deck was in pretty rough shape, especially near the door where the flashing problem had been causing the water infiltration issue. I actually think Joe took this job as a favor to me, and because I tied it to finishing the entire basement. The real solution to this would have been to re-side the house, flash properly, etc. But I wanted to keep it cheap and I feel that Joe’s solution did that reasonably well. I think he went with the PVC board precisely because the aluminum was in such rough shape he didn’t think he could tie it all in.
Remodeling is never easy and it looks like Joe came up with a very functional and attractive solution to the problem.
Yeah, I thought so. The paint could have been slightly better matched, but I’m not that picky. Eventually we are going to have the house re-sided anyways. I’m considering Joe for that job, even though it’s not his specialty, because I believe that he will actually make sure everything gets done right. One thing I have been impressed with is after we put up the track lighting in the basement, it revealed a lot of drywall finishing errors. Joe has been fixing those and has never once complained that we were “too picky” – he insists that they will get it right, and that’s the kind of thing I really appreciate about his work.
I hate when the sun shines in my house just so because it reveals all of my drywall errors and I have no one to blame except me. 🙂
As long as we are happy with our own work and spouse is happy let us keep improving our homes. This Site has already showed me so much.