
Today’s article takes us back to our deck building Pro-Follow! I’ve been shadowing general contractor and carpenter Steve Wartman and his crew as they construct a 12 x 24′, composite deck. If you’re just joining us, I’d suggest taking a look at these previous articles to get up to speed on the project before starting below.
- Day 1: Pouring concrete footers, and securing the ledger board
- Day 2: Installing the support posts, beams and joists
- Day 3: Adding the band board, blocking between joists and building the stairs
- Day 4: Flashing and laying the deck boards
This deck build has been delayed by poor weather and a shortage of some key materials. Fortunately, we’re getting back on track this week. This article covers adding PVC trim to the stair stringers and band board, as well as mounting the deck rail system to the surface of the deck. This is the second to last installment in this series. Our final How To Build a Composite Deck article is just around the corner. We hope you’re enjoying the progress.
Step 10: Trim on Band Board and Stair Stringers
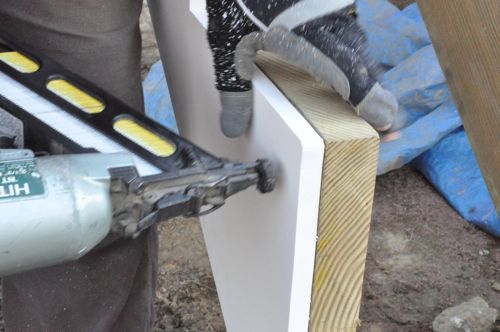
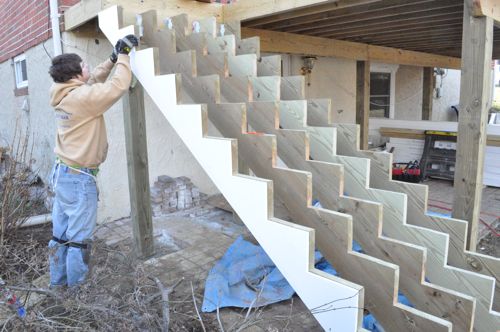
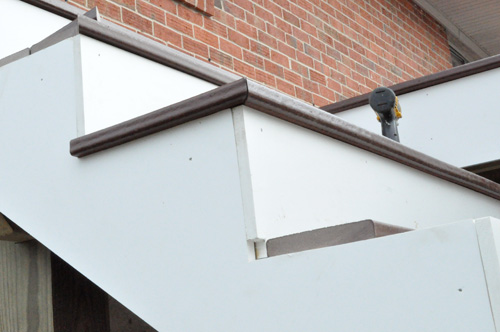
Steve’s crew installed a white, 2×12″ PVC trim board on the outside stair stringers and the band board. It gives the deck a nice, polished look and will match the rail system. PVC is nice to work with because it’s lightweight, flexible and maintenance free. The guys mitered all the corners and used finish nails to fasten the boards.

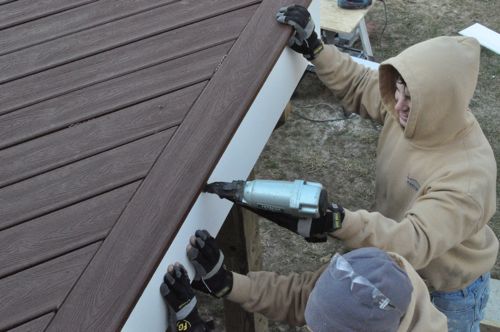
To cut the PVC to match the stair stringers, they cut the very first riser and temporarily tacked the PVC against the stringer for marking cut lines. This is better than re-drawing the stringers because even the most accurate carpenter may have some variation, and this ensures that each section matches perfectly to the stringer it covers.
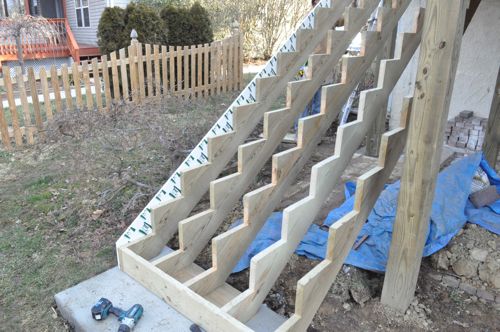
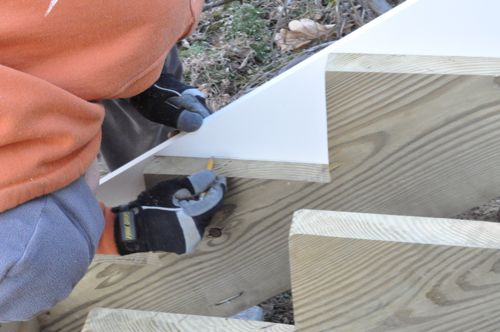
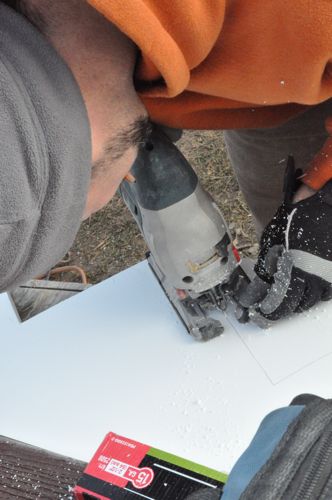
PVC is easy to cut, so a jigsaw makes short work of cutting out the stringer trim.

Step 11: Stair Treads and Risers
After getting the trim in place, the guys moved onto the stair treads and risers. Every three or four steps, they added blocking to ensure a consistent width.

Steve’s crew also added these blocks at the base, which will have concrete anchors driven into the small slab below. The two outside bays don’t have blocks because they’ll have stair posts (eventually).
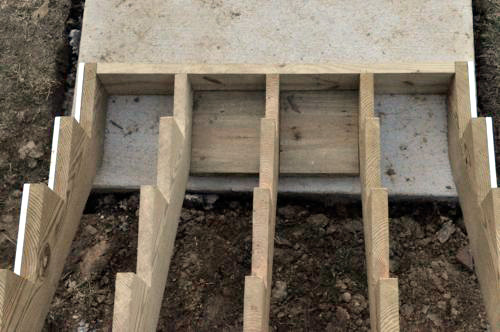
Starting at the top, the crew measured the riser first, cutting a piece of PVC long enough to reach across the cut edges of the stringer trim PVC components.
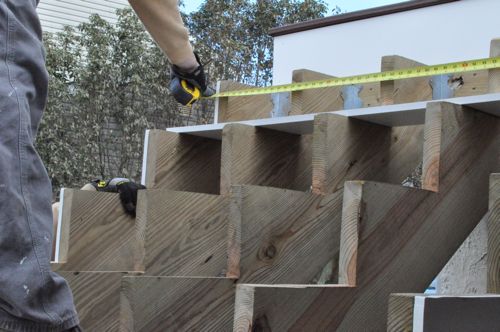
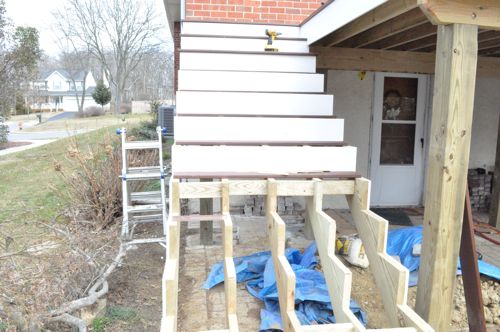
Next, the crew cut the first tread. You can see that the tread does not extend over the PVC. This is on purpose, because the crew is leaving room for a return piece to conceal the cut edges of the tread.
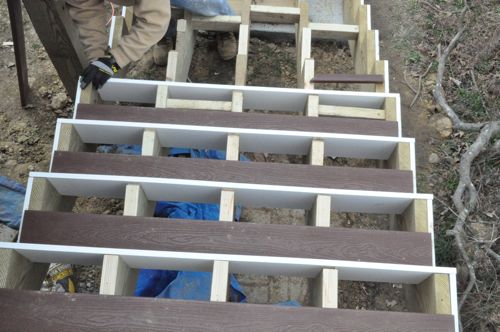
This picture shows one of the return pieces that hasn’t been fasten yet. It was slow going to get all the cuts exactly right. To help themselves out, the guys put together templates for the return and second tread board. The return pieces are secured with screws through the side of the return and into the tread board.
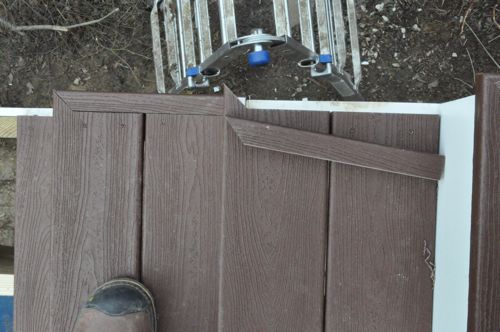
Another small detail that you might have missed is that the guys notched out the stair riser for the return piece using a Bosch multi-tool. This notching makes the tread appear to go under the riser when viewed from the side, which creates a nice visual look on the staircase.

Step 12: Rail System
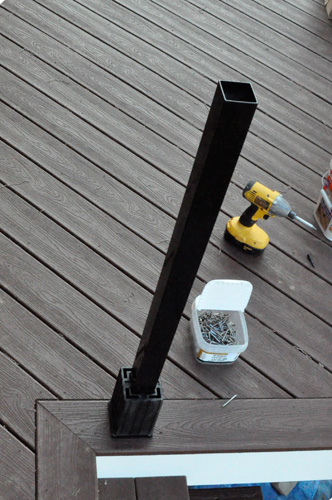
Steve’s crew installed a white, vinyl rail system, and the picture below shows one of the steel posts and plastic spacers.

Remember the blocking between joists around the perimeter of the deck? (We covered that in Day 3.) That blocking allowed Steve’s crew to securely fasten the steel posts with 3-5/8″ LedgerLOKs. Each post was leveled as necessary with shims, ensuring it was perfectly vertical before fastening. After the LedgerLOKs were installed, each post got a plastic spacer which serves as a guide for the PVC trim cover.

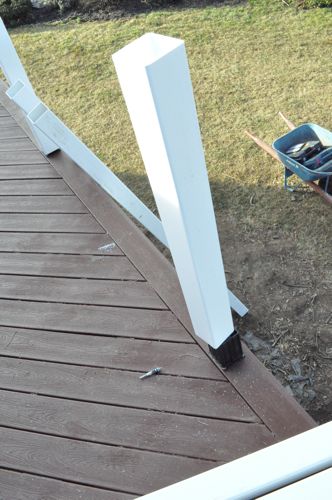
Next, the guys trimmed the vinyl sleeve to the appropriate height and slipped it in place with another plastic spacer at the top. They placed posts about every 6′.
Pro-Tip: Deck railings are required to be at least 36″ tall.
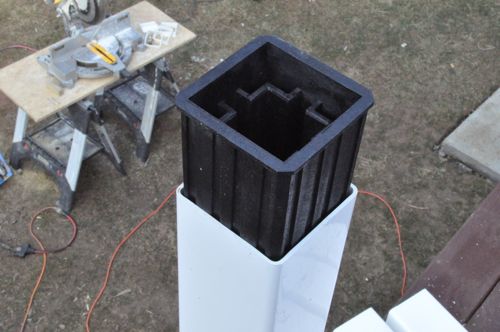
Here’s a picture of one of the post caps. These are installed last and usually glued in place to avoid using fasteners.

After the posts were set, the guys slid a square, base trim piece over the vinyl sleeve to conceal the bottom of the steel post. Next, they cut the lower rail to length and screwed it in place. It’s important to cut an equal amount from both sides of the rails to maintain a balanced appearance for the pickets.
Pro-Tip: The lower rail should be low enough that a 4″ sphere cannot fit underneath the rail.
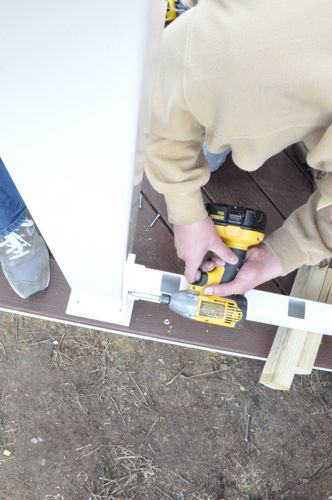

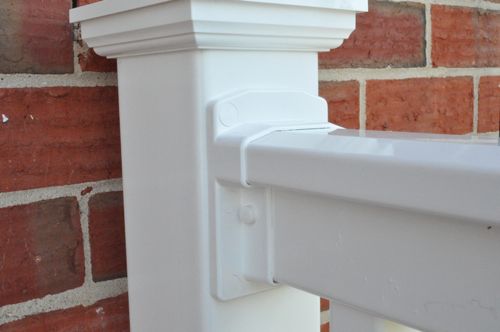
This rail system has convenient mounting brackets for the upper and lower rails which includes plugs and caps to conceal the screw heads. After the lower rail was fastened, they inserted a picket into each hole.
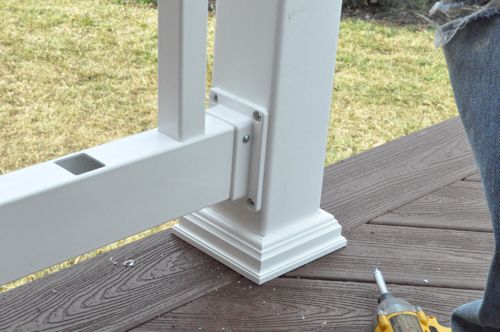
The upper rail was installed in a similar fashion, except for one additional step. The upper rail has an aluminum channel for increased strength, and Steve’s crew needed to trim this channel to length.
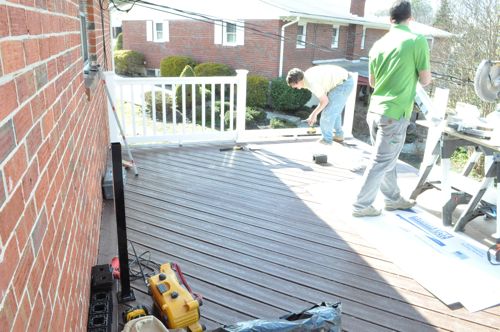
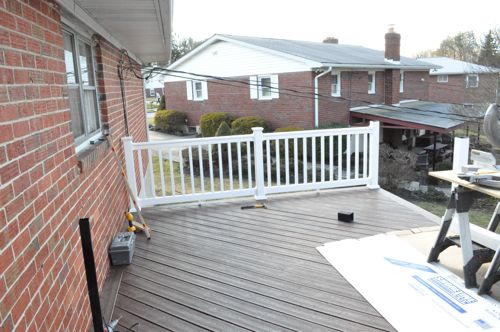
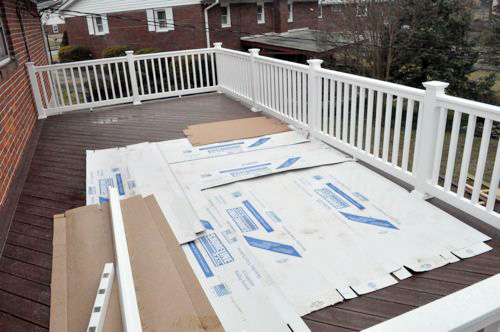
You’re probably wondering about the stair rails. Unfortunately, those have not been completely finished yet. I’ll be sharing that portion of the project in our next update. The stair railings are the final step before I compile the final, complete How-To Guide for this Pro-Follow.
If you enjoy seeing projects come together from the ground up, you’d definitely enjoy a subscription to our feed. Sign up to receive updates via email. As we near completion of this composite deck, we’re already well underway with another Pro-Follow where expert general contractor Joe Bianco and his crew are tackling a complete basement finishing project. You can always see all of our recent contractor shadowing articles, including articles for this deck and the basement, on our Pro-Follow topic page.


Having never used PVC board, how well does it hold finish nails? Do you typically fasten it the same way as wood products, or is it more like the composite decking?
Hey William,
It holds finish nails just fine, and it’s fastened the same way as wood. You do have to be careful of chipping when you’re cutting it though.
Do they have special angled rails for the stairs? Seems like the pockets might have to be slightly modified (depending on wall thickness) to get the pickets to be plumb.
So far, they’ve set some 4×4 PT posts for the stair rails, and I expect the vinyl sleeves to go around them. I haven’t seen any hardware for mounting the rail yet so I’m not sure how it’ll compare.
How does the railing feel? does it feel as sturdy and secure as a properly installed wooden railing?
I think a deck post that has been blocked in and fastened with lags feels a bit more secure. The plastic spacers are not always 100% snug, and it’s tough to fabricate a solid feel from a not-solid post. With that said, I’d still consider a vinyl rail system for my deck because it was still very strong and I like the look.
My deck has vinyl covered wood railings – the vinyl covers aren’t perfectly tight against the wood and do move around a little, which can be a little unnerving if you bump against the railing and it rattles. However, in our case the underlying railing is solid wood and very secure – the vinyl is for appearance, not structural.
Those PVC trim boards are great. It’s too bad they can’t be structural. I wonder if they’ll ever develop a material that is both extremely weather resistant and structural?
Hmm…. sounds pricey. 🙂
Yeah, but then again so are Trex and PVC trim boards.
It’s looking nice. I guess it’s just a personal preference for whether you’re up for the pvc look. I don’t think I’d use it on my house, but I think I’m just more of a traditionalist.
love how it’s all coming together. thanks for posting
How close is ur head to that roof line? It looks super close