
If you’re a regular reader, you’ll recognize this is the part of our Pro-Follow series with expert general contractor Steve Wartman. We’re following Steve as he and his crew remodel an unfinished basement. For any of our readers in the greater Baltimore area looking to hire a contractor, I highly recommend Wartman Home Improvements. To see more of Steve’s work, take a look at our how-to articles for building a deck and building a shed.
Now that the walls have been framed, the electric and plumbing are roughed in, and insulation is installed, it’s time to hang drywall. This is a crucial step, since drywall is a part of the final product that everyone sees. This article shares a step-by-step guide for hanging, taping, and finishing drywall with many Pro-Tips along the way to help you achieve a perfect finish.
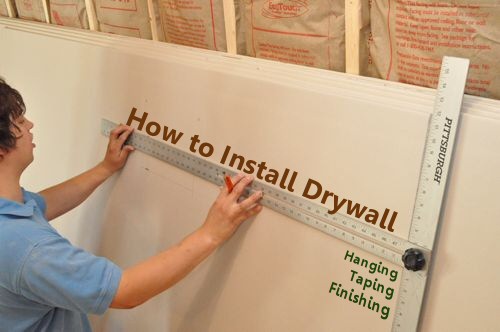
How to Hang Drywall
Materials:
Here are the materials that Steve used for this part of the install:
- 1/2″ Drywall (see below)
- 1-1/4″ Drywall screws
- Drywall adhesive (see below)
Drywall: Also called sheet rock or gypsum board, drywall is available in several sizes and thicknesses. Most walls have 1/2″ drywall, and ceilings are typically 1/2″ or 5/8.” For this install, Steve’s crew is using 1/2″ USG Ultralight panels because they are easier to work with overhead. They purchased a combination of 8′ (4′ x 8′) and 12′ (4′ x 12′) sheets to minimize the number of drywall joints.
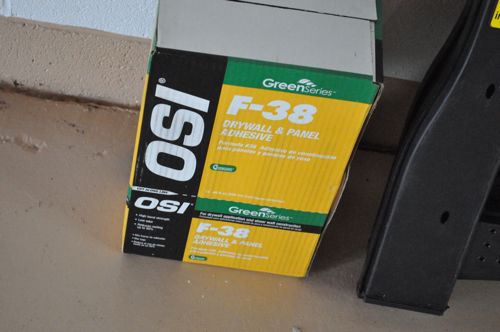
Drywall adhesive: Each sheet of drywall will be glued and screwed, and the guys used OSI GreenSeries F-38 drywall and panel adhesive.
Tools:
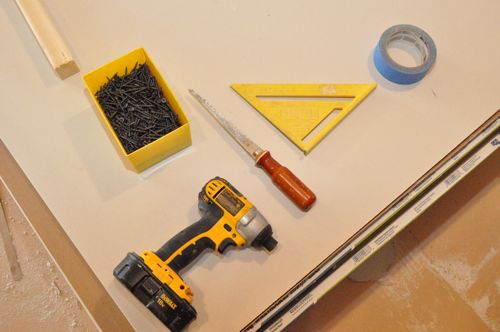
- Drywall saw
- Utility knife
- Driver (see below)
- Glue gun
- T-square
- Tape measure
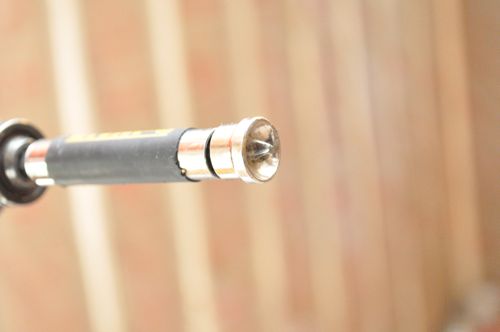
Driver: An impact driver, drill / driver or screw-gun can be used to place fasteners, and Steve’s crew used an impact driver with a DeWalt drywall screw setter to properly countersink the screws.
Step 1: Start with the Ceiling
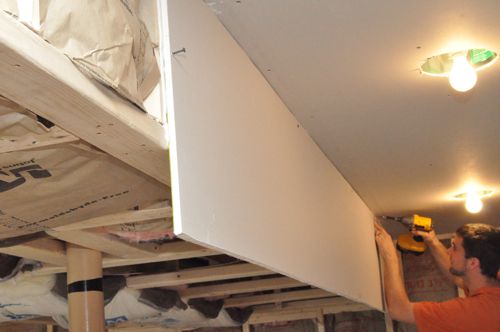
It’s best to install drywall from the top down. By starting with the ceiling, Steve’s crew was able to hide gaps and cut edges along the corners where the ceiling and walls / bulkhead meet.
Step 2: Mark Joist Locations
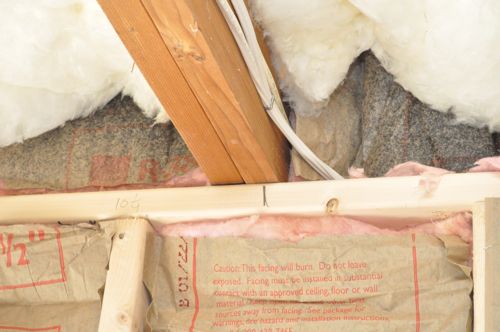
Before the guys got started, they marked the locations of the joists on nearby framing so that they knew where to drive their screws.
Step 3: Snap a Chalk Line
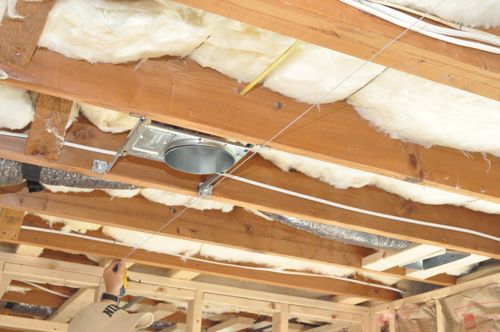
Even on new construction, most walls and corners are not 100% straight and square. To make sure that adjacent pieces of drywall line up and that joints fall on the center of a joist, the guys snapped chalk lines to act as guides. Each line was perpendicular to the floor joists, and spaced 4′ off the previous line.
Step 4: Use Drywall Adhesive
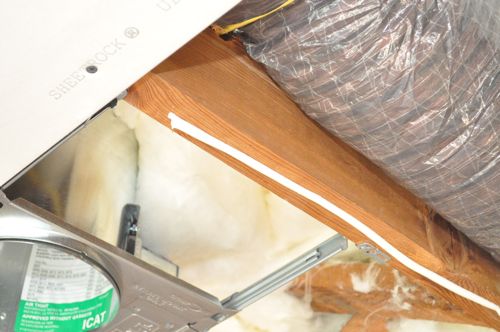
Laying a bead of drywall adhesive on every joist and stud is very important because the adhesive provides long-term holding power. Nails and screws can come loose with vibrations and movement over time, especially if the fastener is driven too far through the drywall paper. The adhesive is what really holds the drywall in place. You can see, the guys laid a generous bead before screwing the drywall in place.
Step 5: Hang the First Sheet
Steve’s crew started hanging drywall in the middle of the ceiling, alongside a bulkhead. They choose this spot because it was relatively straight and square as compared to their chalk lines. Joists are usually placed 24″ oc (on center) which means an 8′ sheet of drywall will contact 5 joists, and the guys would place 4 screws per joist.
Step 5a: Continue Hanging Drywall
Adjacent sheets of drywall should meet at the center of a joist.
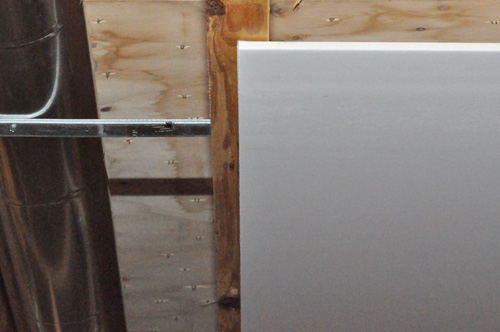
Steve’s crew staggered all the joints, and they matched like edges. What that means is that tapered edges were paired and cut edges were paired. This makes sense because otherwise the joint is at two different levels making it tougher to mud over.

Pro-Tip: Placing the screws close together makes it easier to finish the drywall because both screw heads can be concealed when the joint is taped.
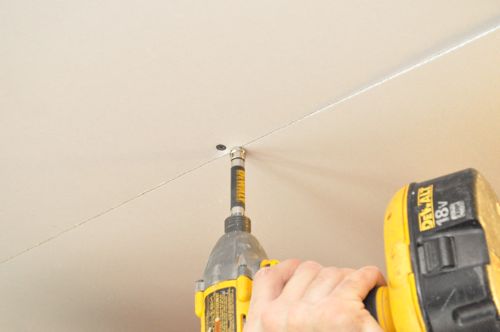
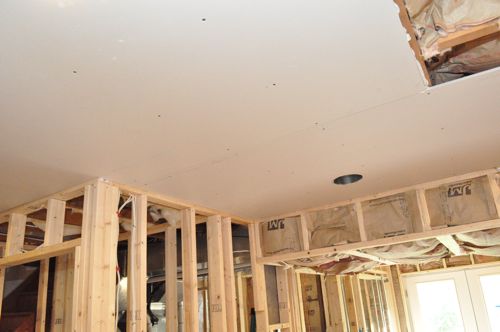
Step 5b: Screwing Drywall
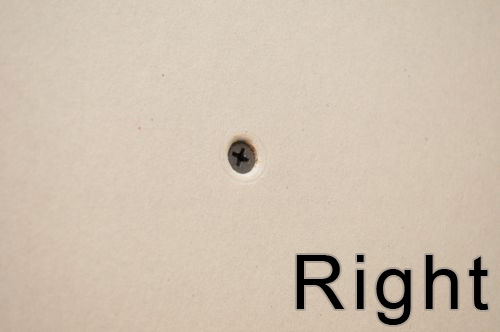
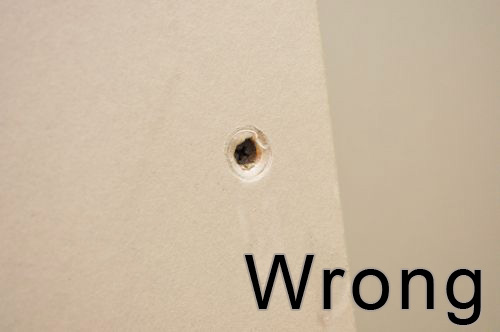
Screws should be countersunk just below the surface of the drywall, and that’s why it’s a good idea to use a screw-gun or screw-setter.
Step 5c: Cutting Drywall
The guys needed to cut the drywall at switches, receptacles, around corners, along walls, and more. Fortunately, cutting drywall is easy and doesn’t require any powered equipment.
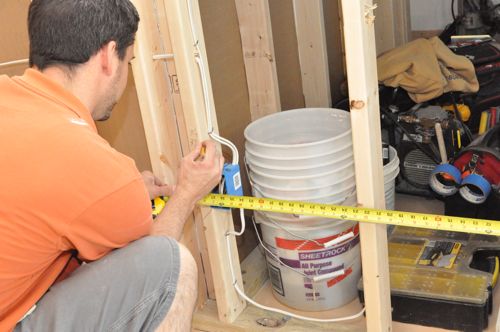
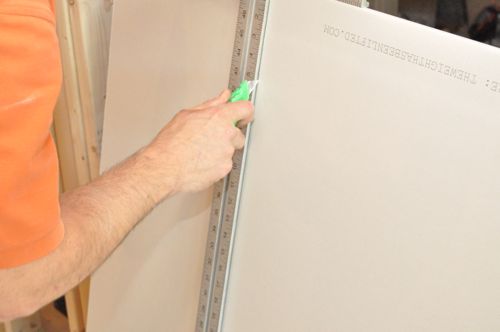
They started each cut by marking out lines, and a T-square is very helpful for this because it ensures straight, square lines.
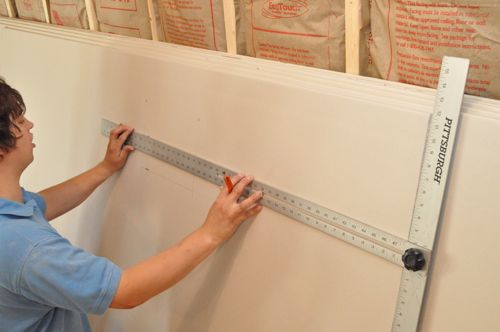
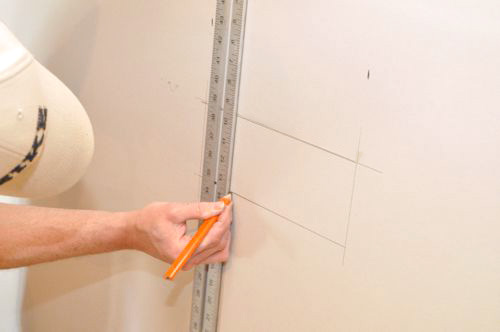
At other times they’d use a level or chalk line instead.
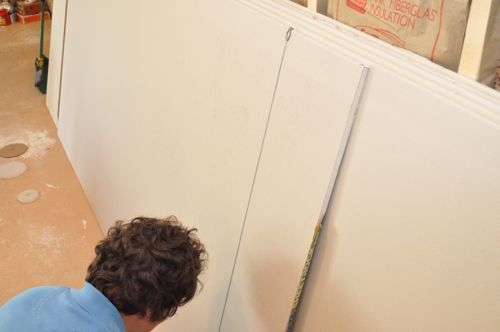
Next, they’d use a utility knife to score the face of the drywall.
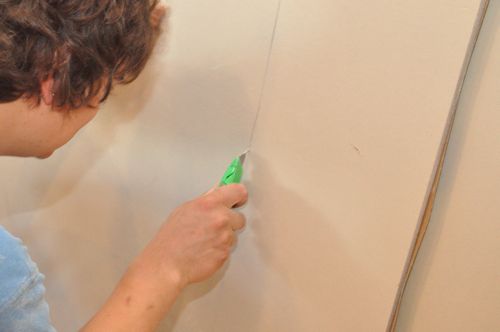
When they put sharp pressure on the opposite side, the drywall would crack along the cut. Lastly, they cut through the paper on the backside.
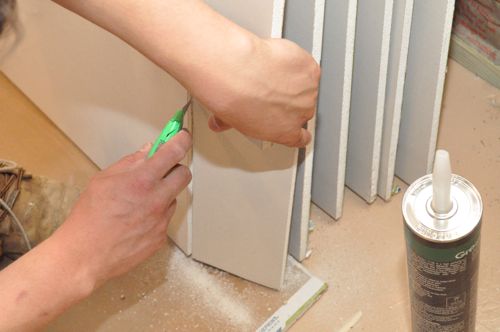
Steve’s crew would use the drywall saw for making plunge cuts like around recessed lighting cans or receptacles. They’d also use a drywall knife when two different cuts intersect like around a corner.
Sometimes it was necessary to shave just a little bit off the edge. A drywall rasp is great for this, but a utility knife works in a pinch. Start on the backside of the drywall and cut at a 45° angle. Next, square up the edge by cutting straight across.
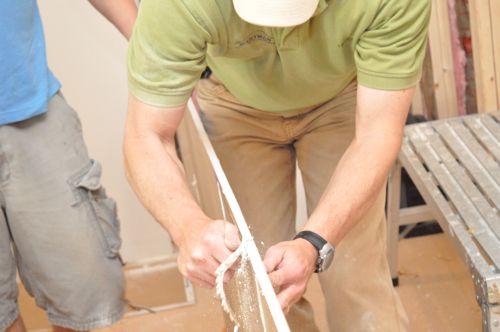
Not all cuts were made before hanging the piece of drywall. In fact, it’s a lot easier to glue and screw the drywall in place, and then cut along the framing.
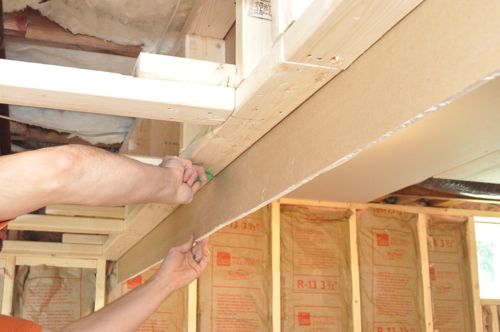
Step 5d: Add Extra Blocking
At times, the guys would need to add additional framing to provide a nailing surface. For instance, the end of this piece of drywall has no anchor behind it until Steve’s crew adds a small 2×4.
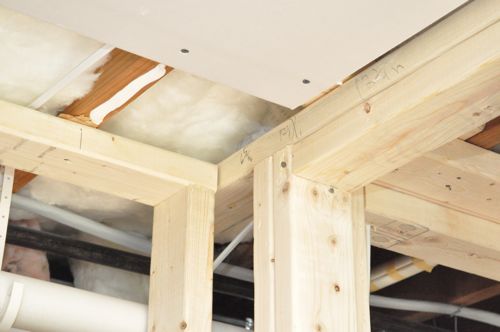
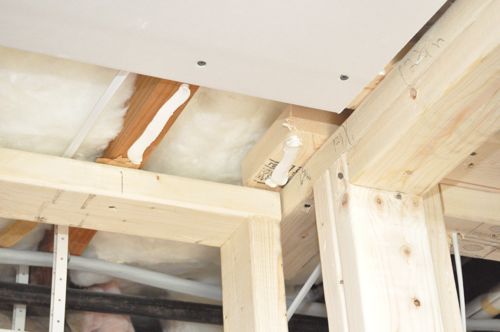
Step 6: Continue to the Walls
After the ceiling was finished, they continued onto the walls, starting at the top and working down. Drywall is secured to the walls just like the ceiling.
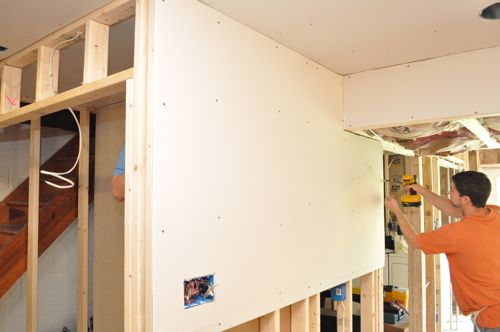

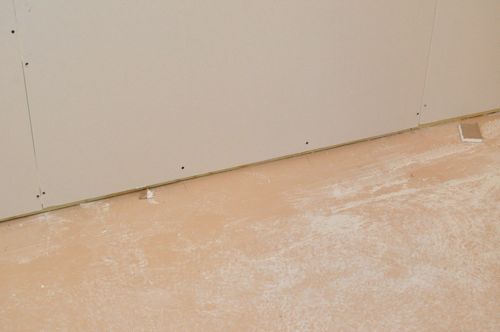
It’s important to leave about 1/2″ gap below the bottom of the last piece and the concrete floor to prevent moisture from contacting the drywall.
Taping & Finishing Drywall
Materials:
- Lightweight setting compound (see below)
- Mid-weight joint compound (see below)
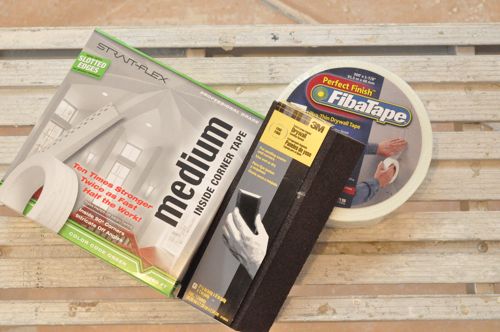
- Strait Flex medium inside corner tape (see below)
- Mesh drywall tape
- Corner bead
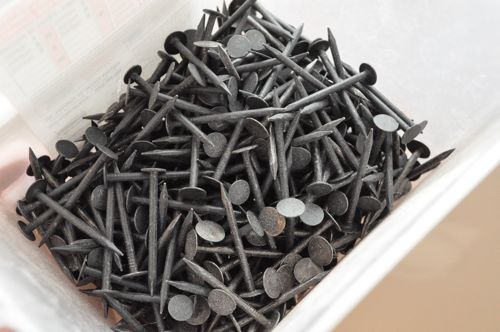
- Drywall nails
Setting compound: Setting compound (a.k.a. hot mud) is a powder that needs to be mixed with water. Unlike joint compound which dries through evaporation, setting compound dries through a chemical reaction, shrinks very little and dries very hard. Setting compound is differentiated by setting time (in minutes), and you’ll find 5, 20, 45, 90, etc. Setting compound is nice because you’re able to apply a second coat without waiting too long.

Joint compound: Steve uses pre-mixed joint compound for the second and third coats because it provides a better finish, and the pre-mixed tubs save time. He uses medium-weight because it’s easier to sand than All Purpose mud.
Pro-Talk: Joint compound is often referred to by the color of the lid. For instance, mid-weight compound is called purple-top and regular weight compound is called green-top.

Strait Flex: Strait Flex is a plastic tape, and Steve uses the medium tape for inside corners. It’s about 4x more expensive, but the additional cost is worthwhile because Steve is able to finish corners in less time.
Tools:
- 4″, 6″, 10″ and 12″ drywall knife
- Drywall mud pan
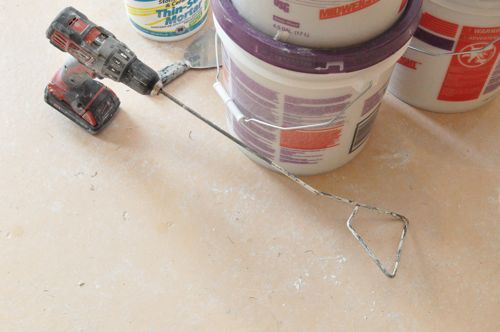
- Drill/ driver with mixing paddle
- Hammer
- Utility knife
- Metal snips
- Drywall sanding block / pole-sander
Step 1: Check Screw Heads
Steve started each section by running a drywall blade over the screw-heads to ensure they were countersunk below the surface. Where a screw had been backed-out, Steve used the heel of his drywall knife to indent the surface.
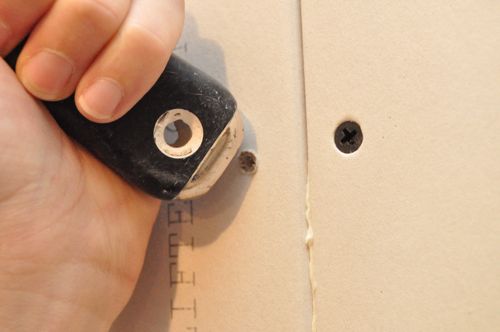
Pro-Tip: A good drywall knife is made from stainless steel to avoid rusting and 4″ or 6″ knives should have a metal heel.
Step 2: Tape Joints
There’s plenty of debate online about mesh tape versus paper tape. Steve has been finishing drywall for 25 years and he prefers mesh tape. Either choice can develop problems if the drywall or tape is improperly applied, and Steve feels that mesh tape is easier to work with.
Pro-Tip: Drywall joints can crack due to wall movement from settling and extreme temperature changes. However, the most common reason you find cracks is drywall shifting because the installers did not use drywall adhesive.
The mesh tape has adhesive on one side making it easy to tape over joints.
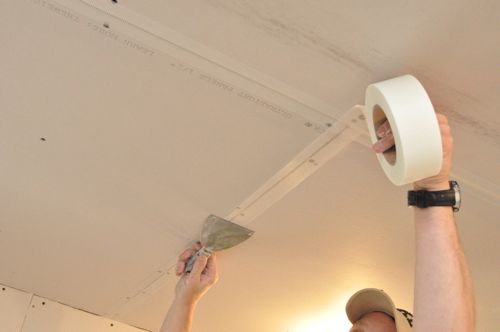

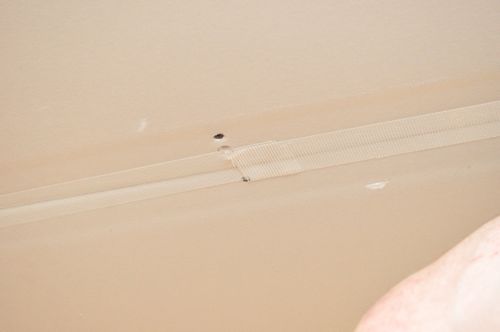
Steve made sure the tape was fully adhered, and he also doubled-up the mesh on wider joints.
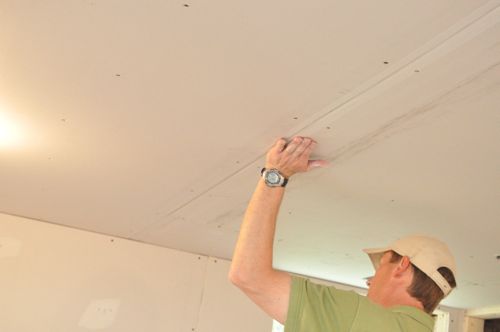
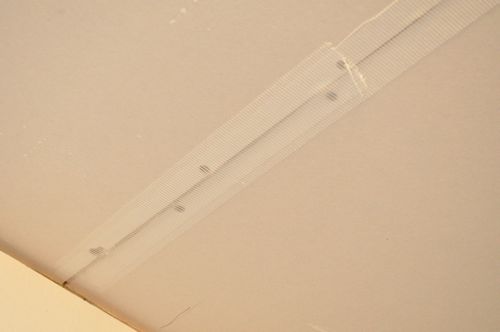
Pro-Tip: After opening a roll of mesh tape, store the roll in a sealed bag to prevent the sticky side from drying out.
Step 3: Apply the First Coat of Mud
Joints and Screw Holes
Steve mixed up a batch of setting compound, adding water until it was a thick, “cake batter” consistency.

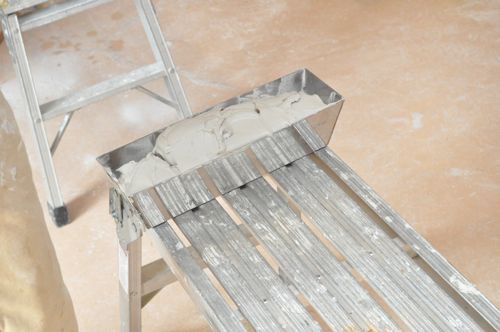
Steve started with all the tapered joints because they result in a relatively flat surface after the first coat, and that makes mudding the cut, butt joints easier. He made the first pass with a 6″ knife.

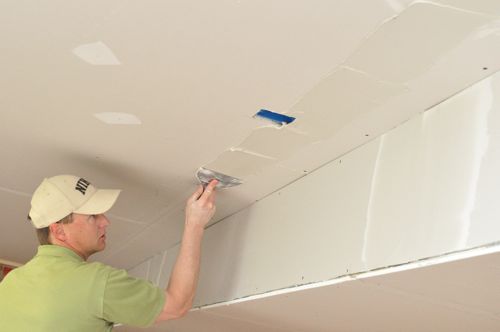
Next, he cleaned up the excess with a 10″ knife.

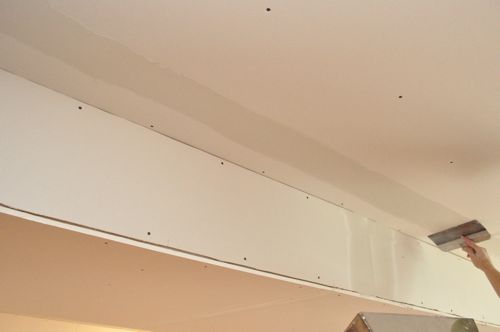
After the compound had set, he started on all the butt joints with the 10″ blade, and you can see how wide he applied the first coat.
Pro-Talk: Mud that has “set up” is dry enough that you can work on an adjoining seam without creating problems. However, it’s not fully dry, and you should not attempt to sand it.
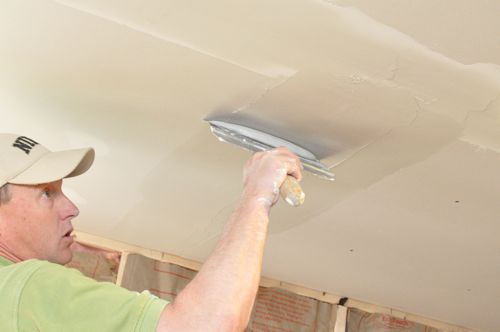
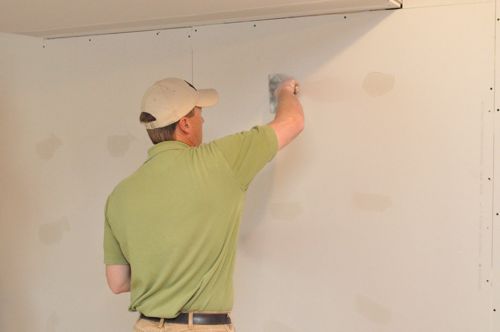
Steve used a 6″ knife to go over all the screw holes, taking care to remove excess mud.
Inside Corners
Steve used purple-top and Strait Flex tape for all the inside corners. He prefers Strait Flex despite the higher cost because he can finish corners in two coats which saves time.
Pro-Tip: Even pre-mixed compound should be mixed again at the job site. Use a mixing paddle at low-speed to avoid introducing air bubbles.
First, Steve filled any large gaps and followed that up with a layer of mud with a 4″ knife.
He cut the Strait Flex at an angle to avoid overlapping the tape where corners intersect, and he folded it along its length.
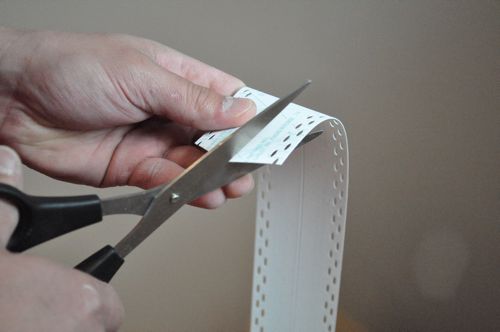
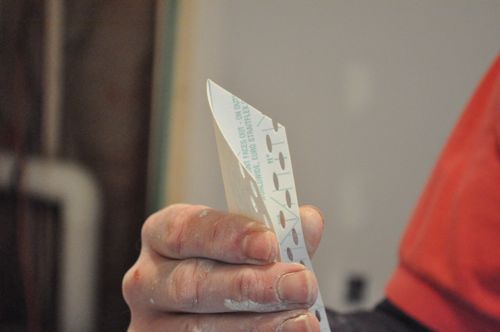
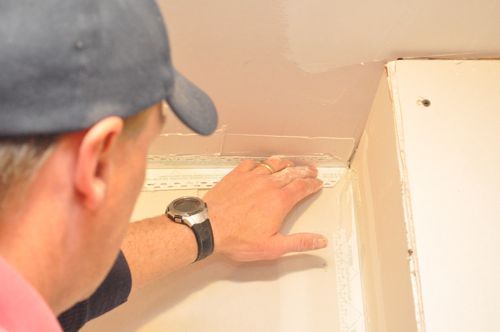
Steve pressed the tape into the corner by hand.
Using a 6″ knife, Steve made two passes on each side of the corner. The first pass was to push in on the corner, and the second pass was to remove excess mud.
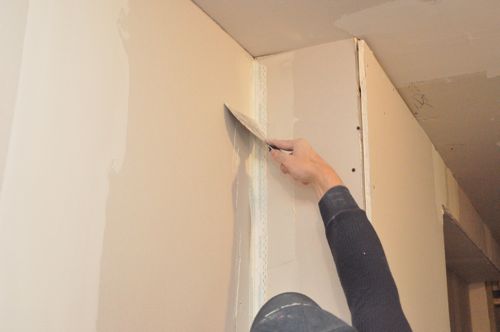
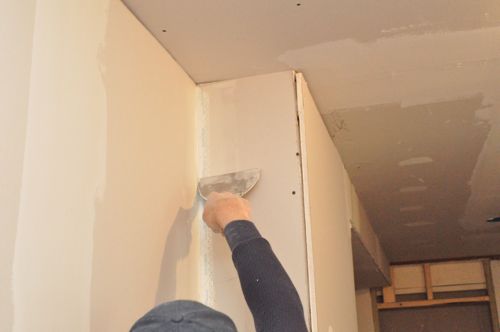
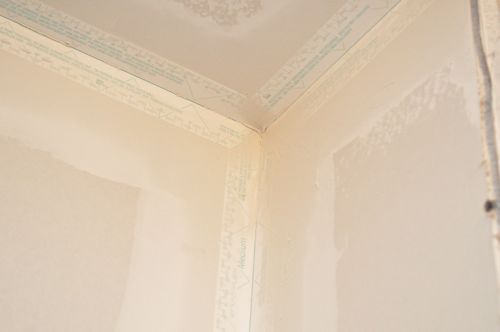
This is how the corners looked after the first coat.
Outside Corners
While Strait Flex does make an outside corner product, Steve prefers to use corner bead. The first step for outside corners is to check that the drywall doesn’t overhang.
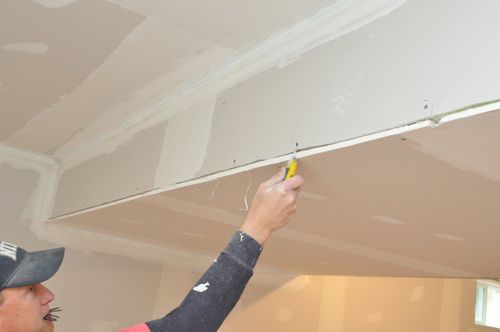
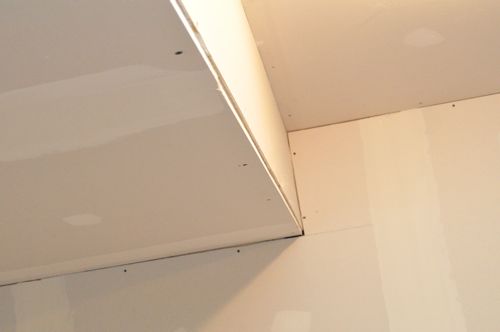
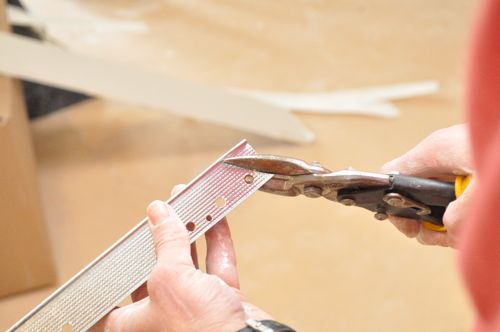
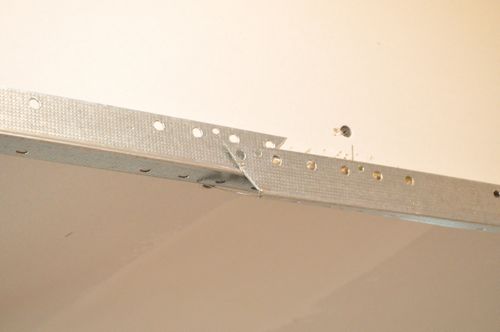
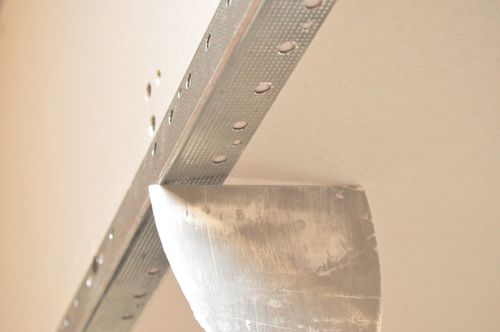
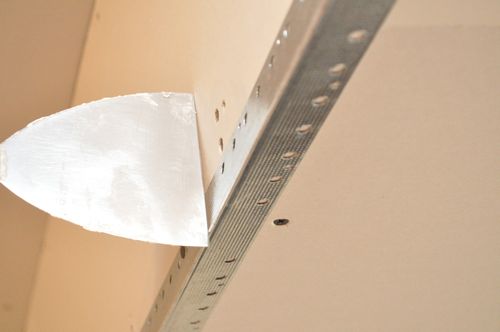
Steve used snips to cut the corner bead to length and to cut angles such that all transition points overlap except in the very corner. You’ll see how in a moment.
Pressing equally on both sides, Steve drove nails through the tiny holes in the corner bead every 16″ or so. The larger holes are to help the mud take hold.
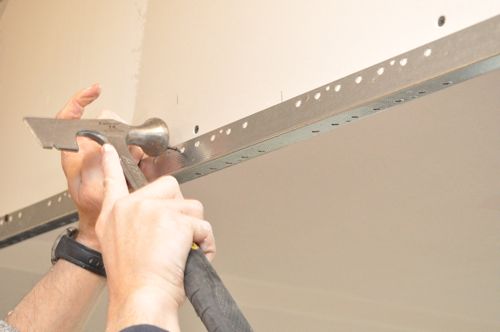
Steve paired nails opposite each other to better prevent the corner bead from buckling.
Pro-Tip: Corner bead that has been bent isn’t worth installing because it will be significantly more difficult to finish.
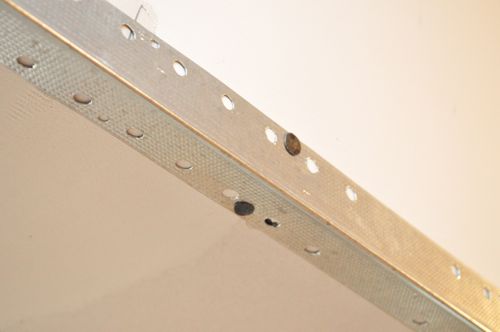
You can see in the pictures below how cutting both sides of a transition creates an overlap except in the very corner.
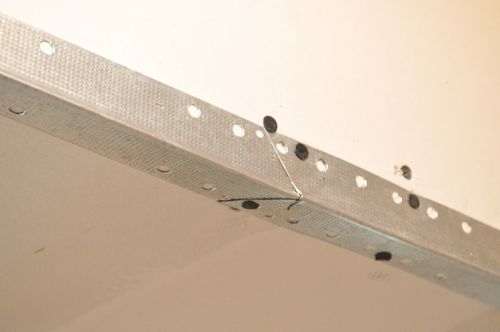
Steve’s goal for corner bead was to create a smooth edge along the corner and a small gap on either side that will be filled with purple-top .
Step 4: Apply Second Coat
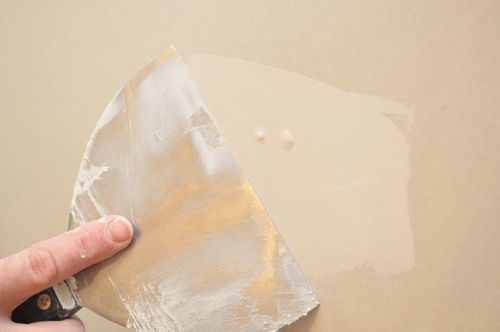
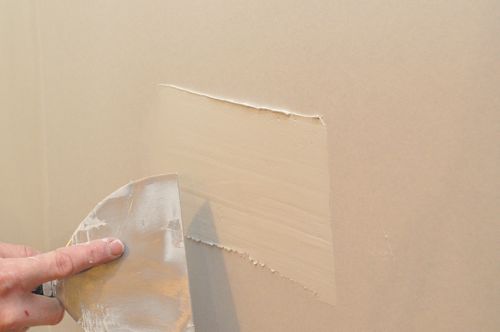
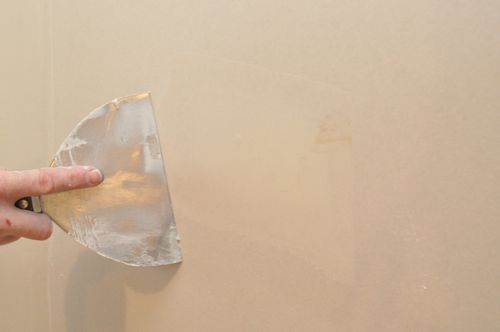
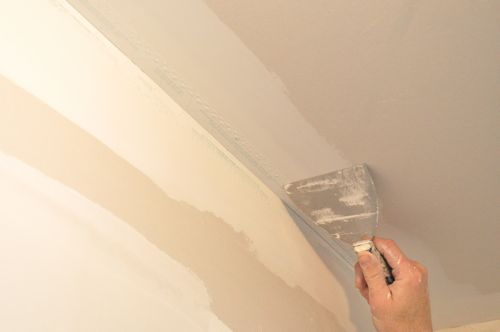
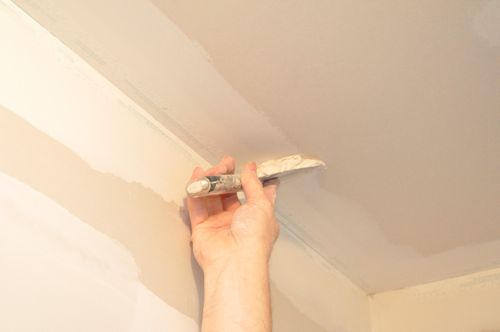
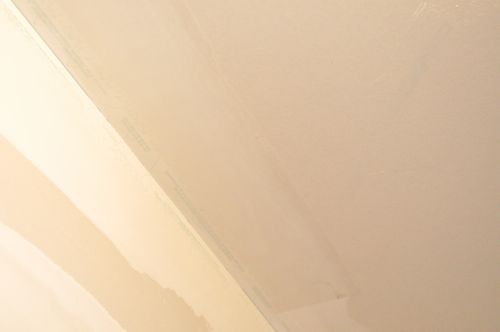
After letting the first coat dry overnight, Steve applied the second coat using a 10″ and 12″ knife, further feathering each joint to about twice as wide.
Pro-Tip: Add a tiny amount of water to the pre-mixed mud to make it easier to smooth out.
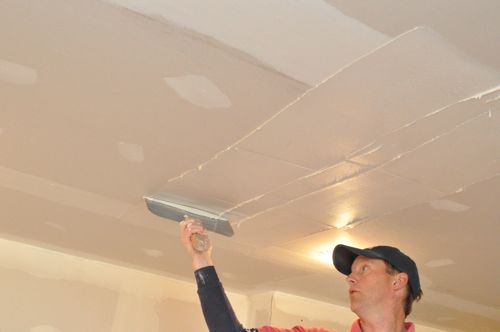
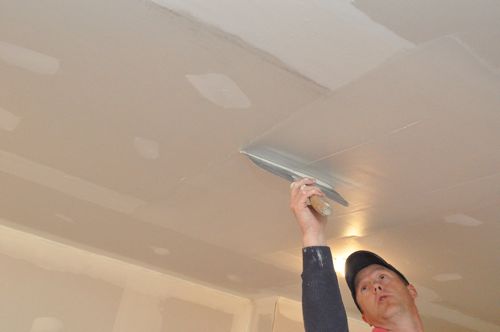
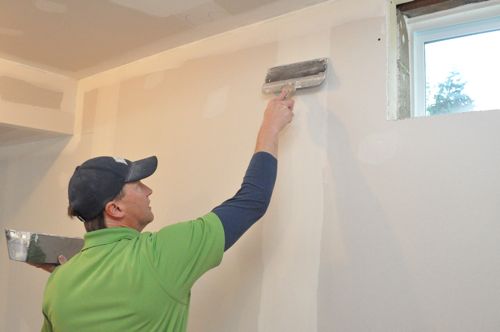
For inside corners and screw holes, he used a 6″ knife to smooth away any bumps before applying mud.
Step 5: Apply Third Coat
Often, Steve can omit applying a third coat. However, he did apply more purple-top after the second coat dried. This last application was just a thin skim-coat over the edges of some of the joints.
Step 6: Sand Until Smooth
Steve and his crew used sanding blocks and pole-sanders to smooth over all the screw holes, joints and corners.
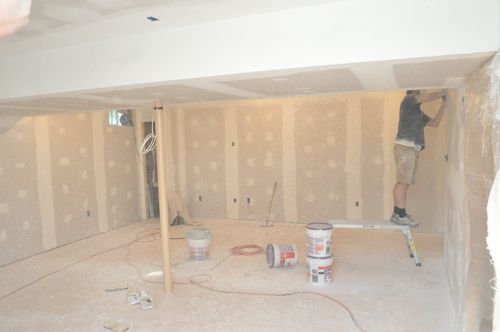
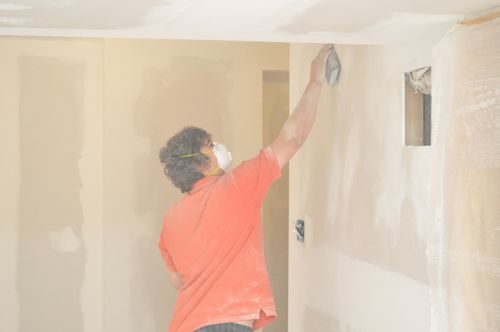
In the picture below you can see the difference between the surfaces that have been sanded and those that have not.
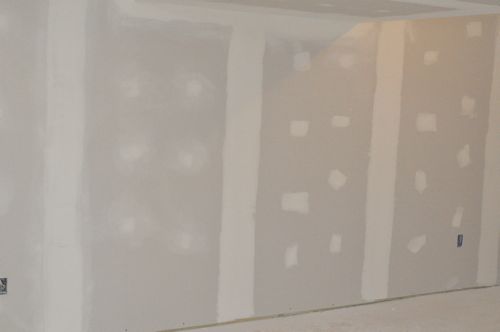
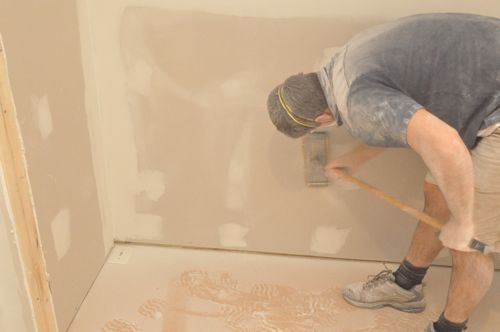
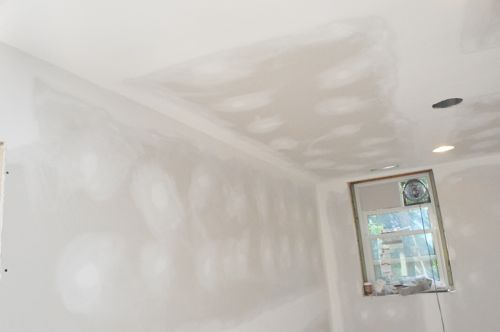
Primed
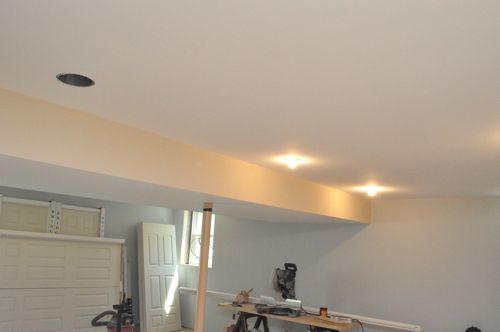
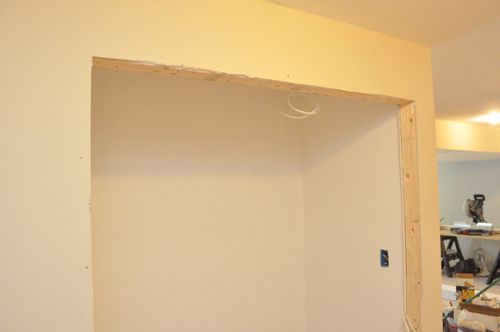
The guys have primed the walls with a tinted primer, and it really demonstrates how good everything turned out.

I hope you find this walk-through useful as you work with drywall. If you enjoy learning from professional contractors, take a moment to become an email or RSS subscriber. If you’d rather connect with us on Facebook, like the OPC page to see what we’re up to.


As a note to future readers. They can get away with using 1/2″ rock with 24″ centers because there is no insulation to support. If there was insulation to support I’d use 5/8″.
An alternative would be 1/2″ ceiling rock. It’s a lot stiffer than normal 1/2″ rock.
sheet rock replaced plaster as the go to wall material around the 1950s (give or take a few years in various regions). I wonder what innovation will some day replace sheet rock?
Dri-Core created insulation/frame/dry wall all in one sheet for exterior basement walls. Have not used it myself (used dri-core subfloor in past) but with price of wood these days this is a game changer.
How much does the average 1/2″ USG Ultralight panel weigh?
They say it’s 30% lighter and the information on their website states that 1/2″ drywall weighs 1.2 lbs./ sq.ft.
How do you know where the joists or studs are in the middle of a sheet? I know it’s easy to screw into the ones on the edges, but how do you keep a straight line of screws through the middle? Especially if you have to take into acount joists or studs that aren’t dead straight and square with the walls. Snap or draw lines?
Snapping a line would be the best way to do it. These guys usually just eyeball it based off the marks or the previous sheet. They do miss sometimes, and I’ll get to into more details about mudding over those misses in the next update.
I don’t know about the adhesive. WHat if you tear that drywall out for some reason? Won’t it leave a mess on the framing that will make it hard to install new drywall?
Actually, the adhesive is what really holds the drywall over time. The screws are more of a temporary solution while the adhesive dries. I think if you didn’t have the adhesive, you’d run the risk of the drywall tearing loose at some point in the future, especially if the floor above stresses the ceiling.
I’m with Fred on this one. It’s true it can be a pain if you ever need to remove it for some reason. However, I have a close friend who’s parent’s ceiling in the entire upstairs came down all at once one day while they were home. Fortunately, no one was hurt, but you can imagine the mess and the cost of fixing something like that. The original installation was simply nailed to the ceiling without adhesive.
Man, that looks good! I haven’t done more drywalling than a couple of smaller bedrooms and there only walls, not ceilings. This article helps me greatly in learning a few more best practices and tricks. Really like the pro-follows, guys!
how much of a PITA is it to replace/repair corner bead? I am seeing rust color stains in the drywall in my bathroom on a window sill and I suspect it is rusted corner bead.
It probably won’t be fun, but you can replace it with a plastic corner bead to prevent this from happening again. Also, you’ll want to possibly reassess your current venting situation to make sure your exhaust fan is pulling out enough moisture when you shower / bath.
Eek is right on with the venting situation. Many times the fan has to be left on for 10 -20 minutes to exchange the air a few more times and bring the humidity levels back down.
Corner bead is really easy to replace. The bead gives a screed line for your knife to ride on when you put the mud on. It will be a little mess to replace it but definitely in the realm of DIY.
Thanks Eek and Jeff. It really bugs me that the builders didn’t have the good sense to use plastic corner bead in the bathroom in the first place!
Awesome tutorial Ethan. I learn quite a bit, especially about corners. Thanks so much!
Love the tutorial. Maybe someday I will have the funds and the courage to finish the other 2 walls in my garage that are just studs.
i am having trouble putting the drywall behind the tub were the back splash goes. i have a gap on the wall were the window is. how do i do this. could you help me
Hi Joann,
Usually around showers and tubs you want to use concrete board (or something similar) rather than drywall. It sounds like you may need to add more framing around the window to anchor the concrete board too. Hope this helps.
Hey Guys, great info here. Currently redoing my basement, got my walls all drywalled so far and am about to start the ceiling, just looking for advice on what do i drywall first the ceiling or bulkhead that i have to do as well?
Hi Dennis,
The pros I’ve seen always start on the ceiling and work down (and the walls would be last). This enables them to conceal a few more cut edges making the drywall easier to finish. I’d suggest tackling the ceiling, and then moving on to the bulkheads.
How many times did you guys sand? It looks like just at the end? But I thought you were supposed to send after each coat? Tom
Hi Thomas,
You can sand after each coat but it makes for a much longer process because you have to wait for the compound to fully dry (rather than just set up). You can get just as good results following the method Steve and his crew used- applying a smooth second coat and only sanding after third coat.
So I’ve been finishing my basement with my father and we just recently put the 3rd coat of mud on the taped joints. A few of them have some air bubbles and i was curious what you thought the best way to remove these bubbles are? My father cut a slit in one of them and tried to get joint compound inside of it to fill it, and it doesn’t look half bad, but I was just curious as to what you recommend.
After that, its painting and installing a drop ceiling. We’ve got pro’s doing the carpeting (includes the stairs). Do you also happen to have a drop ceiling page?
Thanks, and keep up the great work!
I just wanted to thank you for posting this. Ive been doing the drywall for my basement and ive used it as a reference many times. There are many little things ive picked up from the photos that you cant really see anywhere else on the net. Ive also been using the strait flex medium for my ceiling corners and it is coming out very well. thanks again.
Really appreciate this summary & all the helpful details. Question about the finishing as we’re wrapping up a predominately DIY renovation on our new (old) house — what is the necessary cleaning protocol between finish sanding & priming? We hung the drywall ourselves but hired out the finishing of it & now cleaning and on to painting are back in our hands…. Thank you so much! Appreciate the help!
I can’t seem to find this little detail anywhere. When doing corners, no matter what bead was used, is there mud over the corner (coming from both sides) to create a mudded corner or is the bead itself the corner and paint will cover it? =/
I have been doing drywall for way to long 35years
This is the best and most in-depth example I have ever came across
Great job guys.