
Installing a pre-hung door is much simpler than purchasing the raw materials and building a door from scratch. Pre-hung doors come already fastened to the door frame, and you can order them to size. Pre-hung doors also eliminate the time-consuming process of routing a space for the door hinge and doorknob hardware (like the faceplates), and the holes are already cut for the latch and doorknob. With a pre-hung door, you can install a typical interior door in about 15 minutes, and this article will provide pictures and text to walk you through each step.
Pro-Follow Update: If you keep up with our Pro-Follows, you’ll recognize these pictures are from the basement remodel with contractor Joe Bianco. As you can see, the painters have been through, and now it’s time to install doors and baseboard. If you’d like to read about the work that has already taken place, here’s what we’ve covered so far:
- Day 1: Framing
- Day 2: Rough-in plumbing
- Day 3: Rough-in electric
- Day 4: Hanging and finishing drywall
Become and email or RSS subscriber to stay current on the basement remodel and all of our Pro-Follow series. Later this week, I’ll be sharing another Pro-Follow for installing wainscoting in a kitchen.
Door Sizing and Specifications
It’s important you have all the necessary information before you purchase a pre-hung door. Here are the dimensions and information you’ll need.
Width
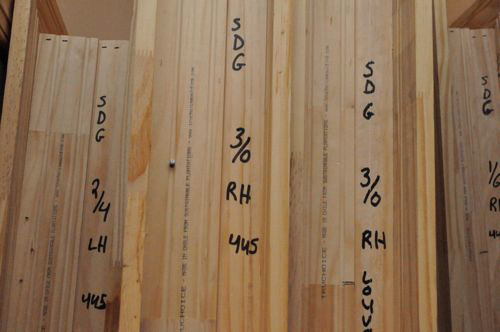
During Day 1, the framers built door openings, and the size of the door was written as “feet/inches.” For example, a 4/0 door (read: “four zero”) indicates a 4′, 0″ door, and a 2/6 door indicates a 2′, 6″ door. In addition, the framers further extend the opening by 2″ (1″ on each side) for hanging and shimming the door. So a 4/0 door opening will actually measure 48″+2″ = 50″ across.
Pro-Tip: Door trim increases the overall width, and a 4/0 pre-hung door will measure about 55″ across after installation.

Height
Door height follows the same nomenclature as door width. All the doors in this basement are 6/8 (80″) tall which is a standard height. The framers add 2-1/2″ to the height so a 6/8 door will actually sit in an 82-1/2″ opening, and this allows the door to clear the flooring.
Jamb Width
The jamb width is the same as the wall thickness, and this basement, like many other interiors, features 2×4 framing with 1/2″ drywall. To calculate the typical door jamb width, add 3-1/2″ (actual width of a 2×4) + 1/2″ + 1/2″ = 4-1/2″. Exceptions to this include doorways to unfinished spaces like the HVAC closet which only have drywall on one side.
Right or Left-Handed Doors
Doors are either right-handed or left-handed, and this needs to be specified when you purchase.
Pro-Tip: The easiest way to determine door-handedness is to place your backside to the door hinge. If the door opens left, it’s a left-handed door and vice-versa.
Tools & Materials
Here are the tools you’ll need:
- Hammer
- Pliers
- 4′ Level
- Finish nailer (with compressor)
* finish nails can be driven by hammer and nail-set with pre-drilled holes
These are the materials you’ll need:
- Shims
- 1/2″ spacers (drywall works well)
Step 1: Place Spacers
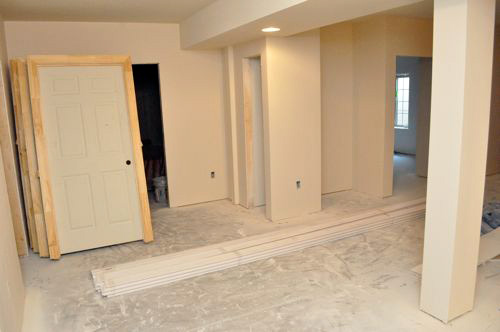
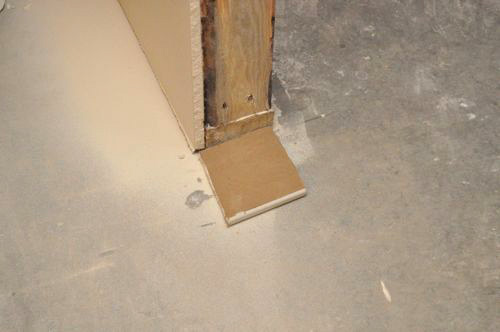
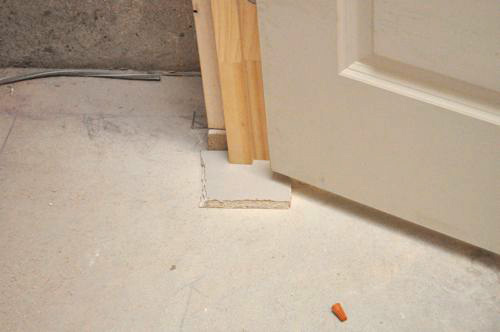
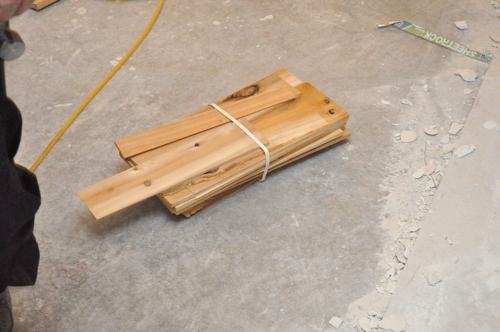
Joe and his crew had some 1/2″ drywall left over, and they used pieces to act as spacers. They placed a small square on the left and right side to keep the door off the concrete.
Step 2: Remove Nails, Staples, Braces
Pre-hung doors come with double-headed nails to hold the door in place. Depending on the door style (single, double-door, etc.) you may have nails in both sides and the top.
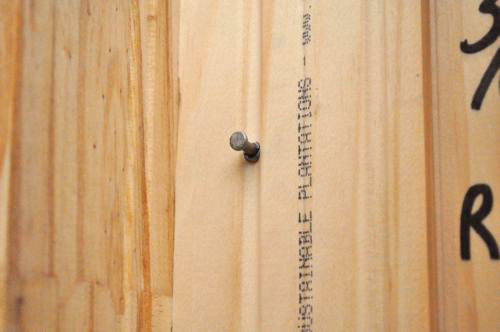
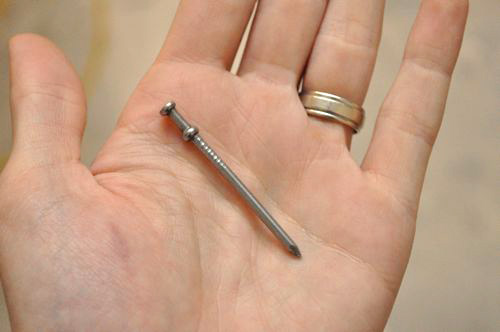
Braces and staples keep the inside and outside door trim in place, and sometimes the staples are embedded in the wood. Thoroughly examine the door and remove all staples and braces.
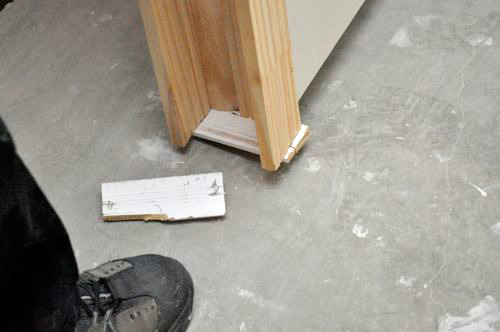
Step 3: Separate Inside and Outside Trim
The inside and outside trim will separate with some gentle “encouragement.” At this point, the frame will not support much weight so work carefully.
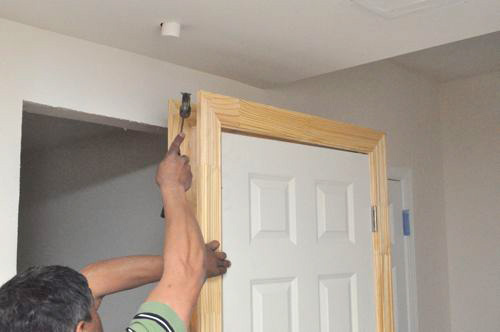
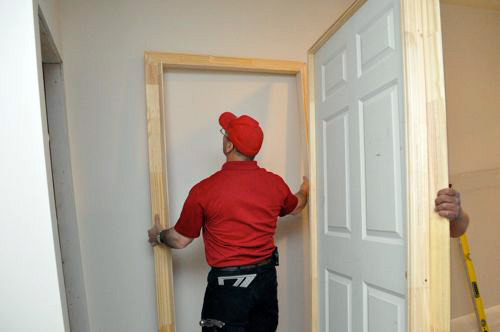
Pro-tip: If you’re installing a double-door, there will be a bottom brace securing the underside of the doors. Leave this brace until after nailing the trim (Step 6).
Step 4: Move Door in Place
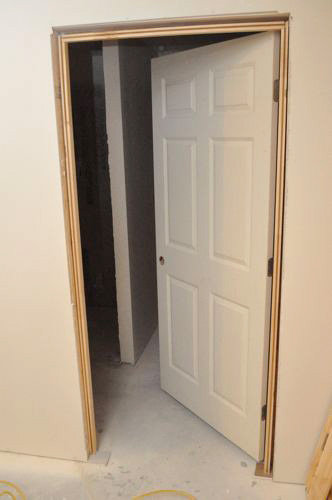
Slide the door in place on top of the spacers and snug against the walls.
Step 5: Level Hinge Side
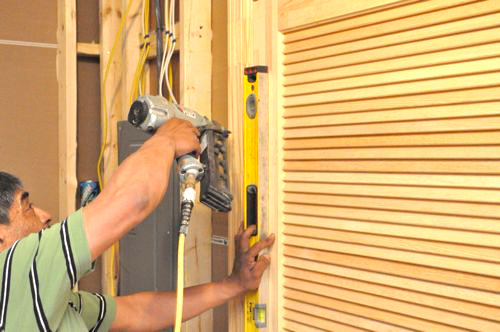
Use a 4′ level to plumb the hinge side of the door. Make this as exact as possible otherwise the door will be unbalanced.
Step 6: Finish Nail Face of Trim
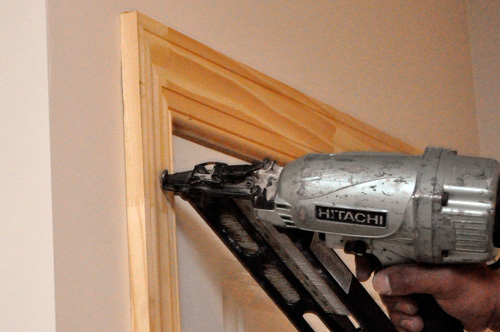
Finish nail the face of the trim every 18″ or so. Before nailing the knob-side trim, double-check the door reveal. If the factory built the door square, you shouldn’t have to make adjustments.
Step 7: Insert Shims
There will be a space between the door jamb and the door framing. Insert two shim (pointed in opposite directions) to tightly fill that gap. Place three pairs of shims, evenly spaced on both sides of the door. Be sure that one pair of shims sits behind the top-most hinge.
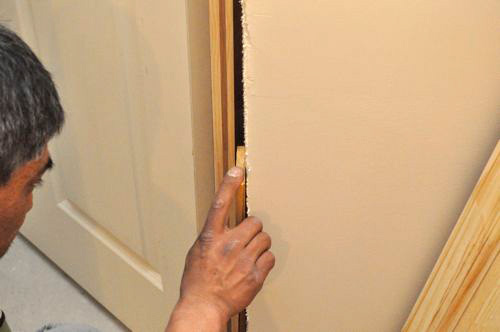
Editors note: You may see alternate instructions that indicate shims should be placed before the door. While a valid option, the method described here is faster. Since the door is already level, all you need to do is fill a gap (rather than check for plumb, adjust shims, then recheck).
Step 8: Add Second Trim and Nail
Fit the second piece of trim tight against the wall on the opposite side of the doorway. Nail the face of the trim just like before, then nail into the door jamb and through the shims.
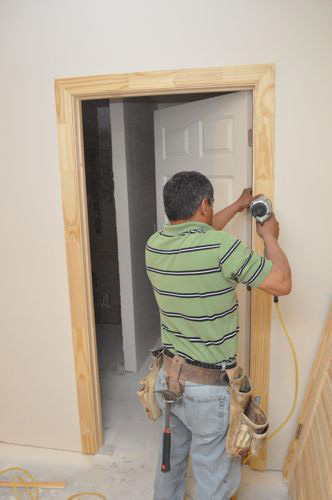
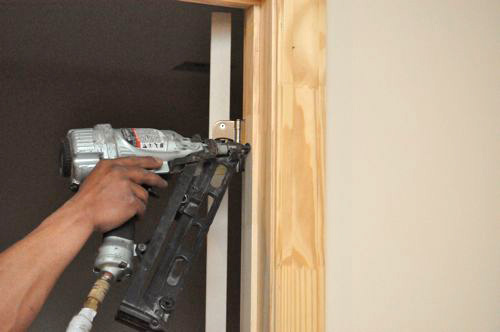
Pro-Tip: Over time doors can shift position. To keep the door in place and balanced, temporarily remove the top-most hinge. Next, pre-drill a hole and drive a 3″ screw through the jamb and shims and into the framing.
Finished


I had heard to place shims behind all of the hinges… and to replace a few of those hinge screws with the 3″ ones into the studs. Also, what about keeping the door frame square? It doesn’t seem like the trim around the corners is going to keep everything exact.
That’s the method I use for exterior doors. I would think that solid interior doors would have a similar method.
Hey Joe,
I mention driving a 3″ screw only behind the top hinge because that’s were it’ll try to pull away. With that said, 3″ screws at each hinge isn’t a bad thing, and if you do that, you’ll definitely want shims at each hinge. I like hiding the screw rather than replacing one of the hinge screws because they usually have a different finish.
Particularly on exterior doors, just replace ALL your frame-side hinge screws with 3″ screws. Makes for a much sturdier mounting solution for the door. Likewise, opt for the longest throw deadbolt you can get. Seeing what holds their doors into the homes ought to get people thinking about how easy it is to force an exterior door open simply because of how they’re hung and the materials used in the frame. A latch and short-throw deadbolt will splinter most door frames extremely easily. Sometimes the bolt will bend before that, but typically, the door frame is the weak part, and it fails quickly.
I always use at least 3 – 3″ screws through the deadbolt strike box. Never rely on just the frame for the deadbolt.
Yeah. It stops the casual door-kicker. A determined individual will either bring tools or pick a softer point of entry. Could be a good DIY article for OPC: hardening your home without making it look like a fortress. Things like 3M window film, 3″ screws, blind deadbolts, etc. Forcible entry being part of my job, I might have some ideas.
If forcible entry is your job, do you consult? I want a fortress.
You can usually buy matching finish screws at in the hardware section of home improvement stores. Hinge screws are usually #9 which is an odd size. I like shims on all hinges but minimally I’d do the top hinge with the 3″ screw and shim the bottom hinge because the door will also push towards the bottom hinge as it pulls away from the top hinge.
My husband and son installed a couple of doors in our upstairs renovation.
We have a new exterior door ready to be installed, however pretty sure we are going to hire that one out.
nicely done how to…as always the pro tips and editor’s note are great little nuggets of info. What are the major differences when installing an interior vs. exterior door?
The primary difference is weight, exterior doors must be fire rated, and thus are heavier. The popular choices are steel, fiberglass, and solid wood, and a little more care needs to be taken in the initial plumbing, and checking the reveal, as temperature, and humidity variances can cause the opening to expand, or contract.
Also, exterior doors typically only have the brick mold, or exterior trim attached. Once installed, the voids between the jamb, and framing should be insulated. A special type of foam spray in insulation manufactured especially for this application is available, and does a good job, being low expanding, it won’t bow the jamb, and bind the door.
The door needs to be trimmed out inside using your choice of casing.
Hope this helps answer your question!
I loathe changing/installing doors for some reason. Well hollocore is okay but solid or metal insulated no thanks.
Great follow as always.
Nice, clear instructions. Good tip on the 1/2″ drywall spacers!
I’ve hung a few doors, but never been able to get them to turn out exactly right. This is something I’d consider hiring out if I knew that I’d get a better finished product. I’ve never tried the ones that come with the trim installed already.
I like pre-hung doors, but I’ve been disappointed with the quality of Jeld-Wen jams. The doors themselves were excellent quality, the jams were nearly useless.
I agree with you about jambs – their quality seems to be ignored by many of the manufacturers I have worked with.
Glad to know I’m not the only one that’s noticed this.
Great post. Now if there is ever a follow up on doing exterior doors on an old house that probably requires a custom frame…
My hubby and son installed all the doors in our home and none of them were as easy as this. I wonder if there’s a difference in the types of doors. Our did not have the trim with them. In fact I’ve never seen any that had that. We’d have had to remove it anyway since we are making our own trim in an old style common in late Victorian/early Craftsman style homes.
Great post and I love all the pictures. I don’t like DIY sites that tell you how to do something, then not provide pictures of the action. A picture can clarify a lot. I found this at just the right time. I’m about to replace a pocket door with a prehung.
I bought a fiberglass exterior door from Codel. An installer put the door in. After the installer left I noticed the door knob latch would pop open when pressure was placed on the door. The “reveal” space on the side where the door knobs were located I measured at 1/4″ to 5/16″. At the top of the door the reveal measured 1/8″. The reveal on the hinge side of the door was noticeably thinner. Also the door did not come with a u channel on the bottom of the door. The door was shortened. Should I be concerned about the wood composite framing of the door swelling up if it gets wet? I called the installer back and he came back and installed some shims on the knob side of the prehung assembly. The jam on the knob side is visibly bowed. Installer told me header and threshold were too long for the door. I called Codel and they are sending out a technician. How large should the reveal be? I paid $1,000 for this door and expected better.
I’d be pretty dissatisfied with that installer. They should have measured the door opening and realized that the door was smaller. In that case, they should have removed some of the existing rough-framing and re-framed to eliminate the excess reveal. Not sure about the bottom of the door. It’s fiberglass so I’m not sure how much water it would actually swell. That’s a good question for the technician.
my friend just had his front door broken into… nice to know how i could help him if he wants me to…
Great post. Your instructions are very clear and easy to follow.