
When I unveiled my amazing dust collection system a couple of months ago, I remembered Jeff speculating that a zero clearance insert (ZCI) on the table saw may further reduce the amount of dust that escapes, and I squirreled that idea away in the back of my head. Soon after building the custom spice rack for Jocie, Fred and Kim put in a request for me to build another one, and I decided it was time to buy a dado stack. What does all this have in common? I needed some new table saw inserts.
If you look around online, you’ll spend at least $20 on each blank insert. Instead, I chose to build my own inserts, and I started with a zero clearance insert. The key for any insert is to support the workpiece which reduces tear out and splintering. On a ZCI, you have the added benefit that smaller pieces can’t fall through.
Step 1: Remove the OEM Throat Plate
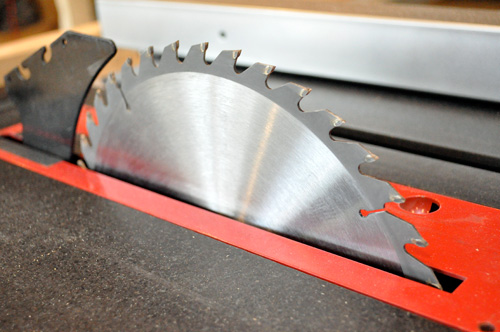
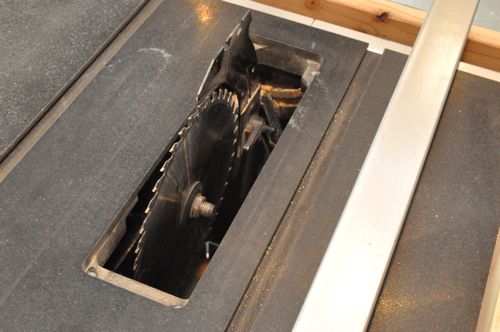
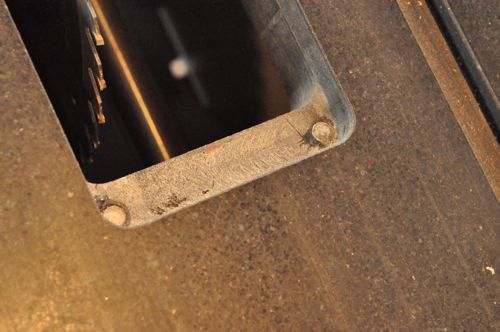
I have a Steel City table saw, and the throat plate is held in place with four powerful magnets.
Step 2: Trace Outline
I traced the outline of my throat plate onto spare 1/2″ plywood I had in the shop. If your throat plate is similar to mine (and I bet it is), the plywood will be just thinner than the original throat plate, and that’s a good thing.
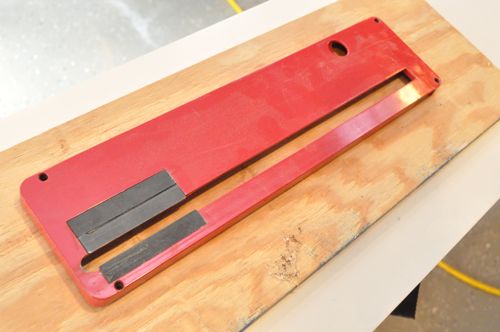
I’m making multiple inserts to accommodate different blades and dado stacks even though I only plan on finishing one today.
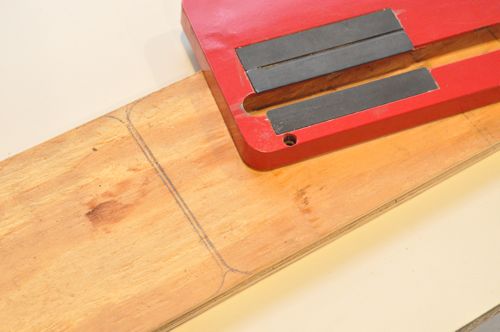
I used my table saw and miter saw to cut the inserts roughly to size.
Step 3: Route with Bearing Bit
I was really confused the first time I saw a router bit with a bearing on the end, and I remember trying to take the bearing off. Eventually I learned that these bits are used to follow a template or pattern, and they are really useful for making table saw inserts.
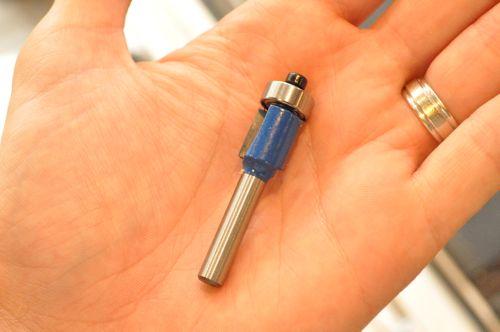
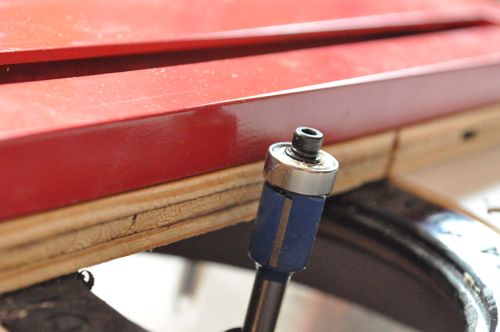
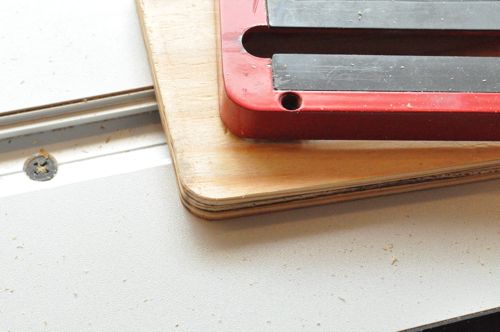
By lining up the bearing with the OEM plate, I cut a perfect match in no time.
Step 4: Position Leveling Screws
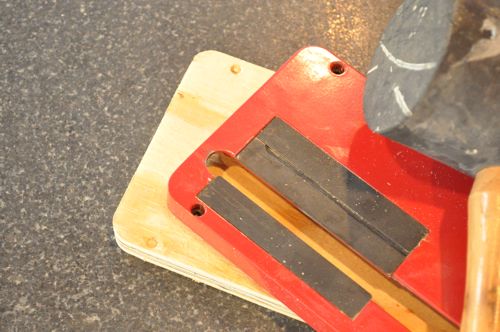
I used a rubber mallet to make some indentations where the leveling screws were located.
Step 5: Begin Kerf Cut
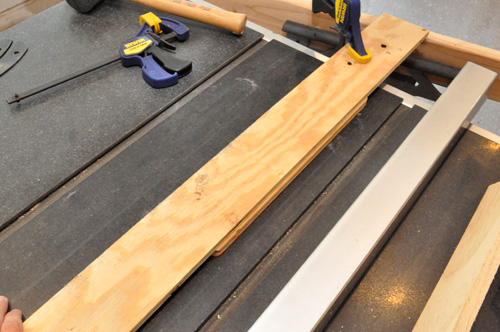
Many table saws (mine included) can’t lower the blade far enough to fully seat the ZCI. To start the kerf cut, I replaced the OEM throat plate and clamped my blank overtop. I started the saw and slowly raised the blade.
Step 6: Continue Kerf Cut
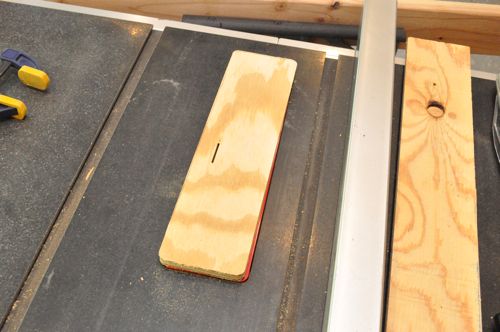
After the cut was started, it was easy to set the ZCI in place and continue raising the table saw blade, using a piece of scrap to prevent it from coming out.
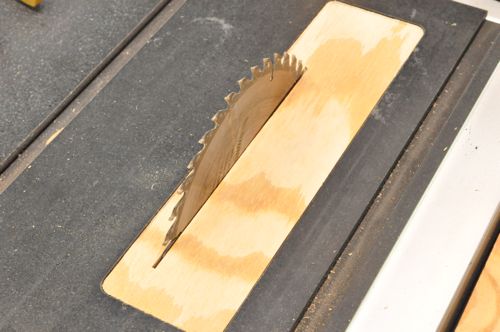
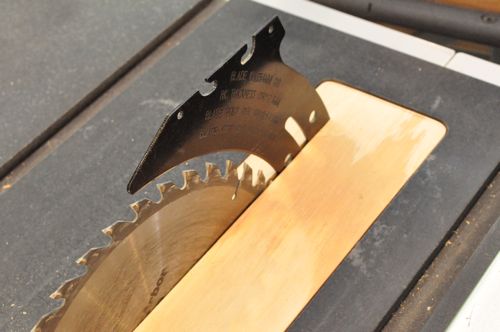
Many ZCI’s don’t provide anything in the way of splitter, riving knife or attachment for the blade guard. I decided to extend the kerf cut enough that my riving knife would fit too, and that enables me to use the blade guard as well.
Step 7: Adjust Fit
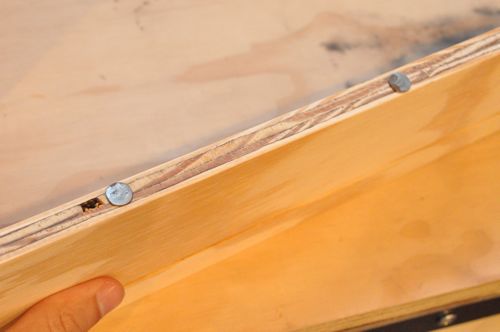
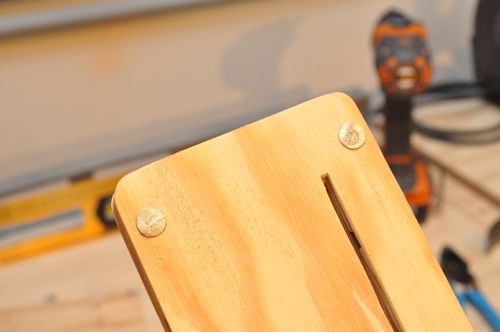
Originally, I didn’t think this step would be necessary. However, with a zero clearance insert, there’s no extra space, and I didn’t want the insert to move at all. Even on the OEM plate there is a very slight gap so to make my ZCI even more snug, I drove a few roofing nails into the edge. The same results can be achieved more elegantly with a set screw, but I found this to work just as well.
Step 8: Leveling Screws
This is another step that set screws would have come in handy. Again, I opted for my roofing nails to provide contact for the magnets and raise the insert flush with the table. I cut the nails to length with Linemen’s pliers and pre-drilled the holes.
My ZCI was a hair too high on one corner so I sanded that area until it was flush.
Step 9: Drill Pull Hole
Needless to say, it’s almost impossible to remove this insert without a small hole to grab it. The last thing I did was drill a pinky-sized hole off to the side.
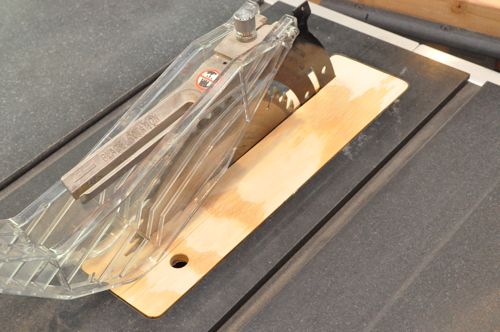


Great job! Now the question is… how well did it work? One thing to try on the next blank is to hog out a small relief on the back side of the insert so that you can seat it with the blade all the way down. I love the look of the granite top. Also, no rusting. I have to wax my saw every month or two to protect it.
It worked well! I had noticeably less dust escaping that with the original insert.
For right now, I’m only using the 10″ blade and an 8″ dado stack. Since the dados are smaller, I can lower the blades enough that they’ll clear the blank insert with any extra work. Plus, I won’t want the riving knife back there so the next insert will be much easier.
I take it the issue being addressed is the original insert has some small gap that dust flies through? This would make a good video post.
It also eliminates tear-out from the blade exiting the material. No more small slivers or peeling veneer layers.
Looks very slick. Nice pictures too.
Did you just get lucky with the thickness of the original plate? What would you suggest if the plate is a different thickness and someone doesn’t have access to a planer?
The thickness usually only matters in two places. 1.) around the edge of the insert and 2.) where the arbor may contact the bottom of the plate if the blade is raised to max height. I’d use a router to adjust thickness. Taking out too much material is ok because screws can be used to level the plate.
Wow, I have never heard of this at all. I didn’t know this was something a person would want to do!.
I like the space for the riving knife! nice to see that you have safety in mind.
How many do you plan to make when all is said and done?
I just went out into the shop to check this one out… Been so busy (notice I haven’t posted in forever) that I miss even what we’re doing on the blog! This is totally cool… and I see Ethan has another insert underway. When I first saw the picture in the email I thought “How’d he do that?” Looks very cool up close and in person.
This is a great tutorial. Now if I only had a table saw. Hopefully, that’s next on the list.
I just bought a used table saw to see if I could do anything with it. The saw I got has a metal insert only about an 1/8 inch thick and 1/4 inch blade clearance. I really would like to use dado blades but what would you suggest making inserts out of. Thanks in advance for any help you can give me.
How did you extend the cut for the riving knife?
Nice work!! that’s the thing I was looking for. It’s really very handy to use.
I will just have to try it. The dust is just killing me. Thanks for sharing this Ethan.
Thanks Ethan. It’s really cool process. Thanks for sharing as details as needed. 🙂
I had never even heard of ZCI but spent years with sawdust all over the place and wishing there was a way…. Thanks for this post. I’m on the market for a table saw under $1000 and searching for reviews and recommendations, so if you know of any, please point the way.
Although your pictures were great, someone suggested video and you might find them easier.
Thanks again for sharing your experience!