
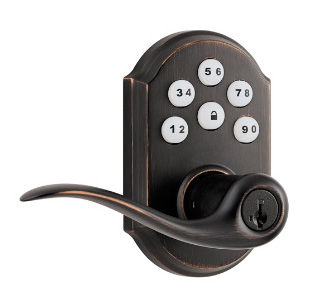
I think it’s impressive that Kwikset is constantly trying to bring new products to market. Remember a couple years ago when they introduced the SmartKey technology? If you’re not familiar, they created a lock that any homeowner can re-key in about 30 seconds, and it works really well! I was excited when they offered up their latest innovation for review- the SmartCode lock.
The idea behind SmartCode is to provide a touchpad that homeowners can program themselves. This allows keyless access and the ability to lock your door with the push of a button. Some of the other perks include the SmartKey technology and an innocuous status light telling you whether the door is locked or not. Installing the lock was an easy process unless you fall into the same problem we had. Read on to learn what not to do.
P.S. If you’d like to learn more about the SmartKey lock, you can read our review here.
Removing the Old Lock
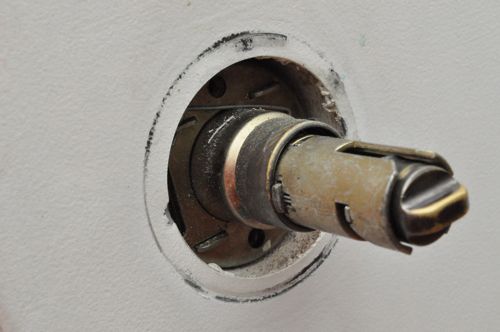
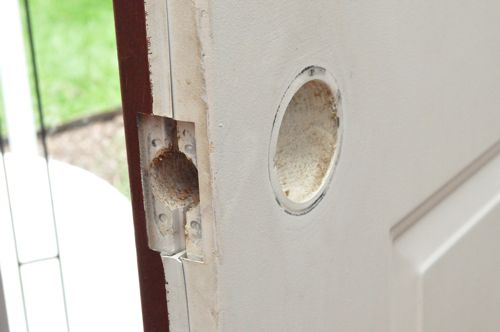
Fred and Kim have a two-hole door with some older hardware. To start this project we needed to remove the old handle and knob.
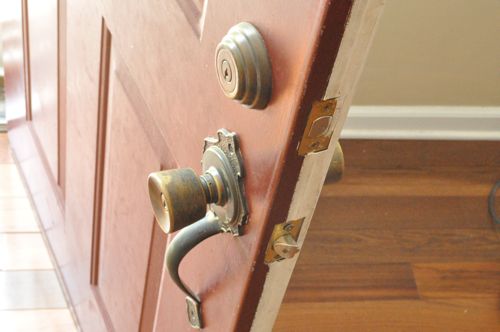
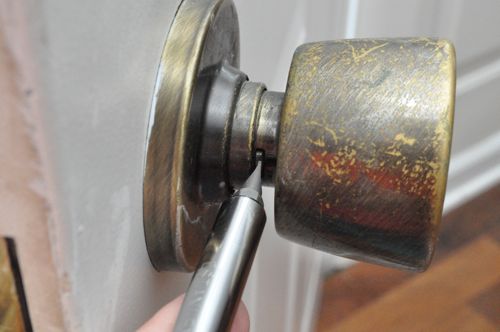
Removing a door knob can sometimes seem like a puzzle. Manufacturers want to provide a seamless solution, and so they hide things like set screws and catches where you can’t see them.
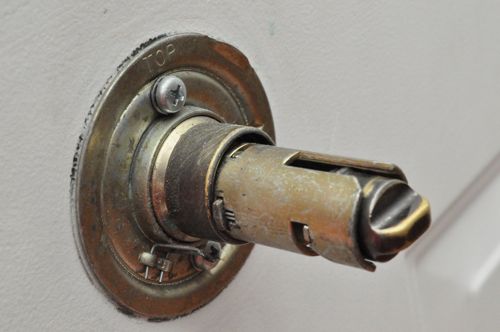
Once you get inside, most locks have two screws holding the inside and outside components together.
Installing the Kwikset SmartCode Lock
Note: Don’t be silly and use this walkthrough as a replacement for the directions. I’m wanted to share the installation process but did not include every step.
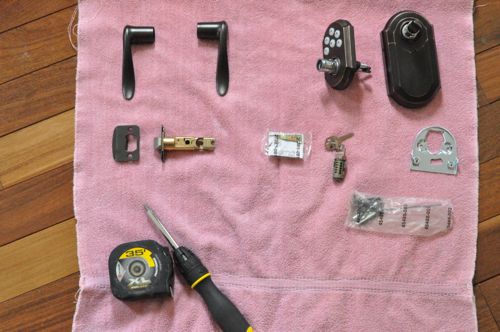
I unpacked all the parts and grabbed a screwdriver and tape measure.
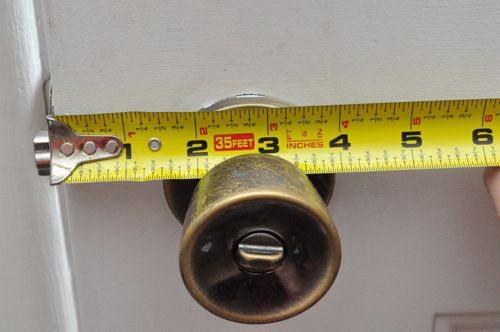
The first step in the installation is to set the latch to the correct distance. Our door measured 2 3/4″ from the edge to the center of the hole.
Just slide that little pin to the correct setting.
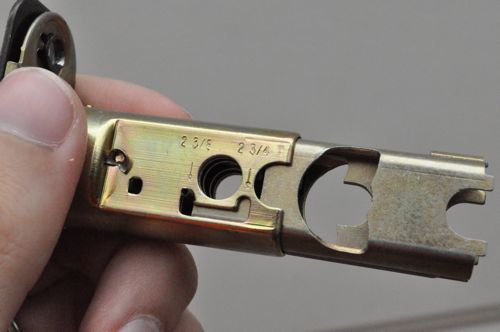
Make sure you install the latch in the correct orientation with the angle facing the strike plate.
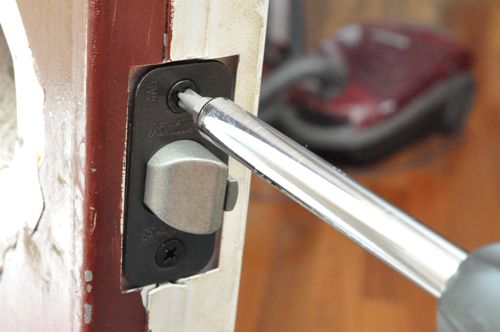
Next, grab the exterior keypad and snake the tether underneath the latch.
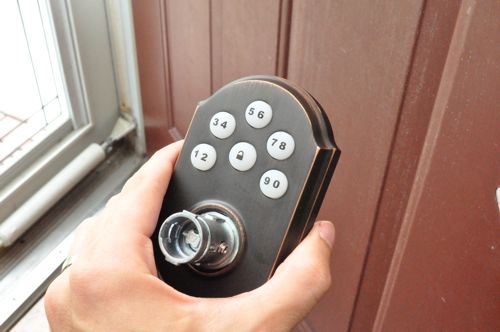
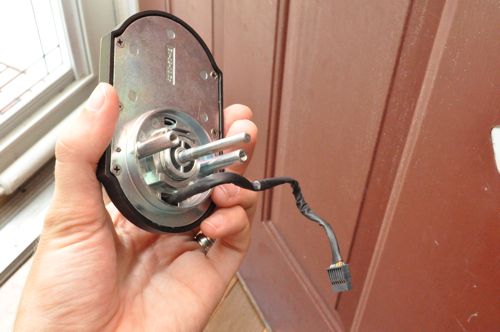
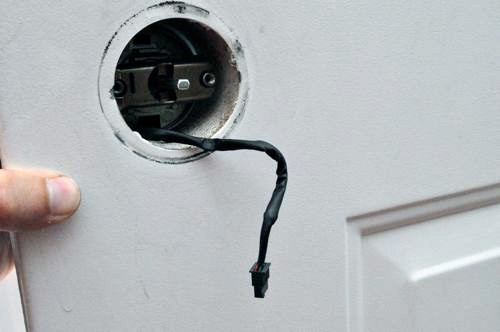
Kwikset provides a metal plate that mounts the internal portion. Line up the screw holes and tighten it down.
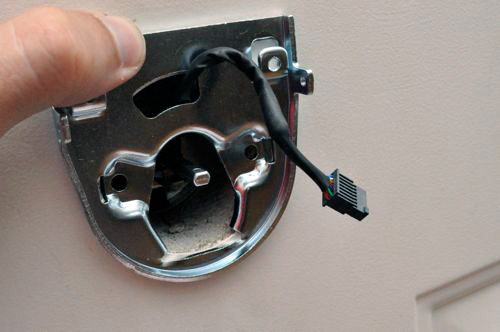
Find some tiny hands to press the electronic connection into the port.
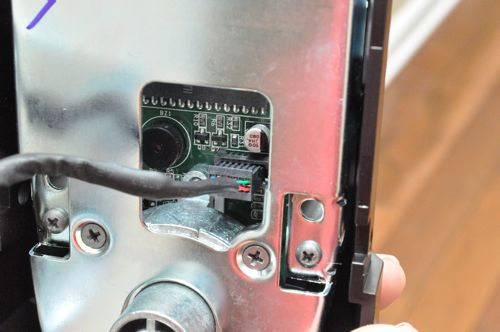
There are two screws that hold the internal unit in place.
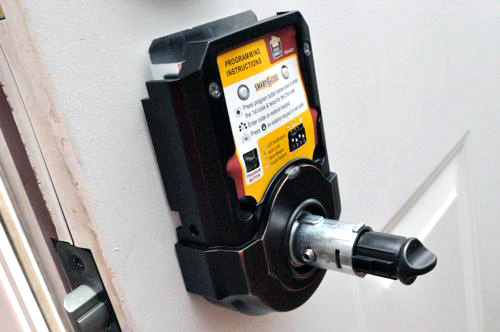
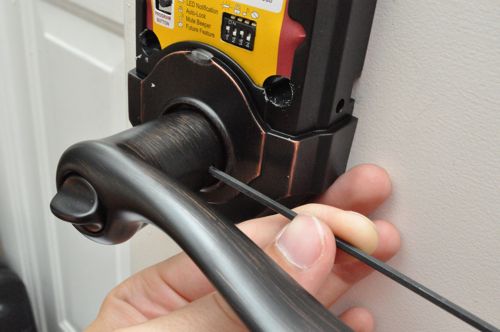
Now it’s time to attach the levers. The inside lever slides in place and there’s a little set screw that you tighten to keep it in place.
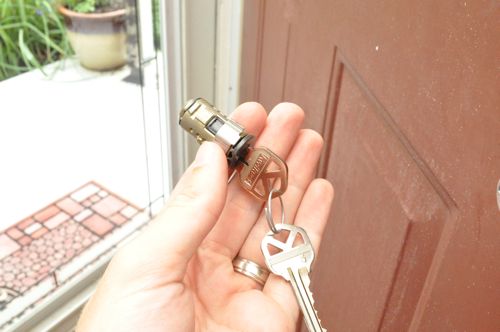
For the outside lever, start by inserting the lock cylinder.
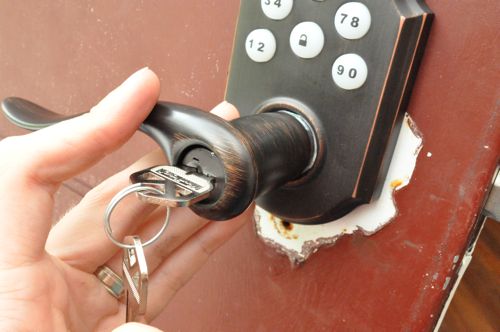
Put the lever on and insert the key. Give it a quarter turn and the lever will slide on the rest of the way.
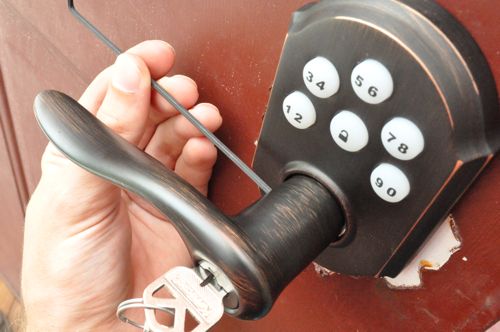
Tighten another set screw with the provided allen wrench.
At this point you’re almost done. Find four AA batteries and push them into the battery holder.
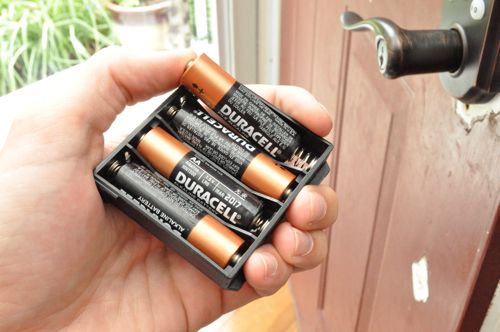
Just slide the battery holder in place, and the last step is to program the combination codes. Wait…. we have a problem.
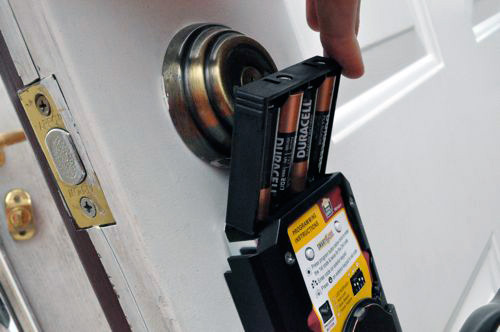
No worries. That looks like a problem for Future Ethan. He’ll have to find a suitable work around. In the meantime, we’ll just slide the cover on top. Or not.
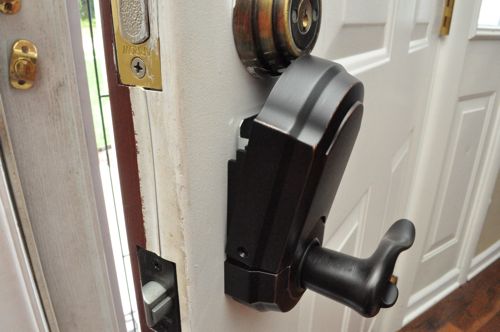
One Hole Doors Only
When we first received the SmartCode Lock we noticed a little graphic indicating that this lock should be installed on one-hole doors only. We were obviously concerned and asked Kwikset about it. To their credit, they didn’t actually tell us that the install would work. They didn’t answer the question, and I dropped the ball by not following up.
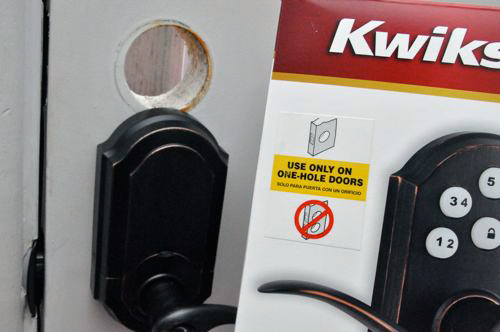
I got the OK to remove the deadbolt and completed the install. Programing the combinations was easy, and the one-button lock was really nice. Imagine not having to giving keys out to a realtor or neighbor. Lost your keys? No problem. It’s a great lock, and I recommend checking it out…. if your door only has one hole.
Now it’s time to replace the SmartCode lever with something that fits….
I am a member of the Kwikset-sponsored SmartSquad and occasionally receive incentives (like the SmartCode lock) to discuss issues related to home safety and security.


Why do you need two locks?
When I got my house I just replaced the front knob and deadbolt with a new handle (without a lock) and deadbolt set. I saw no reason to have two separate locks when the deadbolt would be just fine. Does Kwikset have a smart key deadbolt? you could just use that and a normal handle (there as a second hole to mount the bottom of the handle anyways right?).
Also, it looks like you will need to take it off to repaint your door anyways.
That’s not a bad idea and Kwikset does make deadbolts w/ SmartKey & SmartCode. I guess I’ve just always had both.
You’re right about the paint too. After all this is said and done, I’ll have installed three handles and two deadbolts on their door- a great use of time 🙂
Joe, there are two disadvantages:
1) Deadbolts require time to lock with a key from the outside.
2) Some handle-style locks (although not these Kwikset versions) remain unlocked from the inside and locked from the outside. If you always leave your door locked, you never have to remember to lock/unlock it when you leave the house.
I agree with what Ethan said below, I am more comfortable with the deadbolt. Also with what Mike said, I prefer to explicitly lock all doors to the house, that way I cant lock myself out.
All locks do is keep honest people honest. If someone wants in, they will get in, if the lock takes too much time, then they can bust out a window on the back of the house.
You sound like my hubby Joe. Not something I want to hear really. I still keep my doors double and triple locked if you count the screen doors. LOL like they really help at all.
How secure is a non-deadbolt door? Did it come with a reinforced strike and long screws to get into the adjacent wall framing?
After I took the picture, I swapped it out for a deadbolt and knob. The door frame is reinforced and they did provide 3″ (approx.) screws. Ultimately, we’re more comfortable with a deadbolt on there.
I actually bought the same version, but the deadbolt only version. I installed it in the deadbolt hole. And then I installed a hallway doorknob in the lower one (no locking mechanism). That way if we want to lock the door, we just lock the deadbolt.
My wife had locked herself out of the house and so I immediately installed it.
I didn’t get the try the SmartCode lock. Is there a button you press to lock the door from the outside? That would be a timesaver over needing to enter a code to lock the door.
I guess I could have looked at the picture and saw the lock button for myself 🙂
Hm, my two year old son can already open our doors with our keys. I imagine he would have a field day with this. He’s managed to reprogram our computer and answering machine…
I have a Weiser Lock door handle that doesn’t line up with my old handle set holes.So I have to improvise too! Also its been impossible to find the dummy set in store (double doors). I’m paranoid about the combination locks I feel like they are easy to tamper with but thats probably just me being paranoid.
With the fit issue think of it this way you could always get a new front door 🙂 not the most cost effective but will look nice.
I’ve used the Schlage system and liked it enough to buy a second one when we moved to our current house. I’m guessing because of the handle, it adds length that interferes with the deadbolt position, whereas the Schlage is designed to be a replacement for the deadbolt.
I have been a fan of Schlage’s seeming quality vs. Kwikset, but I don’t recall them offering a version that can replace the doorknob. If they do, I’d be interested to see how they stack up.
We have this same set and love it! No more getting locked out! The only quirk with it is that if your kids slam doors like mine do… When you slam the door, the lock beeps continuously for about 10 seconds like its protesting the slam.