
I remember painting oven baked clay ornments when I was little, and my parents were very sweet to put them on the tree, but boy were they ugly! But the concept is wonderful, so I thought I would do a grown up version. I’m excited to give these this Christmas as ornaments and gift tags!
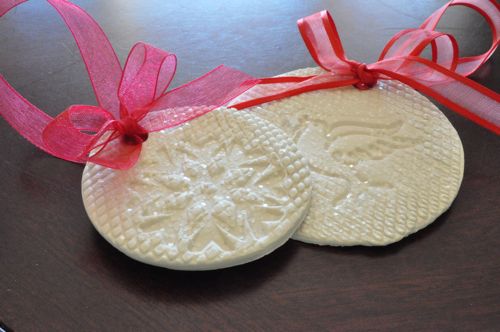
I originally thought about making salt dough but found that it takes 4 – 6 hours to cook and they don’t make as polished of a product. So, I bought White oven-bake clay at Walmart for about $6 for a good sized amount. A big advantage to oven bake clay is that you can take your time without the clay drying out – great for kids!
Making Clay Ornaments and Custom Gift Tags
Here’s how we made our ornaments and gift tags. Check out my super cute, little helper – my older daughter, Izzie! Lucy, our younger, wanted to help but crawled around our feet and squeeled her encouragement.
Step 1 – Cut off piece and kneed in your hands until soft.
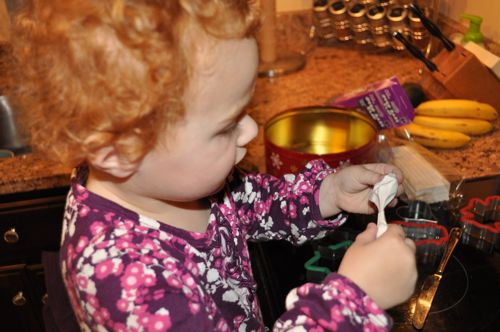
Step 2 – Then roll out to 1/4″ thickness.

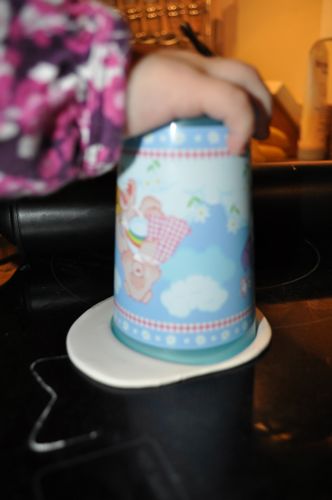
Step 3 – Then use cookie cuters, cups, or whatever to cut out the clay to your desired shape. Izzie used her Care Bear cup to make a circle.
Step 4 – I then used a straw to cut out a hole for the ornament string, but a small coffee stirrer would have been perfect.
Step 5 – You can stop here or add extra ornamentation. I used an old wire pencil organizer to create the indented grid you see on the ornaments, but burlap, other printed fabric, or stamps would also work well. On one ornament Izzie made, she used her finger tips to create texture and it looked really cute. You can also use stamp ink to add color before baking. Get creative!
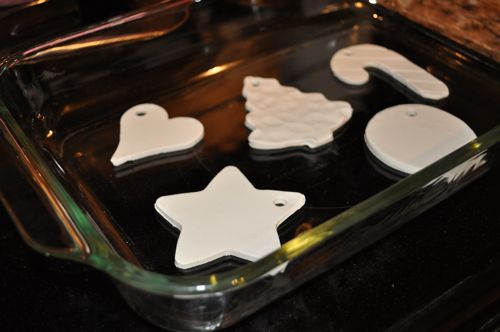
Step 6 – Once done, place in a glass or metal tray or dish and bake at 275° for 15 minutes per 1/4″ of clay. After completely cool, you can sand or paint the clay.
Finally, add a ribbon and you’re done.
Have you ever made oven-baked clay ornaments or gift tags? Any pointers?


perhaps i’ll try this with the monkey…i mean nephew
Jocie, your daughter is adorable! Great ornaments too. I’ll have to do this with our grandsons. Thanks!
Would this clay work for hand or foot prints or is it too stiff? I want to do this with my niece to make ornaments for the grandparents and parents.
It would definitely work, but you would want to kneed the clay until it is SUPER soft and warm and then roll a thinker piece than you might for an ornament. You will need to press in the hand or foot pretty deep so that it is visible when it bakes, but this should not be too difficult if the clay is very soft. Not sure why, but sometimes the pattern is less pronounced after baking.
Another small tip – put the rolled out clay on the baking sheet BEFORE using a cookie cutter or creating the imprint so that the shape is not damaged in the transfer onto the baking sheet.
Good luck, Jeff and let me know how it goes!!
Great tip about not cutting it on the baking sheet so you don’t have to transfer it. I love the texture you added…a wire pencil organizer, how clever!
That was so sweet shes pretty good at that. I also second her cuteness love the ringlets.
Nice idea for simple, yet personalized, gift- giving. I still have a small box of “clay creations” my kids made for me when they were little- very special to me. Thanks for the tips!
Thanks for sharing a great child friendly project.
This will be our next GRAND project when the GRANDchildren visit!
It made me think of my teaching years, when we made
cornstarch clay ornaments that we air-dried over the vents,
I’m a newbie here, and know I will find lots to keep me busy!
You make it look too easy. Great tutorial. I love the finish of your tags.Do you recall what type of paint you used? I would love to make these for our gifts under the tree.