
I may be a little obsessed with painted numbers on furniture like this chair from theDIYvillage, and Jacque was kind enough to stop by and share it with us! Jacque is one of my favorite DIY gals and I am often inspired by her, so if you find yourself in the same boat, you can also follow her on Facebook and Pinterest.

Hey everyone! I’m Jacque, and I am one half of a husband and wife DIY team! I DIY and blog with my husband Matt over at theDIYvillage! I am so excited to be with you all today to share with you one of my favorite thrift store makeovers.
Last summer while visiting the Knoxville Habitat for Humanity ReStore, Matt scored this awesome red chair for 7 bucks!
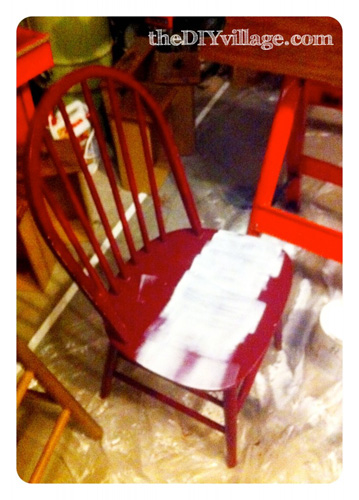
The original intention was to paint the chair and use it as seating for our guest room. I mean honestly who doesn’t love having a nice place to sit down and put your shoes on? I primed the chair, and Matt painted it an antique white color with thoughts of some distressing or something fun for the seat. But it never happened as usual. Our never-ending Honey-do list got in the way of actually completing this task.
Fast forward 10 months (yes I said 10 … remember this a “judge free” zone), the chair was being used in the garage to put our shoes on and off when we worked in the yard and honestly it HAD to get out of our garage.
I’m totally in love with this Pottery Barn Number Canvas (sorry guys they don’t sell it anymore).
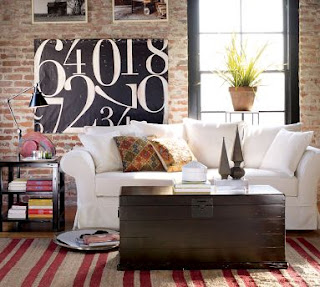
Photo Source: Here
Since I love this so much I decided I wanted to do my take on this PB canvas and make my own number chair. I wanted a tone on tone look and opted to paint the back and legs of the chair turquoise, leaving the seat antique white.
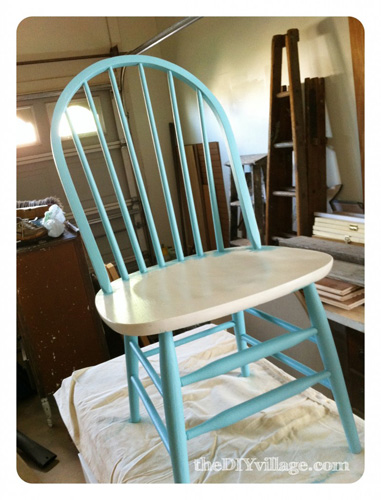
To make sure I got good coverage I painted the back spindles first, and after an ample amount of drying time was given, I used painters tape and wrapped the spindles so I could paint the seat.
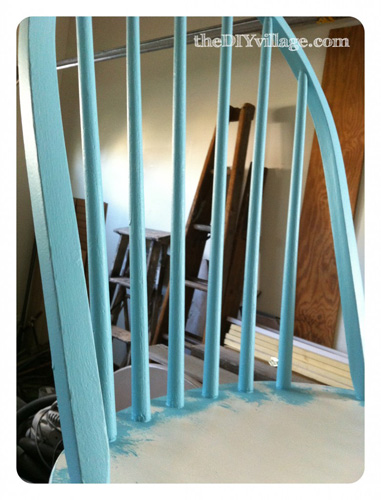
This was much easier than painting the spindles last. It would have taken forever to tape off the seat and leave a nice clean line!

While the paint was curing on the rest of the chair, it was time to make my stencil. I used Adobe Illustrator to lay my numbers out, changing fonts, sizes, and rotation as I went. Once the design was complete, Matt helped me use our vinyl cutter to cut out our stencil. With the stencil cut out I was able to “weed” away the areas that I wanted to show up as painted.
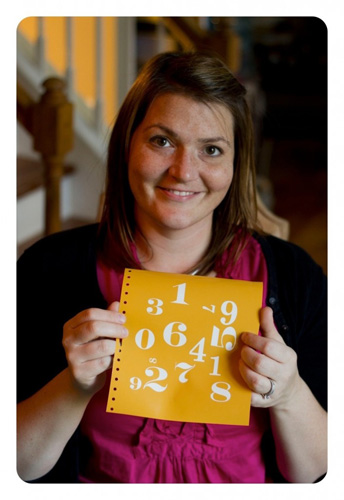
We added the transfer paper, and my stencil was ready to use. I attached the stencil to my chair, taking note of exactly how the numbers would appear once the stencil was removed.
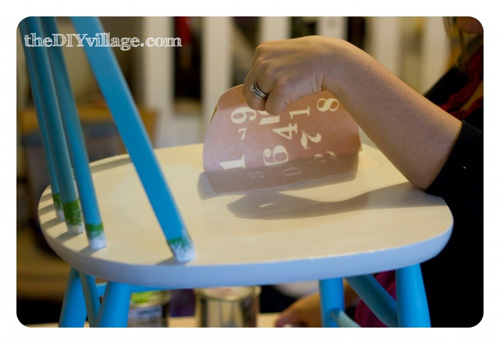
You will want to use a squeegee, credit card, or even a gift card will do while applying your vinyl. It will help to ensure a smooth bubble free area.
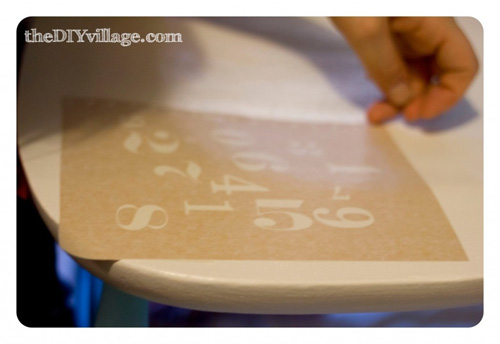
After a little bit of debating, I decided to stencil my numbers in orange. If you have been following us, you will know of my love of orange, turquoise, and white from my craft room! With the final color decision made, I painted over the stencil and then quickly removed the stencil from the chair. Once everything was dry I added a quick coat of polycrylic and the number chair was complete and ready for use!
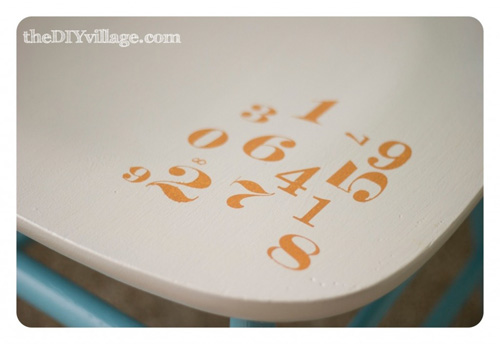
I love the Dr. Seuss style colors!
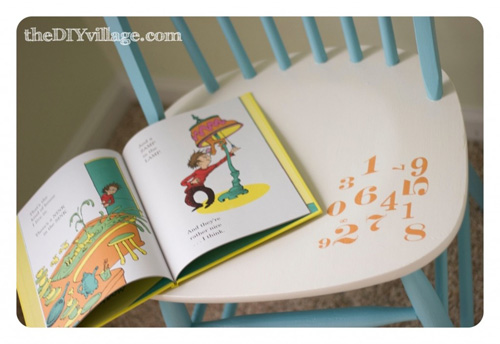
I think this chair will fit perfectly in its new home!
I’m so glad I got to share this project with you, and I hope you can stop by theDIYvillage and visit us soon!


Too cute for words…I mean Jacque:) Jk, I love the chair, the numbers and the color! Enjoy your time away Jocie.
Wow! This is so incredibly artsy, cute, and creative! I love the color choices, the fun whimsical way of the numbers and just the amazing make over! Great job!
Super cute! I want to do this with horses of different sizes. Love it.
That is such a cute chair! I really love those colors.
I appreciate the tip on how to paint the chair the two different colors… Makes a lot more sense than what I was thinking of doing…
I love the color combo and the mixed up numbers are just perfect!!
How beautiful this chair looks now!! I love the colors
How cute. I need to get me a Silhouette someday.