
If you keep up with OPC on Facebook, you know that I’ve started my own shed project. Ever since Jocie and I purchased our home, the shed under the deck stairs has been in poor shape, and replacing the shed has been on my todo list a long time.
Don’t let the unassuming exterior fool you. This shed is rotten to the core (almost literally).

The floor and roof are in the worst shape. You can see the decay and rot, and those areas never dry out.


It’s not a big shed, and I used it mostly for storing my mower. Unfortunately mold spread to things like rake handles, the lawn mower bag, and a few other items.

I decided to wait for cooler weather before starting to rebuild my shed. September has been unexpectedly cool here in Maryland so a couple of weeks ago I began the demolition.

I setup a tarp, and picked the shed apart piece by piece. Some of the walls were in fair shape, but I could poke my crowbar through the floor and ceiling without even trying.
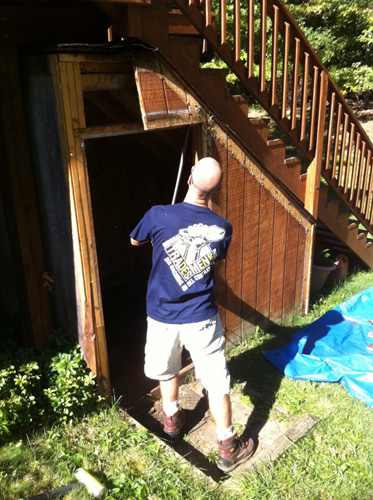

There were a few pressure treated 4×4’s around the entryway, but nothing along side the shed. I think the side of the shed covered with a couple of feet of dirt helped contribute to the floor falling apart. I decided to build a perimeter of pressure treated lumber so I cut out the existing 4×4’s too.

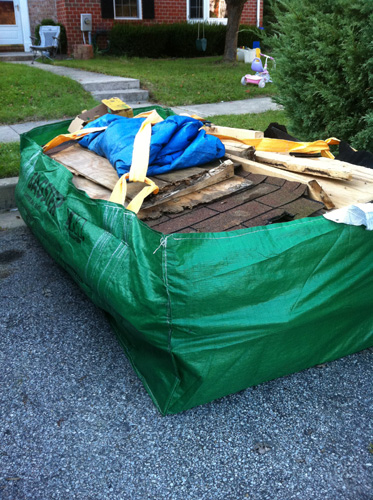
In the end I had a good-sized pile of old shed and no way to get rid of it. Rather than borrow a truck, I got in touch with the folks from Waste Management and asked if they’d provide a Bagster bag for me. We’ve used Bagster bags in the past, and they’re a great solution for removing construction debris. If you’re not familiar, The Bagster bag is a highly durable, woven bag designed for disposing as much as 3,300 pounds of junk.

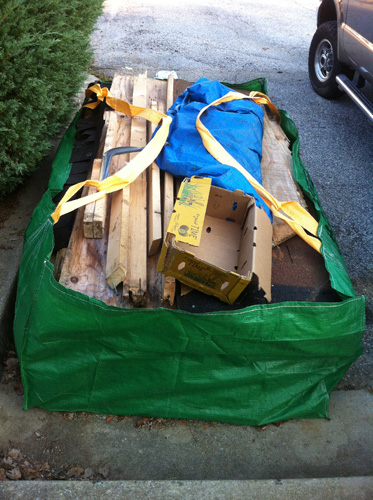
I setup the Bagster in a parking spot in front of our house and started carefully packing it. I wasn’t sure how much I’d be able to fit so I was trying to make the best use of the space.
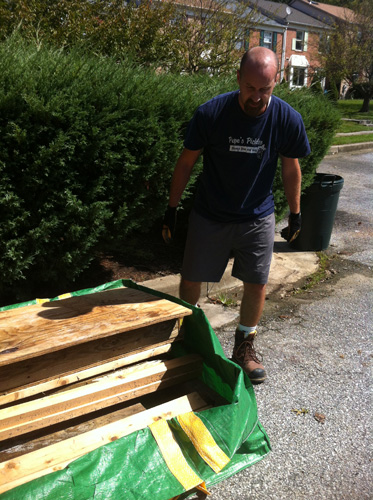
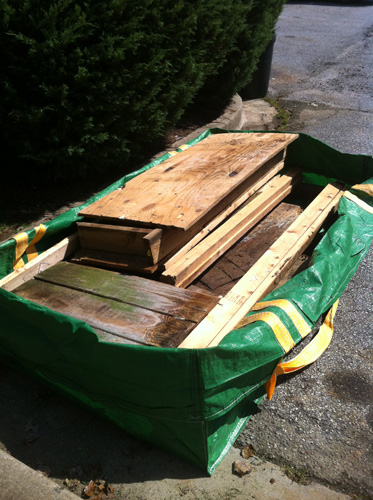
I was pleasantly surprised when I fit the entire shed into one Bagster bag! Later that day I scheduled a pickup online, and a few days after that the Bagster bag was gone.
In my area it costs about $200 ($30 for the bag and $160 for pickup) for a Bagster bag. If you’re considering a Bagster bag, make sure WM has pickup in your area. Bagster bags area available at HD, Lowe’s, Ace Hardware and True Value stores, and you can find all the details at that link.
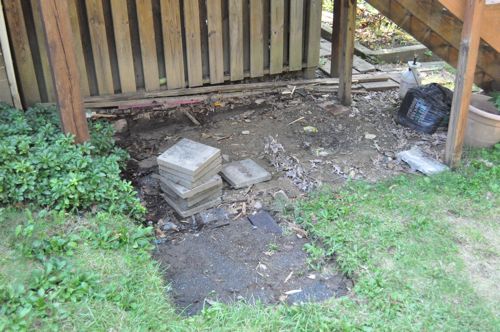
With the old shed gone, I purchased some pressure-treated 4×6’s and 4×4’s to line the perimeter. I salvaged those pavers to reuse in the entryway.
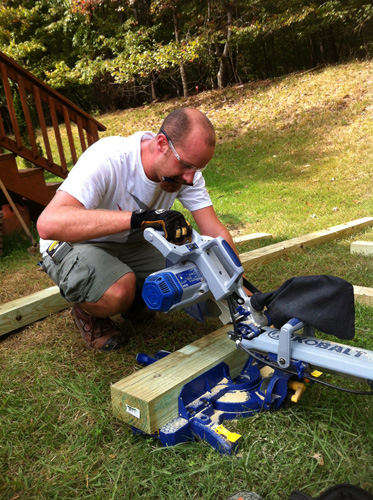
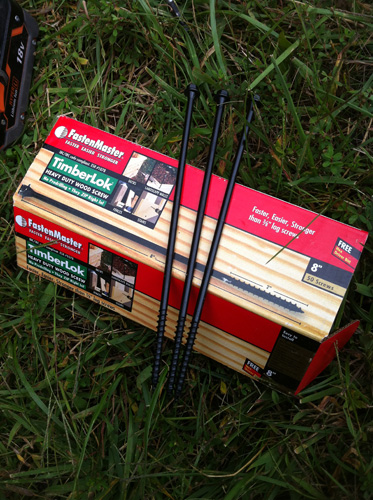
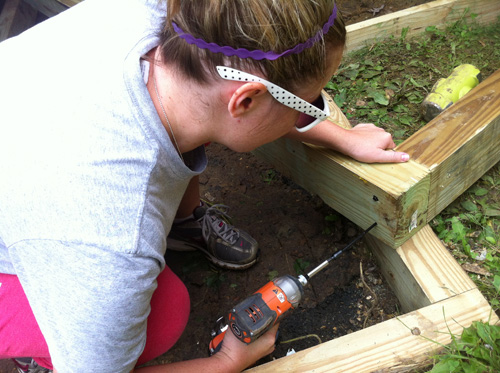
I used 2′ pieces of rebar to anchor the bottom-most row of 4×6’s and 8″ Timberlok screws to secure subsequent rows.
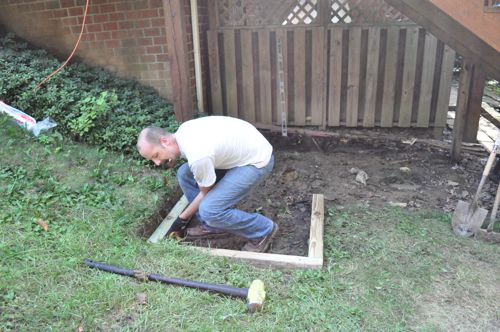
Even Jocie got in on the action!
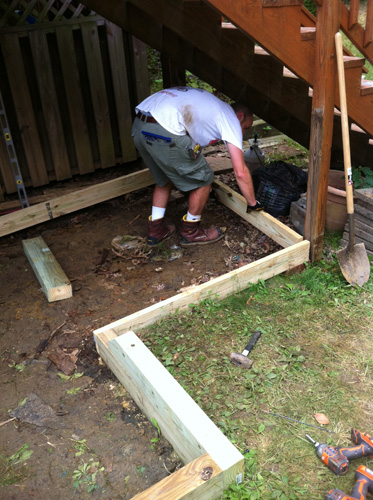

I bought some solid concrete blocks to use for the shed foundation. I set them about the perimeter, and leveled them all to the same height. When I start the rough framing and building the floor, it’ll sit on these blocks.

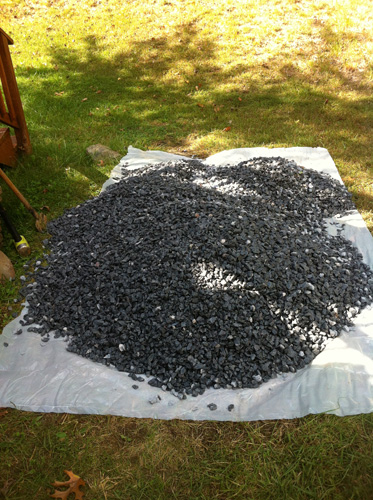
With the help of my awesome neighbors, I purchased a ton of crushed rock. I’ll use that to fill in around the block, and that should help keep water from sitting underneath the shed.
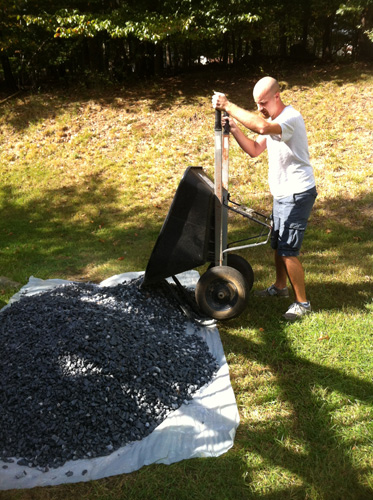


Looking better already. It looks like the new shed will be the same size as the old one. Any improvements/changes planned for the rest of the shed?
Thanks Byeedo. I’m really limited in where I can place the shed, and the old one was as big as it could be in that space. I do plan on running electric so I can store / charge batteries though.
Using a Bagster looks like a great idea. I didn’t realize they held that much.
cool project. Did you think about pouring a concrete slab floor?
if you are gonna run electric, I hope you plan to put a light in there as well. could come in handy.
Go Jocie ! Interested to see how this comes along.
That’s a lot of moisture on the roof. Any idea what was causing that and how you are taking care of it for the new shed? Or is that coming up in a later post?
I’d never heard of Bagster. I looked them up and the price in my area (San Antonio) runs the same for pickup. Pretty neat.
Could you extend the shed to the left at all?
Wait–sorry. Pickup for me was $130. I thought the price you quoted was that but I had remembered wrong–it was slightly higher.
Oh man that thing needed to go! How are you going to keep water/mold off the PT 4x4s on the bottom? Or is that not much of a concern?
Some (but not all) PT is rated for ground contact. So as long as the ground contact rated stuff was used he should be good to go. Still putting a layer of crushed rock below the PT would help with drainage.
It will be nice to have the space be fully usable. No doubt it will be full within a couple minutes!
Interesting use of space. I am curious as to the source of the moisture and what you will do to prevent it in the new shed.
I’m betting a lot of the moisture was just built up. There isn’t a lot of drying potential in such a confined space. Not a lot of air movement and sun. You may want to attach corrugated plastic panels to the underside of the stair stringers (with spacers) to divert rain away from a shed roof. It may keep moss away.
Oh and you have to nix the flat roof this time around.