
A behind the scenes project I have going is rebuilding my shed. If you caught my first article, you know that my shed was in bad shape. A good portion of the roof and floor were rotten through, and I finally decided to tear it down and build a new one. Last time I left off I had completed the demolition and built a perimeter of pressure treated wood to prevent dirt (and moisture) from sitting right against the shed siding. I also finished setting and leveling solid concrete block to act as a foundation for the new shed.
While not exactly the same, you’ll notice a lot of similarities between this project and the shed that Steve Wartman and his crew built last January. If you’re considering building a shed, check out that Project Guide for step-by-step instructions and details like tools, materials and Pro-Tips.

My neighbor helped me get about 1 ton of crushed rock from a nearby supplier, and it only cost $30!
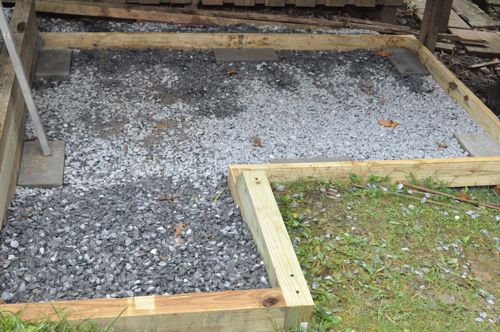
I used the crushed rock to fill in around the concrete blocks, and the rock will help prevent water from sitting underneath the shed.
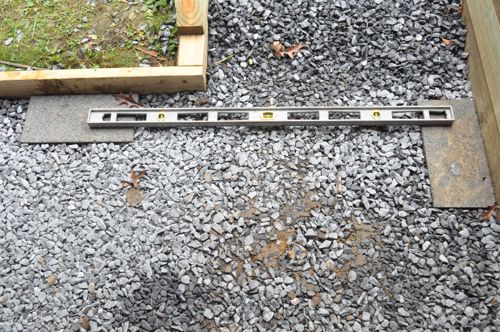
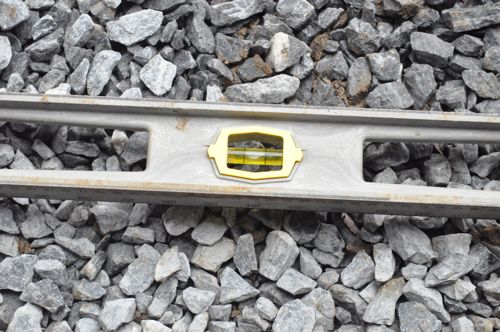
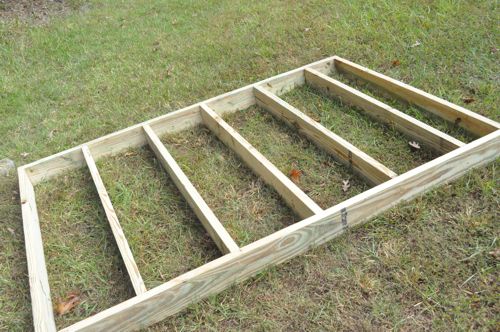
Next, I got some pressure-treated 2×6’s and built the base with the joists spaced 16″ oc. After that, I added Z-maxx (approved for use with pressure treated wood) joist hangers. The base measures about 8′ x 5′.
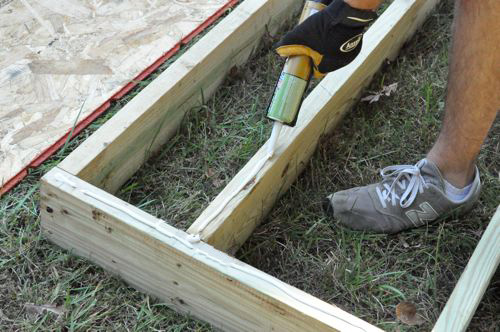
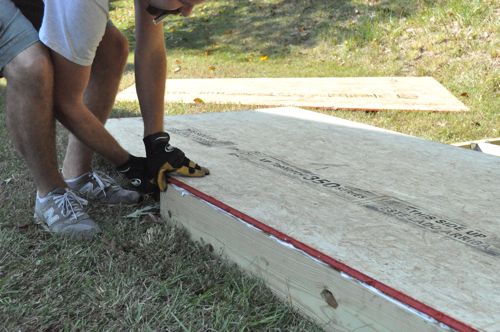
My base was a little out of square so with Jocie standing on one corner, I gave it a few knocks with my sledge-hammer until both diagonals measured the same. After that, I put down a bead of adhesive followed by “moisture resistant” OSB.
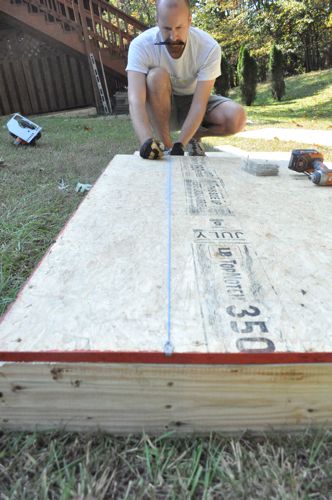
I snapped lines the mark the joist locations to make it easier to put in screws.
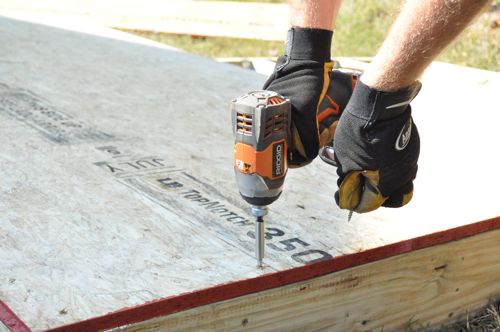
We had some 2-1/2″ decking screws at the shop. They’re OK for use with pressure treated wood so I used them, putting a screw every 12″ or so.
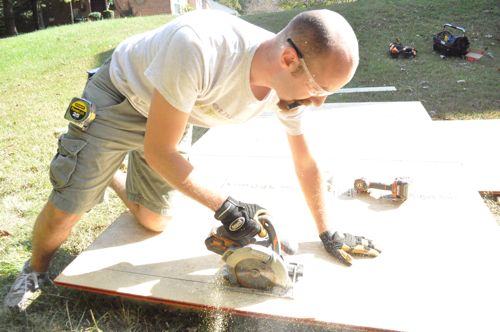
I use a lot of Ridgid tools, and the cordless circular saw is great for light applications like trimming the OSB.
With help from my neighbor again, I moved the base into position on top of the concrete blocks.
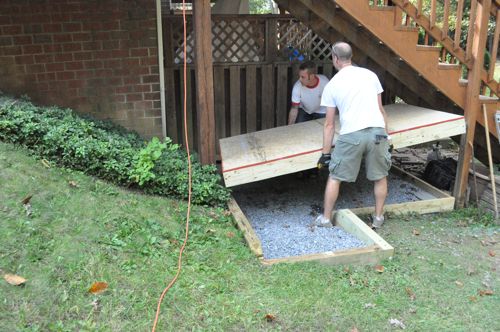
I was really pleased with the fit. That small gap around the edges will let me slip siding in to conceal the band boards.

With the base installed, I got started on framing the walls. It’s been slow going so far because I’m trying to match the slope of the stairs while keeping a consistent gap for installing the roof. After I finish that back wall, the framing should move faster because I can essentially duplicate it for the front wall, and the side walls are straightforward.
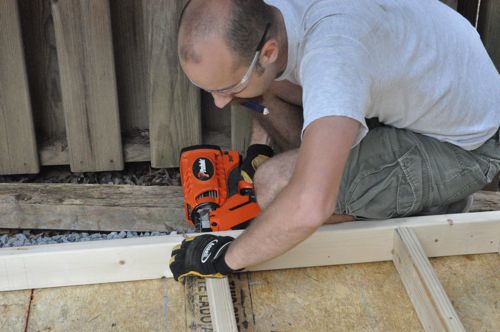
For all the framing I’ve been using a Paslode nailer, and it’s really convenient because I don’t have to set up a compressor.
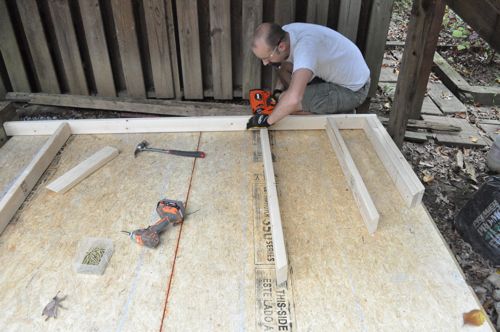

We’ve had a bunch of rain here in Maryland recently, and that’s slowed my progress too. Hopefully I get the rest of the walls framed later this week!


With it being supported directly on the ground, I wouldn;t have thought that 2×6’s would quite be required. 2×4’s should be sufficient and would leave the deck lower making it easier to get any heavy objects in and out.
Looking forward to seeing how you plan on finishing the interior (open stud walls or finished, OSB wood flooring or covered?).
I just can’t get past the idea that a cordless circular saw would be too close to useless. Even with my cordless drill, I find myself thinking that it’s just too easy to plug in an extension cord and use the real deal.
Battery technology has come so far since cordless circ saws first came out. They started out as being only useful for small short cuts like trim and flooring but with 4 Ah Li-Ion batteries hitting the shelves in the next few weeks they are really becoming a lot more versatile. I think you would be surprised at how much better they are now. I know I am.
So far I’ve only used two corded tools for this shed project- recip saw and miter saw, and the only addition to the list will be a compressor when I get to doing trim. Cordless tools can’t completely replace corded tools, but they’re getting closer.
Very smart of you to use a cordless framing nailer – but you’re saying you’ll hook up a compressor to do the trim? Paslode also has a new 16 ga., Lithium-ion powered trim tool…cut the cord! Nice blog – keep up the great work!
Alas, I gave the Paslode cordless finish nailer to one of my contractors 🙁 Thanks for stopping by Warren, and I hope to see you around OPC again. If you haven’t already, sign up for Project Rewards to win some free tools!
This really makes me want to build a shed at my house. Just need to find an open weekend (or two) and some funds for the materials. How much time do you think you have in this project so far Ethan?
It’s been a lot of odd hours as I have time, and I didn’t buy all the materials altogether. Plus, working alone can be extra-slow. With all that said, I’ve probably put in about 15 hours so far.
Looking good so far! Can’t wait to see how it develops.
Thanks. I’m pleased so far, and I can see the end it sight!
Any other cheaper suggestions for cordless nailers? It looks great but from some quick searching, they look like they can get pretty pricy.
Hammer is pretty cordless… a lot cheaper too! In all seriousness though, craigslist is full of them. Few today in my area for less than $200
It’s looking good. I’m curious to see how you’re gonna get a waterproof roof on that thing with the stairs where they are. Or get any kind of roof on it without taking the stair treads out.
I have a plan, but I’m not going to tell you what it is in case it’s a failure.
how was your neighbor able to get that much rock for so cheap? connections?
He just went to a local stone yard rather than a DIY center. When you’re buying 3/4 – 1 ton of crushed rock, it’s the best way to go.