
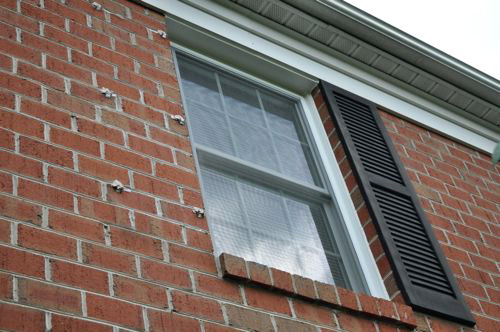
The long holiday weekend gave me a chance to tackle a project that’s been on my to-do list all year. This past winter, we had a particularly windy snowstorm that ripped one of the decorative shutters off the front of our house. Thankfully that’s all it ripped off- no shingles or doors. I’d guess the shutters are original to the house so I’m a little surprised that they’ve lasted this long. Here’s a picture of the damage and the lonely remaining shutter.
Step 1: Purchase a Matching Shutter
I ran off to Lowes and picked up a similar black louvered style shutter. You’ll notice the awesome flower bed beside the walkway. It’s the same one I weeded a couple weeks back, and I’m happy to report the flowers are still alive. There haven’t been any weeds so I’d say the landscape fabric is doing the trick.
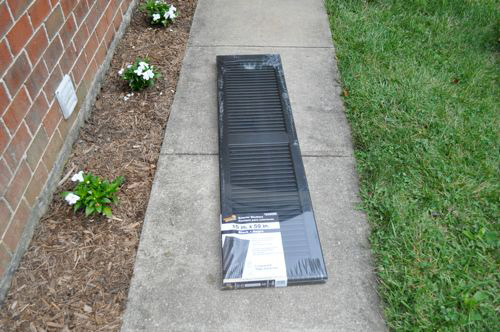
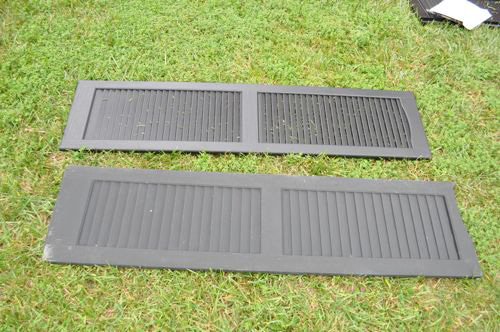
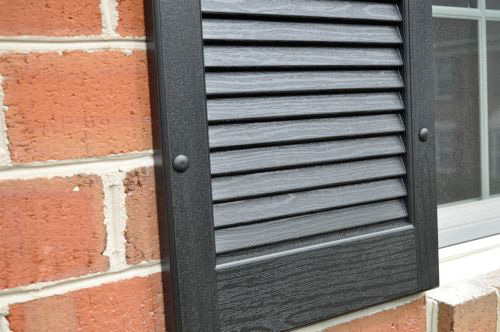
The shutters are only available in pairs, and I couldn’t find an exact match. Hopefully no one looks too close since I wasn’t prepared to replace all the shutters on my house. The most obvious difference is the new shutter has more of a semi-gloss sheen (and it isn’t broken like the old one).
Step 2: Remove Old Clips and Clean the Area
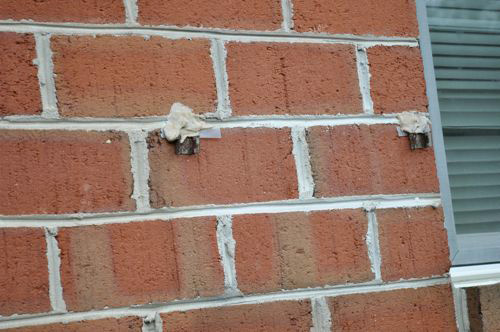
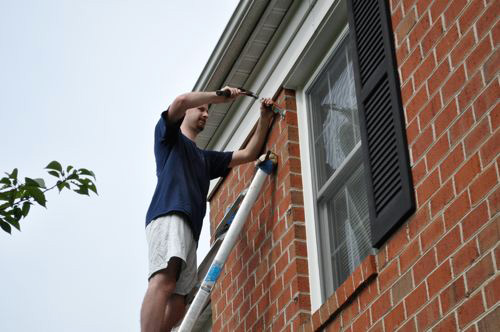
The project began with setting up the ladder and removing the old clips. I’ve got a Purdy painters tool and it’s amazing how often I use it. If you don’t have a painters tool, pick one up because they’re crazy-helpful. I used mine to remove some liquid nail and help pull the nails securing the metal clips. You might notice what looks like tape, but it’s actually plastic strips. I’m not sure why the plastic was there, but these anchors were holding strong.
Step 3: Check Holes and Re-drill as Necessary for the New Shutter
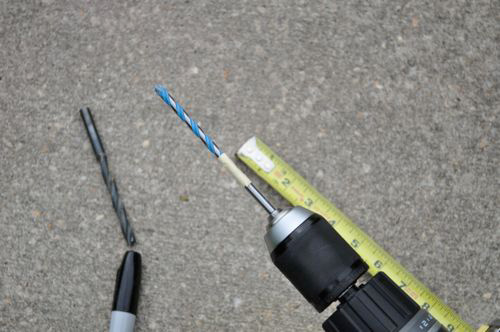
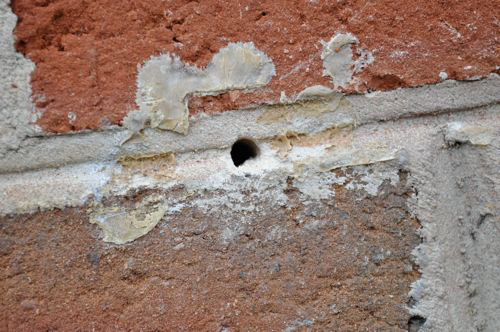
The new shutters required a 1/4″ diameter hole, and I decided to make the existing holes larger rather than drill new ones. I grabbed a masonry bit and my Porter Cable hammer drill. Marking the right depth with tape is a good trick to remember. It’s an easy way to ensure you don’t drill too deep or too shallow. Shutters longer than 55″ should have six anchors all together.
Step 5: Drill the Shutter and Add Glue
Next, I went about measuring the right spot to drill through the shutter. This was tricky because the holes on the shutter had to align with the holes in the mortar and hold the shutter in the appropriate location. I double checked my measurements a couple of times, and it payed off because all the holes lined up perfectly.
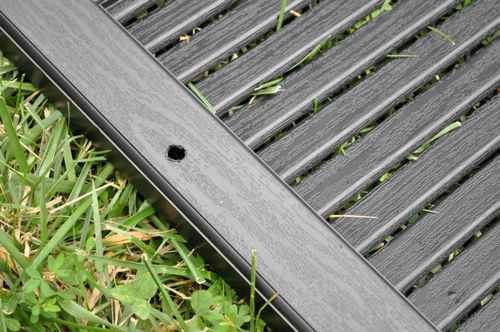
I added two thick beads of adhesive along the length of the shutter for good measure. I don’t want to be replacing this shutter the next time a heavy wind blows through.
Step 6: Anchor the Shutter to the Exterior Wall
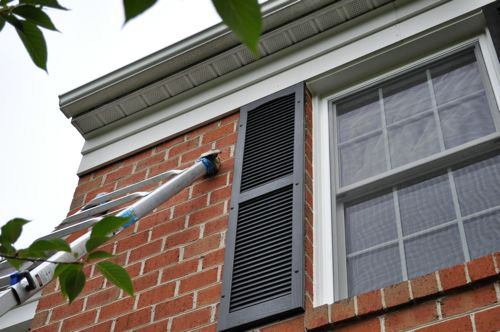
Back up on the ladder, I got the shutter in place and drove the anchors through. It was a glorious moment when everything went according to plan.
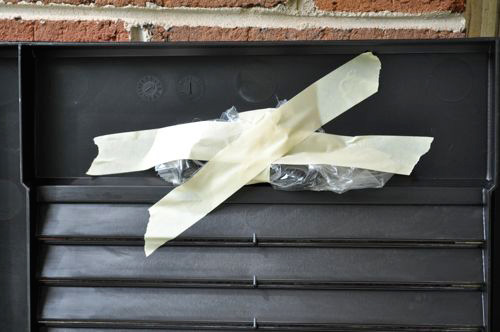
I taped all the spare hardware to the extra shutter and stored it in the basement. I’m sure I’ll need it sooner or later.


Great post. It would be my luck that the second original shutter never comes off but the new one goes in the next storm.
Isn’t that the way it always seems to go? 🙂
If that was my fathers house the shutter would still be off
Thanks for the ” tape on the drill bit” tip for depth.
I would probably notice the difference between the old shutter and new. I like the two shutters on either side of a window to match. If not too difficult, I would replace the shutter on the opposite side. People will be less likely to notice the difference difference on shutters installed on other windows.