
I promised you a look at the completed bathroom remodel, and the guys just put on all the finishing touches. Steve Wartman and his crew did an excellent job, the bathroom looks terrific, and the homeowners are very pleased. Today’s article will provide a look at the finished product and link over to related Pro-Follow guides like tiling the bathroom and installing the shower doors.
This Pro-Follow is the product of shadowing general contractor Steve Wartman and his crew on an actual job site, documenting their work. There’s no better resource for learning about home improvement than straight from a pro, and you can find all of our completed how-to articles in the Project Guides section. If learning from professional contractors sounds interesting, become an email or RSS subscriber and never miss an update. If you’re looking to hire a contractor in the Baltimore, Maryland area, I highly recommend you give Steve a call. Here’s his contact information:

Step 1: Demolition
If you missed the beginning of the series, here’s how the bathroom looked when the guys arrived.
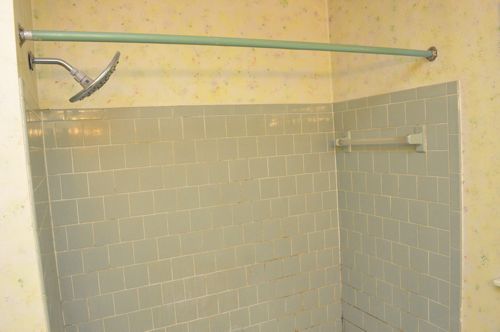

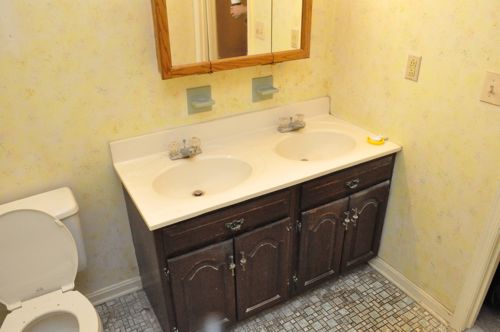
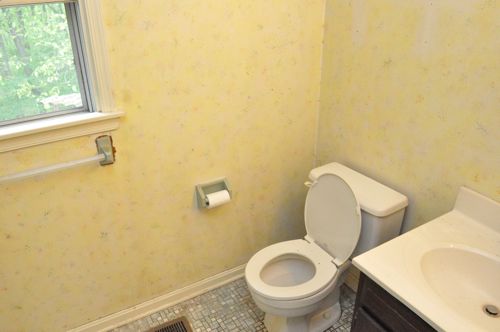
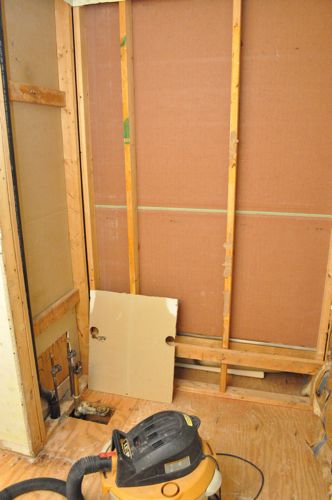
The guys completely gutted the bathroom, removing the vanity, toilet, tub, shower walls and floor. They removed all the fixtures like towel bars, soap trays, medicine cabinet and more. The only thing they didn’t remove was a portion of the drywall.
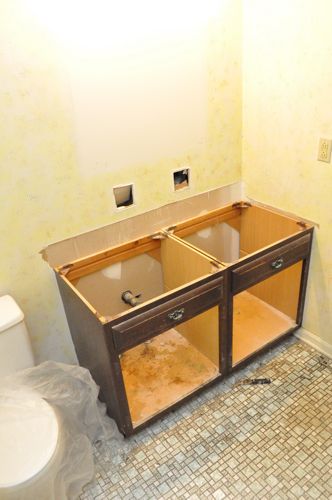
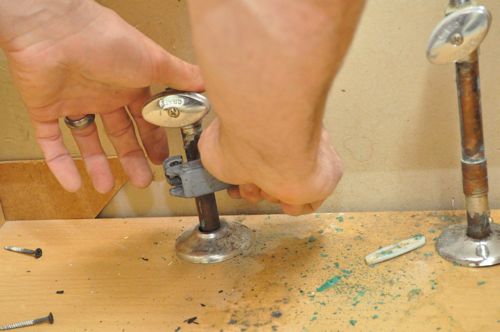
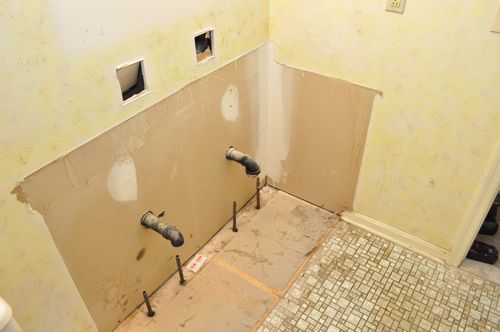


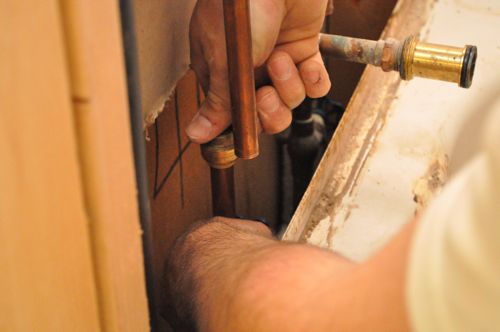

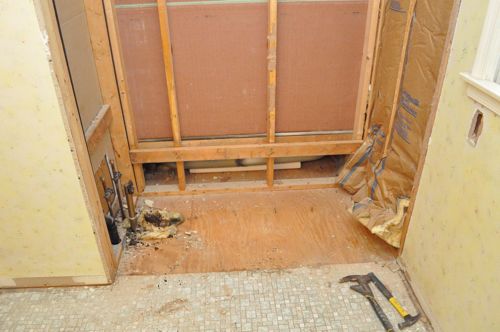

Here’s how everything looked after some cleanup. Fortunately the bones of this bathroom are in good shape, and there was no water damage or mold issues.

Step 2: Plumbing Rough-in
The homeowners opted for a vanity with a single sink (rather than a double sink), and the plumber also extended the toilet waste line in preparation for a new toilet flange.
Pro-Tip: Most sink drains are roughed-in at 19″ off the floor.
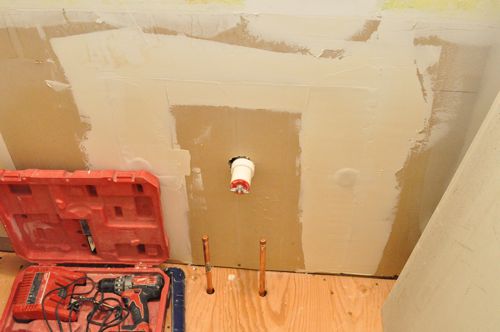
Tip: If you’re looking for more information on soldering copper pipe, check out Fred’s tutorial available at that link.

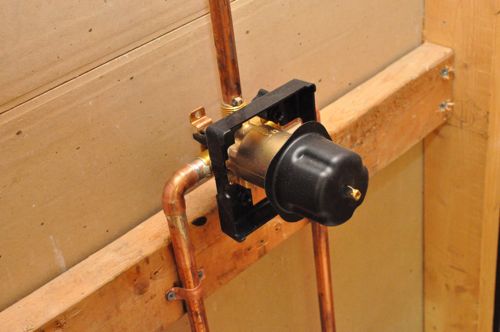
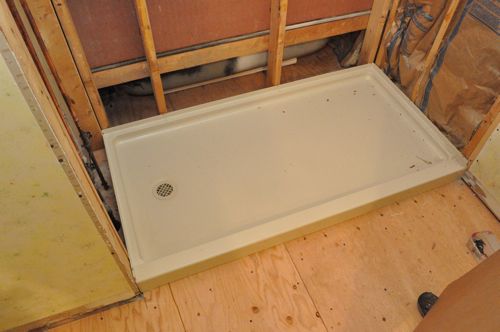
The plumber also installed the rough-in for the shower controls, and a new shower pan.
Step 3: Grab-bar
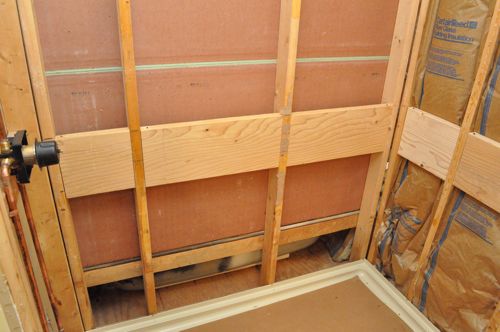
The guys will be installing grab bars 33 – 36″ off the floor so they’ve added blocking in between the studs.
Pro-Tip: The ADA provides specific requirements for grab bars including the size, location and spacing. To read all the specifications on grab bars, read section 609 from the 2005 standards for buildings and facilities.
Step 4: Subfloor
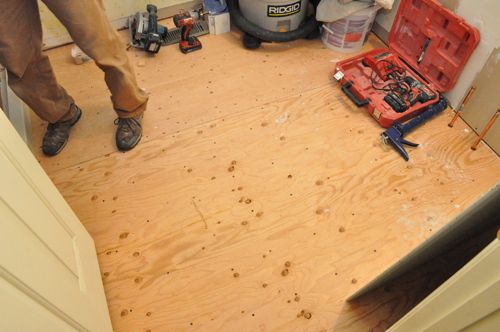
The subfloor required special attention in preparation for tile. Steve and his crew installed 3/8″ plywood, increasing the total subfloor thickness to 1-1/8″. They used Fir CDX plywood because it features better water resistance and is less likely to swell or warp than alternate plywoods.
Pro-Tip: The letters “CDX” indicate the grade of plywood with “A” being the highest level (without knots, holes or defects). “C” and “D” refer to the front-side and back-side grade. “X” stands for exposure and indicates that the glues and adhesives used are water resistant. Even so, this plywood isn’t intended to withstand direct exposure over long periods of time.
Step 5: Electric Rough-in
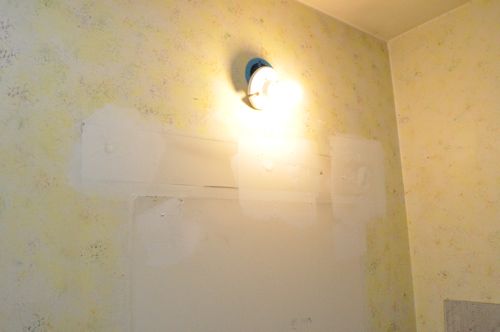
The original bathroom vent fan was positioned over the toilet, and to make the vent more effective, they repositioned it closer to the shower.
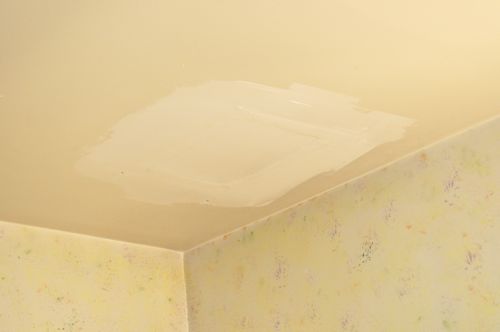
Fortunately, the electrician was able to re-route the existing power supply to the new location. He also installed a recessed light over the shower area, and centered the light over the vanity.

Step 6: Concrete Board
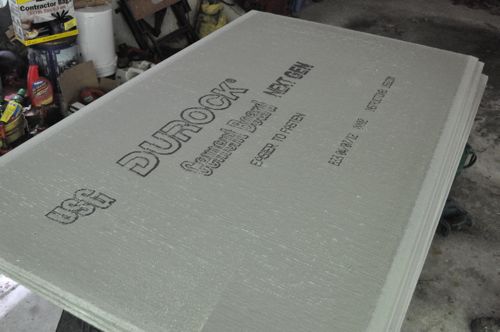
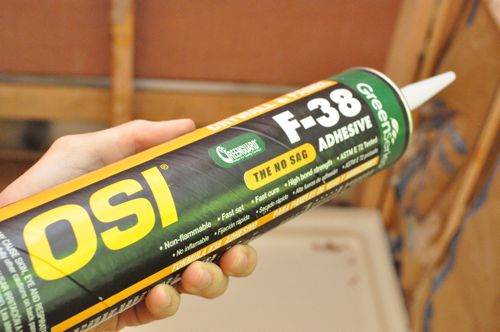
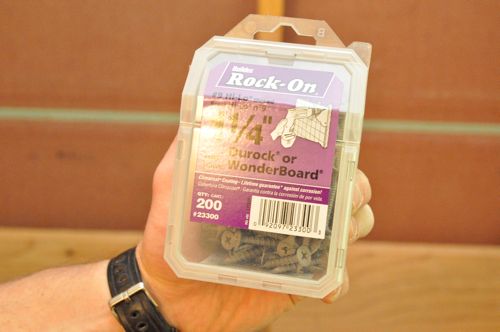
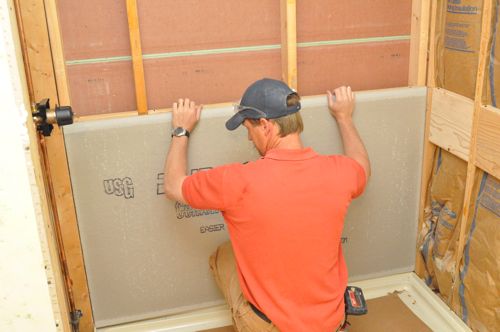
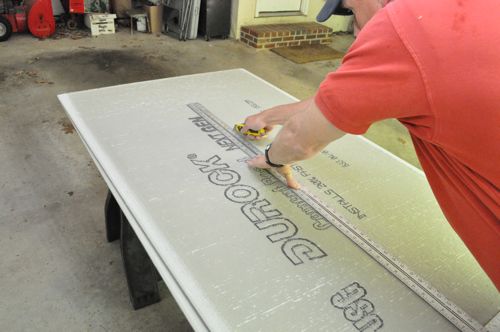
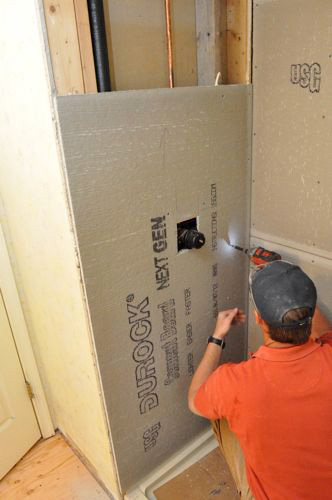
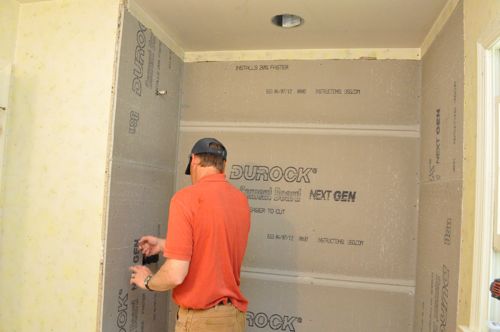
Steve hung Durock concrete board on the shower walls using OSI adhesive and 1-1/4″ concrete board screws. Concrete board is moisture and mold resistant, it doesn’t deteriorate in the presence of water, and concrete board is the preferred underlayment for tile.


Step 7: Tiling the Bathroom
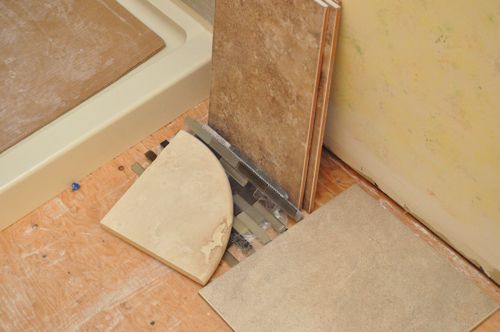
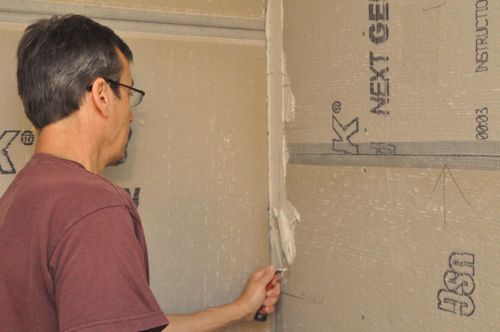
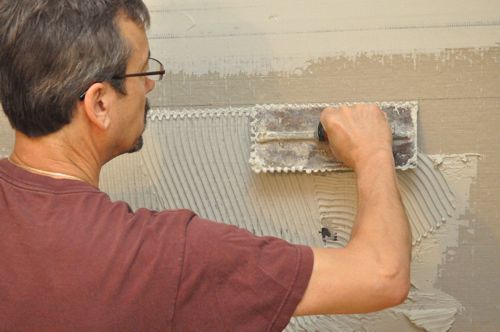
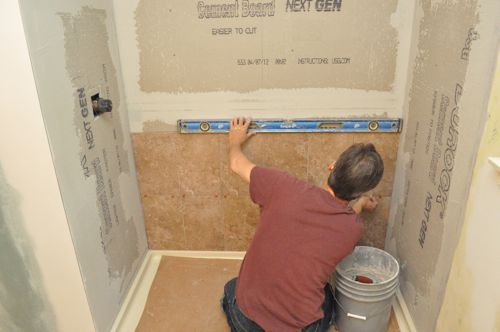
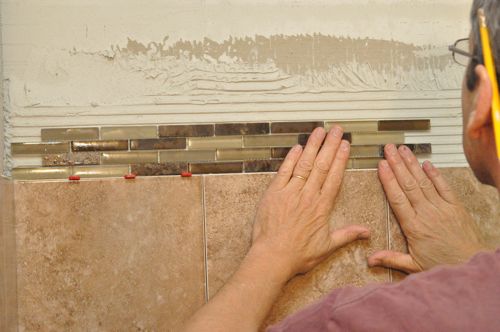
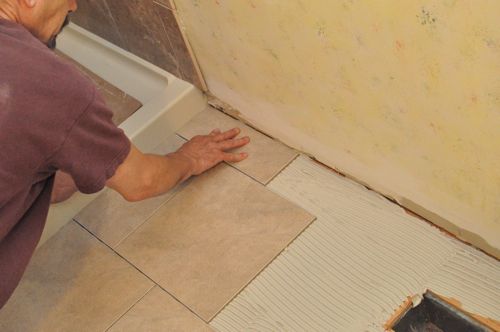
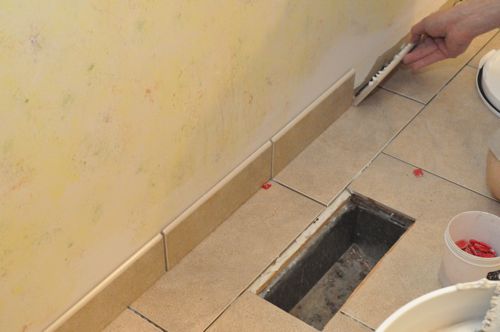
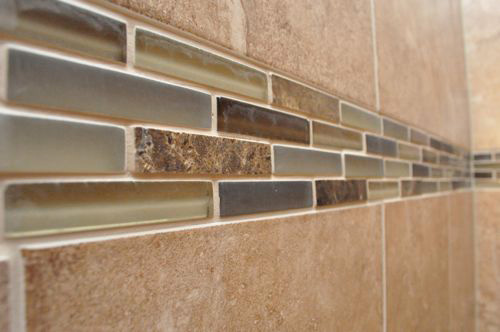
Steve brought in Rick Smith and his crew to tile the shower and bathroom floor. These guys have been laying tile for over 30 years, and they did an outstanding job. I’d encourage you to follow that link to see the whole, detailed process for installing the tile.
Step 8: Bathroom Vent Fan
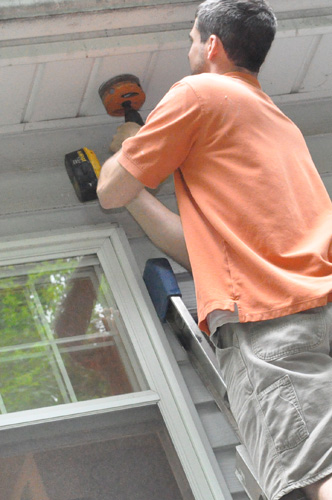
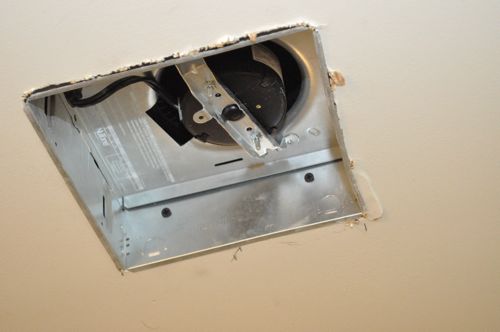
At this point, Steve’s crew installed a new bathroom vent fan. Follow that link to see how they did it.


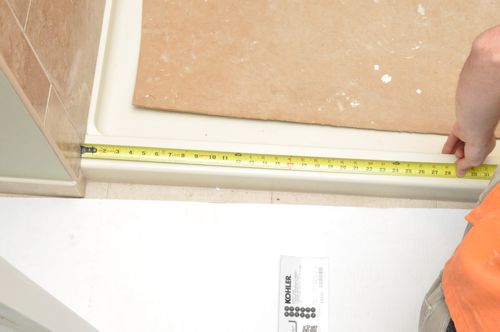
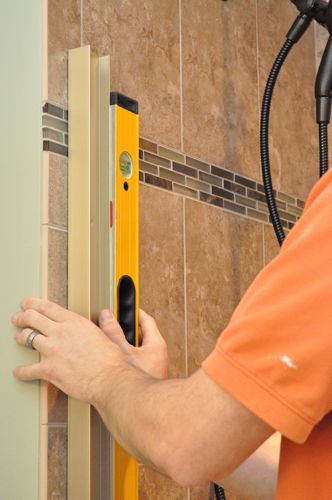
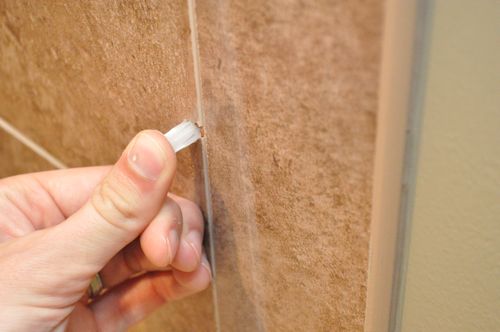
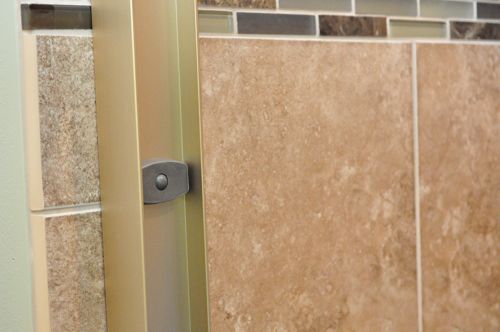
Step 9: Bypass Shower Doors
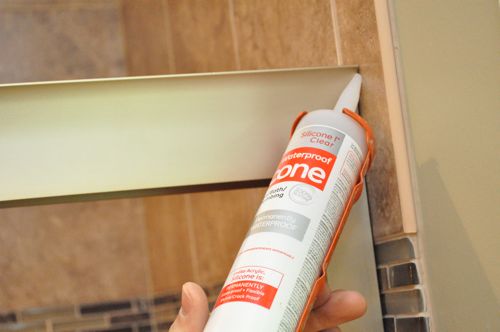
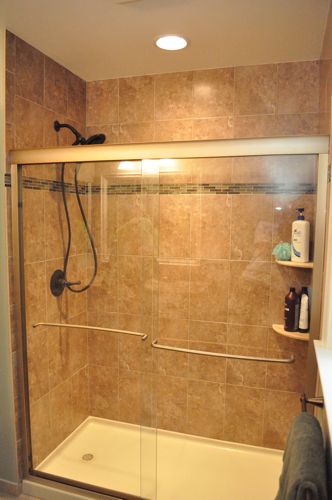
Next, the guys installed a bypass shower door.
Step 10: Bathroom Vanity
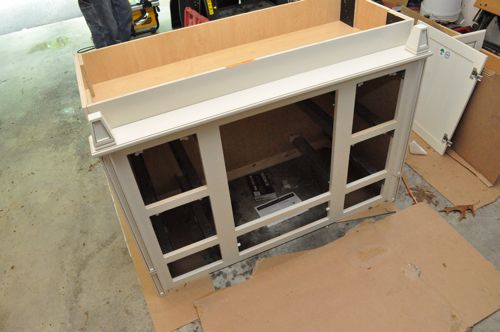
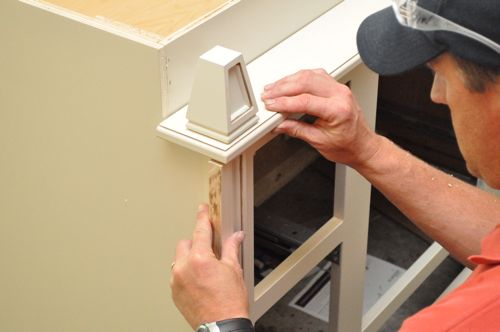
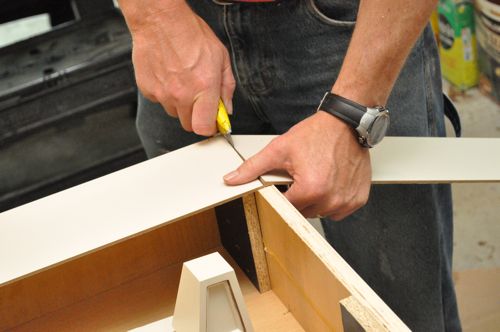
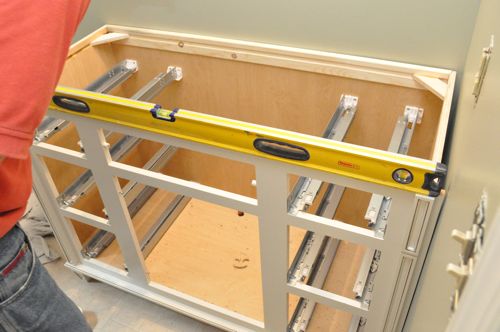
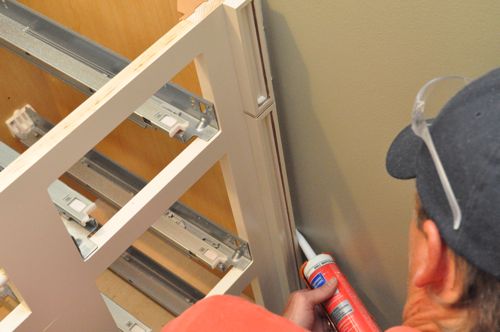
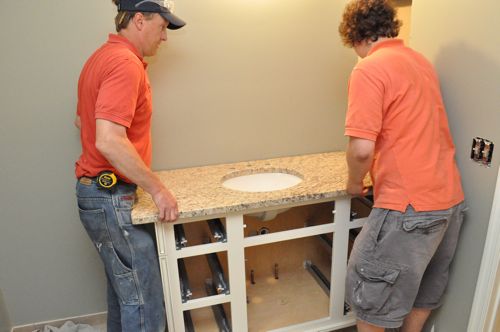
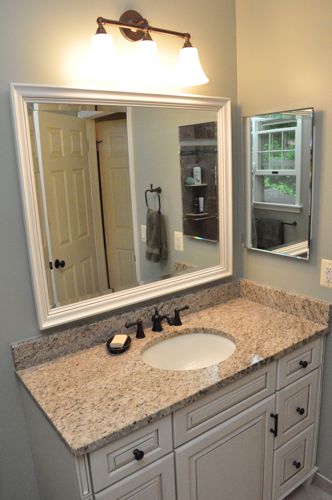
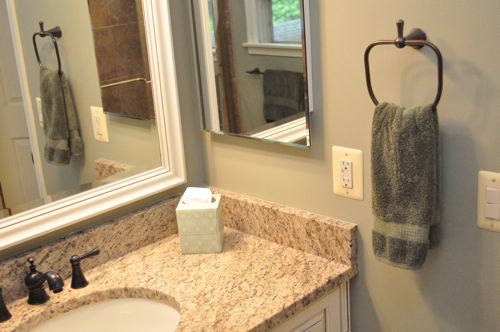
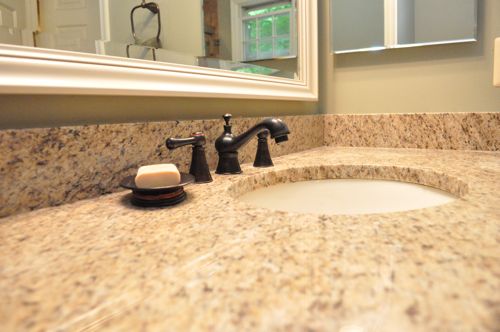
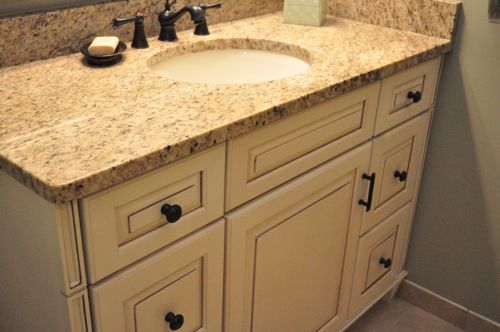
The homeowners selected a beautiful vanity and granite top. After installing a small spacer and the toe-kick, and cutting holes for the plumbing, it was ready to go.
Finished
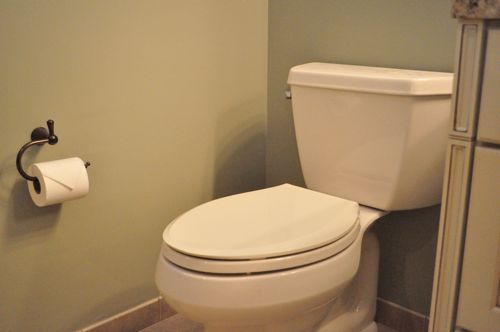
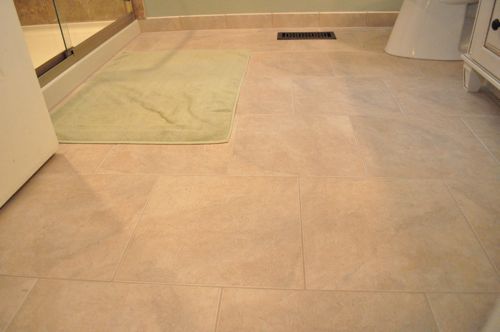
After installing the toilet and a few odds-and-ends like the light fixture, the mirror and medicine cabinet, and accessories like towel bars, the bathroom is finished!


Looks great – quick question, how long did the full remodel take?
Altogether it took about three weeks. That includes time to special order the vanity and mirror from a local distributor, and Steve was juggling other jobs / service calls too.
What a fantastic upgrade! I haven’t had a chance to read all of the in-depth articles on this follow, so you may have already said in another article…but I love the vanity. Any way to get the info on that?
It was a custom order vanity from a local suppler (not HD or Lowe’s). I don’t have any other info than that 🙁
Another great follow Ethan!
The only thing I do differently in the last step is install the faucet before I put the counter top in place. I’ve found it’s easier to install the faucet when I can reach both the top and bottom of the counter at the same time without being in some weird contorted position in the vanity.
No grab bars yet?
That’s a great point, and I completely forgot about the grab-bar. I checked with Steve and the blocking is actually planning ahead for the future (not right now).
I don’t recall if this was addressed but what was the reason for going from a double vanity to a single? if you have the space, shouldn’t you always have two sinks?
Did I miss the grab bars?
Oh, never mind, I just read your comment, Ethan.
The bathroom came out looking great. A remodel to this level is more than I want to do right now but it is good to see what is involved.
Bathroom looks amazing now. Can you say what the rough cost was of the renovation, possibly cost of materials vs labor. It would be good to know for future renovations if we’re thinking of getting quotes on a similar project. Great follow, really informative on how they go through each step.
I am considering framing a bathroom into the basement, and with the exception of the walls and plumbing, this article is perfect for outlining what to do inside the newly created room.
Glad it’s gonna be a help! I hope you’ll check out our other guides, and I hope to see you around the site.
Hi! I’m going over this as I’m tackling a shower repair in one of my rentals. I’m a bit nervous about the connection between the shower pan and the durarock. Should there be caulk between the two or anything at all (part of the reason I’m nervous is because mine is just pvc sheets down into the pan (3/8 inch kind). So that’s my question should I be doing anything special between the durarock and the shower pan? Thanks for any help you can give.
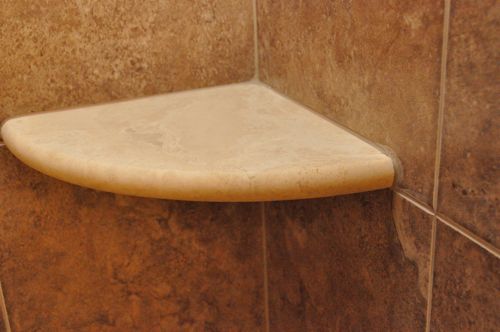
NIce work! That looks like a really solid remodel. I really like the shelves in the shower. Also good to see basic no brainer stuff being done correctly like the vent actually venting outside. I’ve seen too many bathroom vents that just went up into the vented attic and did a lovely job of soaking the insulation.
I’m curious why there was no vapor barrier installed behind the concrete board in the shower or alternatively a waterproof membrane installed on top of it before the tile was installed? Concrete board is resistant to deteriorating in the presence of moisture, but it isn’t waterproof and won’t keep moisture from reaching the framing.
Bob, A properly tiled bathroom will have no problems with water / moisture reaching the framing. A waterproof membrane is an optional precaution. For example, this bathroom (before work started) was far from new, had no waterproof membrane and the framing was in great shape.
Quite the transformation. Love the countertop on the vanity
I am not a plumber!! Found that my bathrooms which are side by side have major damage underneath. Possible have to remove joices but no i have to remove floor. and new pipes. Bathroom is old built in 60’s has tile every where. So i quess i tear everything out, start with plumping and joieces then floor, then the rest? No idea and limited funds.
Thanks
Scott
I’ve got this page bookmarked. I have a small hall bathroom similar to this one that the previous owner put a much to large vanity into. It’s awkward to enter. I need to go to a smaller vanity and flip the door to the other side of the jamb to make it work. Thanks for all the ideas and pictures.
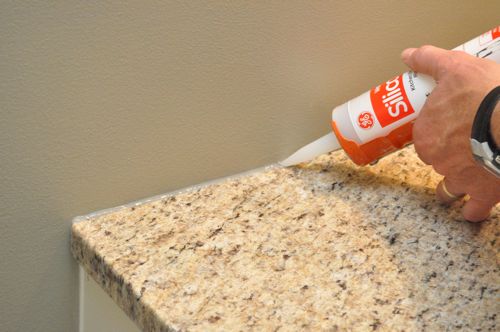
I was hoping to be able to see more clearly the product used to seal the edges… What did they use? Also, do you have any tips if I were to try to remove the current seal (that is mostly gone/coming off) around my sink/edges of granite/wall… Do I just take a blade of some sort and scrap it off and then re-apply?
It looks like a clear silicone caulk. You might also choose something paintable. Use a utility knife and a putty knife / painters tool to cut away the caulk and scrape it clean.
Superb, what a web site it is! This website provides valuable information to us,
keep it up.
A remarkable end product. I would stress the use of that concrete board behind the shower. Thanks for showing that. I have found in many older homes that there is just regular sheet rock behind shower walls and this can lead to mold so easily!
Great post! I’m beginning my own bathroom remodel and it’s great to have confirmation on my plans.
One Question… It looks like they left a few inches of drywall at the top of the walls where they put in cement board. If that is what they did, can you clarify the advantage of leaving that strip?
Thanks again for taking the time to document and share the project!
Ok, after checking out the tiling post I’m guessing they left the edge of drywall so that the seam between the cement board and drywall is a flat seam (easier to work) and then the seam is hidden behind the new tile.
That “tip” alone will save me hours of work! Thanks!
Didn’t think it was code to vent exhaust fan through the soffit. Otherwise it looks good. Bathroom is ALMOST same setup as the one I’m doing.
Other than the colors this is the exact bathroom we have upstairs…right down to where the receptacles are! We have no overhead lighting or exhaust fan, so we will have to install when we remodel. Can you give me a rough estimate of the cost of this project?
I want to remodel my guest bathroom this July. Thanks for explaining that it would be smart to look for mold or water damage while I am ripping things out of the bathroom. It seems like I might want to hire an expert to help me with the remodeling. Mainly, because I am not very handy when it comes to using hardware tools.
What is the hand tool in picture 6? Thank you!