
Editor’s Note: I made this beautiful DIY Button Heart canvas for our bedroom from an up-cycled Goodwill Canvas for only a couple of dollars! This post originally ran early in 2012 but the art still hangs on our bedroom wall and is one my favorite pieces in our room. Hope you enjoy it as much as we do!
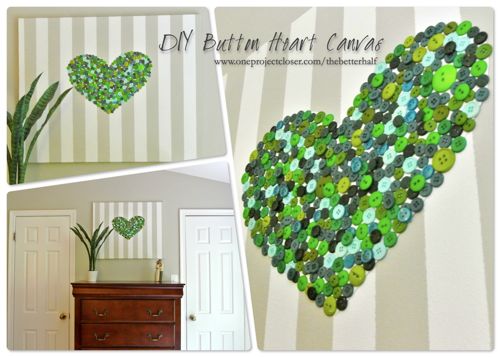
Several months ago when I started our bedroom makeover, I went to our local Goodwill looking for decor items to repurpose and upcycle. I didn’t find much because most things were WAY over-priced, but I did find three canvases for $2 each. Two of them I used for our His and Her over the bed art (see below), and the 3rd I kept for use over Ethan’s dresser which sits between our bathroom and closet doors. Well, I finally got around to it this past week but it ended up morphing from my original plan.
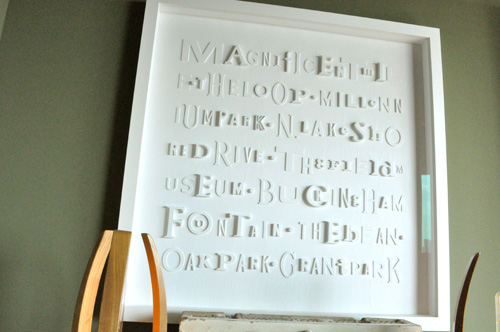
Last October when Ethan and I went to Chicago for the unveiling of the Urban Oasis and I fell in LOVE with a large piece of art that was white letters on a white canvas. This was a little unique because it used lots of different size letters and varying fonts. Also, if you look closely you can see that the artist allowed the paint to run below the letters. I’ve seen lots of similar things on Pinterest, too. All that to say, it was my inspiration for our bedroom canvas.
Then, I came across this saying on Pinterest from Girl Meets Life, “With my whole heart, for my whole life.” Yeah, I know its super cheesy, but so am I…and Ethan is a good sport.
I painted the watercolor Good Will canvas when I painted the other two, so unfortunately I don’t have a good “before” picture, but it was pretty ugly. I used plain old semi-gloss white wall paint and it worked great! Tip: Make sure to paint the sides, not just the front!
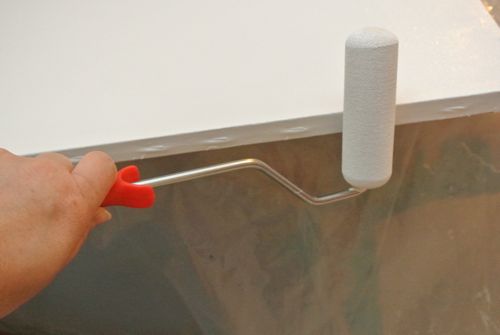
Then, I started looking around for wooden letters and found that they were more expensive than I really wanted to spend given how many letters and the size I wanted. So, I changed my vision to paint the saying myself in green. I thought green letters on a plain white canvas was too plain, so I painted stripes on the canvas using painter’s tape and wall paint the same as our walls except semi-gloss instead of eggshell.
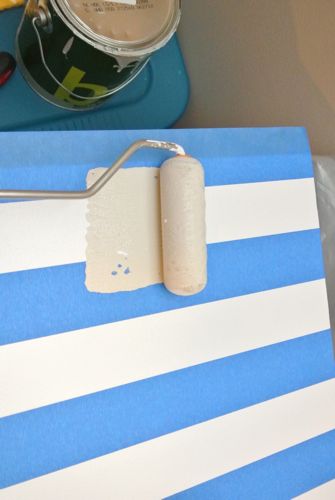
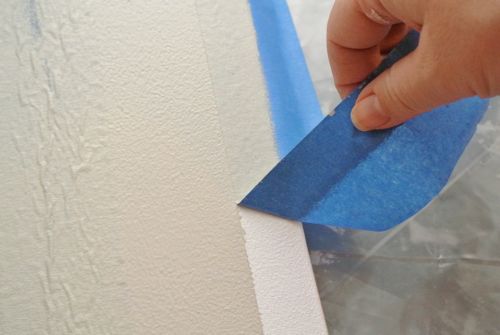
Tip: remove tape when paint is still wet so the paint does not tear.
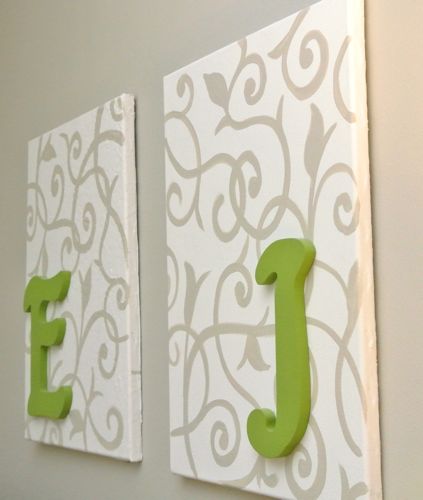
After all that, I made a trip to Joann’s (at the excellent suggestion of our friends on Facebook – Emily@MerryPad, Shelly, and Monica. Thanks, girls!) and found a multi-pack of wooden letters for a crazy cheap price! I decided to paint the letters first before applying them to the canvas so that I could see what it would look like before fully committing.
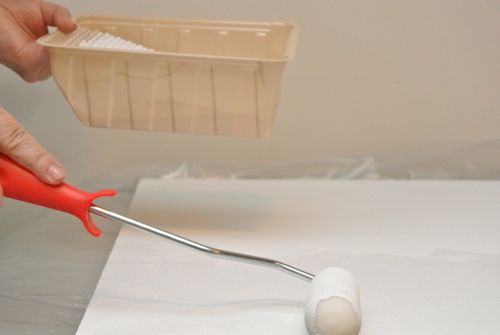
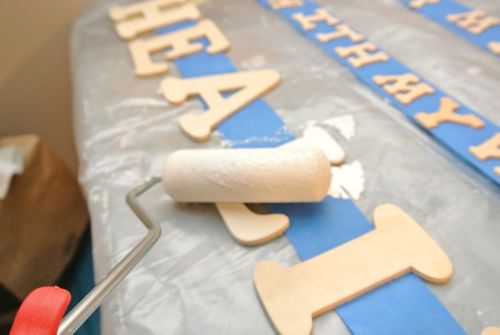
It’s a little ridiculous looking, but I taped painter’s tape faced up in strips and stuck the letters to the paint so that I could roll the paint on without the letters moving. It worked super well!
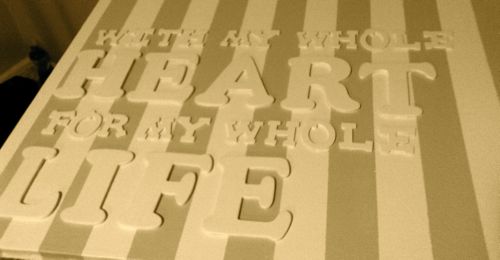
After the letters dried, I placed them on the canvas to see how they looked and it did NOT look good at all with the stripes!!! AHHHHH! I consulted with Ethan and Kim, who both agreed that the letters on the stripes were difficult to read, and I came up with a new plan. Don’t worry though, I will definitely be using these somewhere else in the room. Post to follow. Forgive the hideous picture, I took this on my iPhone to text Kim to get her opinion! lol!
Awhile ago I saw on Pinterest the most adorable canvas with black and white stripes and a red button heart. The pin unfortunately did not lead to the original post, but I believe it came from Corner House blog. THANK YOU Laura@CornerHouse for saving the day and pinspiring me!
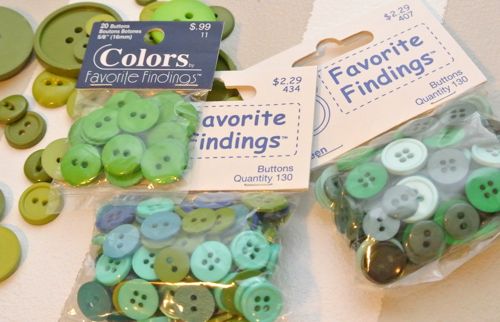
I bought about a million buttons in varying green shades, with a some teal and turquoise thrown in for contrast and depth. Seriously, I bought 5 packs of buttons and it was not nearly enough and ended up digging through my button collection for more packs of green buttons. Granted, I was using a very large canvas so the button heart had to be proportionately large.
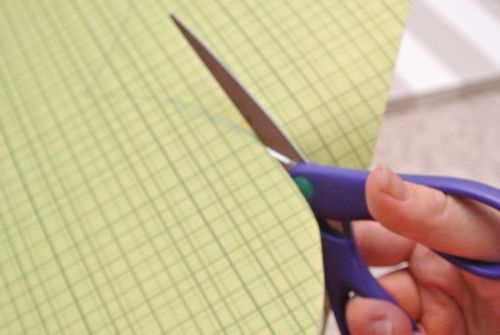
Again, since I couldn’t find the original post, I had no clue how would be the best way to form and affix this many buttons to the canvas. There may be an easier way than what I did , so readers please chime in. It looked like Laura@CornerHouse attached her buttons to fabric, but I didn’t have green fabric on hand that I loved, so I decided to use card stock in a patterned green. I folded another piece of paper in half, cut a heart, and used that as a stencil on green card stock.
Then I dumped a pile of buttons on the card stock heart on the canvas and didn’t like the look of the green under the buttons. I flipped over the heart so it was now white and really liked it. It looked sorta like the canvas was showing through the gaps in the buttons.
Here’s where this start getting a little home-grown. Try not to laugh out loud at me. I wasn’t sure how to best attach the buttons to the cardstock. I thought about using hot glue, but I thought it might look lumpy and show, plus that’s A LOT of hot glue. Then, I thought maybe Elmer’s glue, but I was worried it would show and be lumpy like the hot glue. That leaves us with the always faithful Mod Podge. I recently made my own, so I have a lot on hand. lol!
I applied a generous layer of Mod Podge and then dumped the buttons on and spread the out. At first, I laid them one by one, but oh my, it was taking forever! I paid special attention to the edges, making sure the buttons went just over the edge of the card stock.
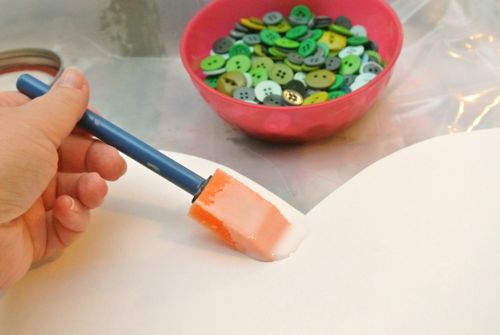
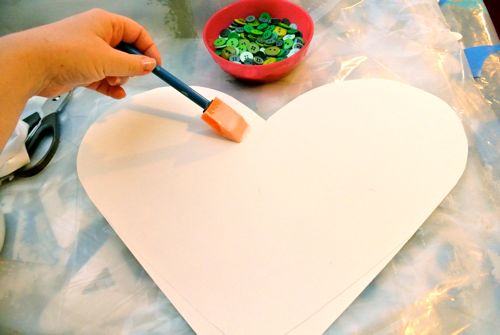
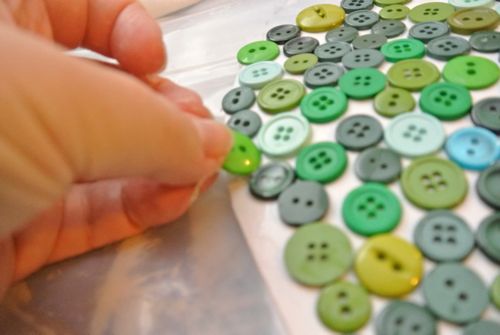
The buttons didn’t spread perfect and left some gaps, but after the first layer dried I went back and affixed the rest of the buttons in the gaps using hot glue. All in all, it looked really good and the buttons didn’t even fall off when I picked it up. haha
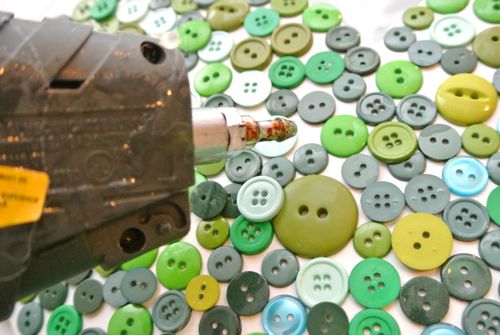
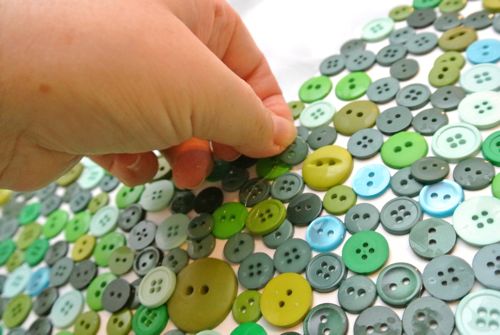
After it everything was dry, I centered the heart on the canvas and attached it using hot glue.
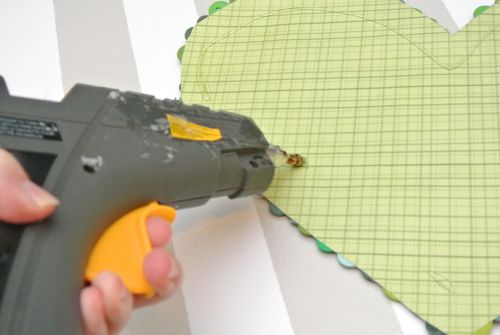
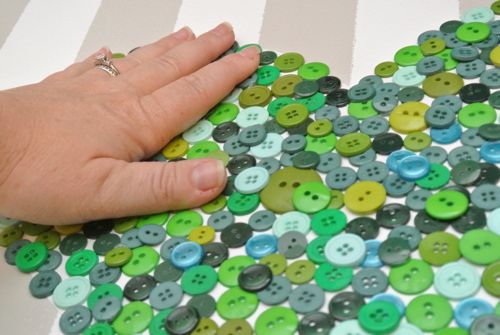
And that’s it! It really was a very simple and quick project once I decided what I was actually going to do.
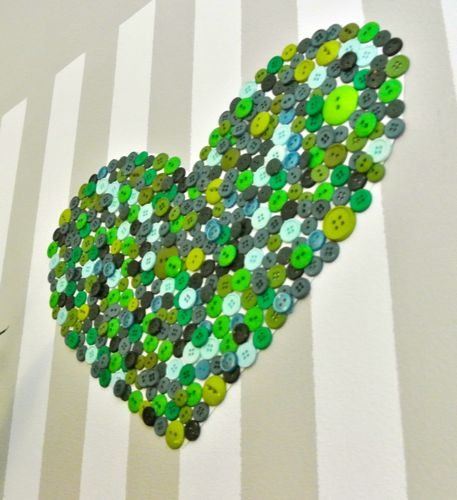
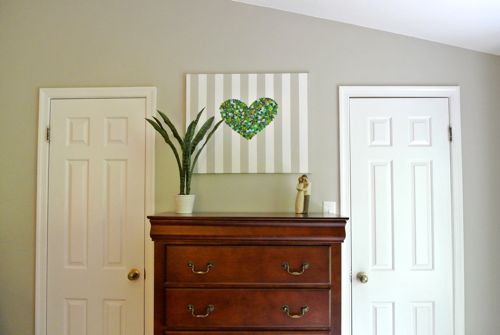
What do you think? How would you attach the buttons?
As Always, thanks for reading!


WOW!! This is amazing!!! Love it! Pinning it too!
I would hot glue the buttons…that lil gun has never let me down!
Hugs, Jen @ f5
Thanks so much, Jennifer! I’m addicted to my hot glue gun too! 🙂 Not sure I’ve seen you comment here at TBH before – WELCOME! be sure to check out out our Project Rewards section to earn free stuff just by visiting and commenting on our site.
Is there anyone who doesn’t love hot glue!?! I’m wondering how heavy the button heart was. Do you think the hot glue will hold it permanently? Since you didn’t like the green background, you could have used white fabric, glued the majority of the buttons, and sewed a few in key places directly through the canvas to secure the heart to the canvas…do you think that would work?
I do think the glue will hold it permanently since it is up on a wall and will not be touched. i was also worried about the weight of the heart and it pulling the canvas, but i think using mod podge reduced the weight compared to using all hot glue.
sewing the canvas may work, although it might be hard to make it through the glue. LOL! 🙂
love it! so many ways you could personalize it to your own space…
I absolutely love this project! Hearts are one of my favorite shapes, actually probably my favorite, and it’s GREEN! My favorite color. And I happen to have a thing about buttons! You hit so many of my favorites with this project Jocie.
I for one don’t particularly care for hot glue guns. I did when they first came out eons ago, but haven’t used one in years. My first one was from Sears and I couldn’t use it enough until things started popping off in the heat. They used to have a variety of glue sticks for them which is what made them better back in the day. Not sure why they quit making all but the standard hot glue sticks. If they started making them again I’d probably go back to using them again. I did buy one of the guns by Aileen some time ago withe different tips thinking they were worth a try again, but have never taken the time to use it. Maybe I should.
Ethan got me a glue gun for xmas that came with different glue sticks, some for different types of projects, melting extra hot and cooling a little slower. LOVE them! just check out amazon and they sell a variety too! hope you enjoy your re-introduction to hot glue!!! 🙂
Thanks Jocie! I found some for wood that I haven’t seen in forever! Now I need to find a project! Or more like decide which one to start with. I have a couple storage rooms full of used furniture some needed some gluing. Once the wedding is over I’ll start up that business again.
Such a fun project! What a great sized canvas for only $2, total score! The green button combo with the stripes is perfect. Can’t wait to see what you end up doing with the letters, I’m a total sap too. Luckily the husbands are accommodating. 🙂
This looks great! Love, love, love it! I want one too…
I really love buttons and I find myself looking through peoples button jars. This is a great way to make use of them. You’re so crafty I will be visiting this side know as The Better Half of OPC more often
Wonderful art!!
YAY!! You know I love this project. Thank you so much for linking it up to our party!! 🙂
Karah
Oh no – you know I’ll now be on the hunt for buttons so I can make my own!
Fabulous color too! So glad you joined our Color party.
Kelly
Who would have thought that buttons would look so darn cute! I love it! My little girl, Natalie Hart, is 5 but loves the color green and of course anything with hearts!
All your canvases turned out amazing- I love the green! I have a big tin of buttons and need to start using them. Can’t wait to see what you do with the letters- the saying is just too sweet not to do something with it.
Adorable! I have been itching to try something with buttons for a while, I really need to get on it because this is so stinkin’ cute!
Cute! I forget about keeping my eyes peeled for large ugly canvases at thrift stores….
It’s beautiful, Jocie! You have an eye for making the forgotten very unforgettable. Way to go. 😉
So simple, but that looks awesome!
Those look really nice! Did the tape bleed at all? I have found that blue painter’s tape sometimes doesn’t seal as well as frog tape. It looks great though so probably you’re just better at taping than me. 🙂
Hey, if you’ve been married awhile, and Ethan can’t appreciate that you’d want to put a canvass on your wall that says ” With my whole heart, for my whole life.”, he’s definitely been impaired by fumes from time spent in non- ventilated areas! Alternative button attachment ideas: Ethan using a nail gun OR using a giant ” cookie cutter”, then dropping a base of buttons, moving them to the outer edges, building on up from there.