
“Good Golly Miss Molly,” these are fabulous chairs, and the best part was they only cost me $4 each! Last week, when I was outside playing with the girls, I saw that my neighbor had a bunch of stuff out at her curb for a charity pick up. So, my friend Jeanine and I walked down and I asked my neighbor if I could have her 3 small, kids chairs. Two of the them are vintage metal chairs with vinyl seats. These were rusted and the vinyl on one was torn. The third was a very worn and dirty wooden chair with lots of potential with a good refinishing (post to follow). She gladly gave them to me on the condition that I put them to good use, which is an easy promise to make with these chairs that have me “all shook up.”
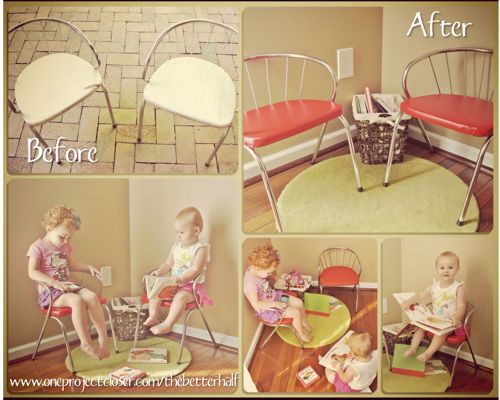
These chairs were in need of some TLC for sure and for the last week, I have been itching to get my hands on them. Today, during nap time, I made these chairs look good as new with some elbow grease and a half a yard of red vinyl. If you find chairs, big or small, it is an easy fix-up for fairly low-cost.

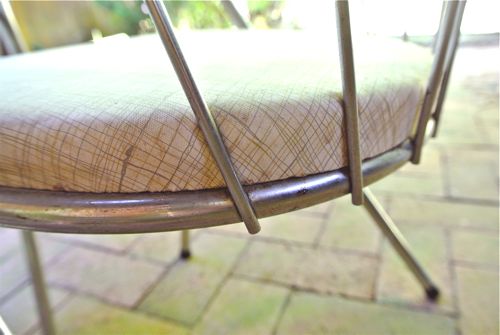
Materials and Tools Needed:
- Steel wool
- Wire brush
- Staple gun and LOTS of staples
- Vinyl
- Needle nose Pliers
- Screwdriver
The Frame
Step 1: Remove the Seat
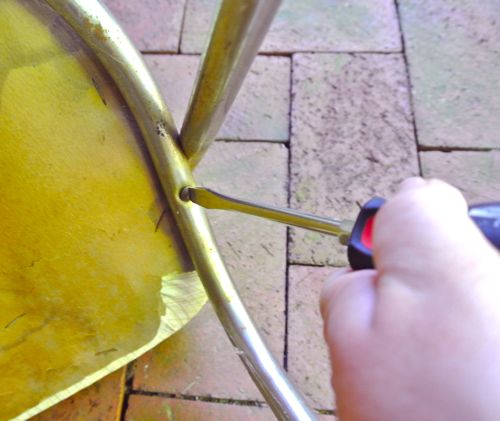
Most upholstered chairs use screws to attach the seat to the frame of the chair. These were no different but the screws were pretty rusted, making them difficult to remove. I used a wire brush to remove the bulk of the rust and then slowly removed the screws using a normal old screwdriver so I wouldn’t strip the screws.
Step 2: “Splish Splash” – Clean up the chairs
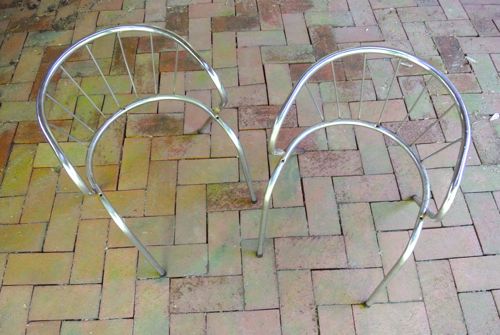
When I first saw these chairs, I thought I would need to spray paint them to cover up all this ugly since they were completely covered in rust. Happily, removing the rust was all it took! First, I used a wire brush on the large and/or deep rust spots. Some needed a lot of love.
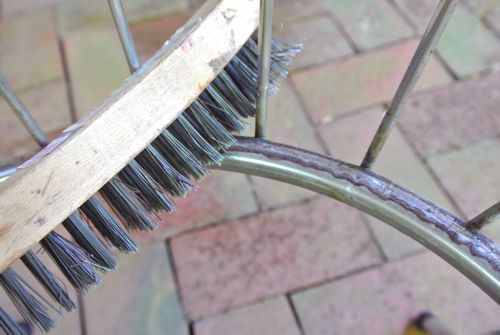
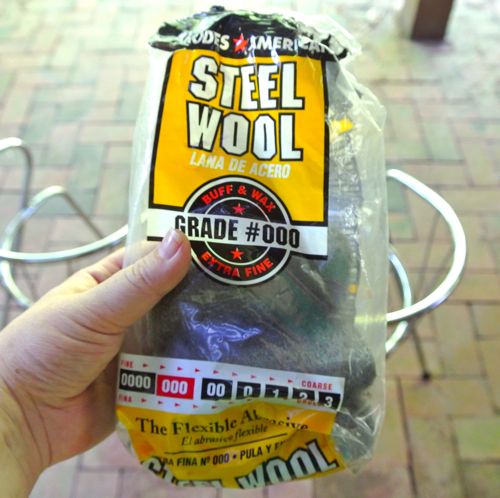
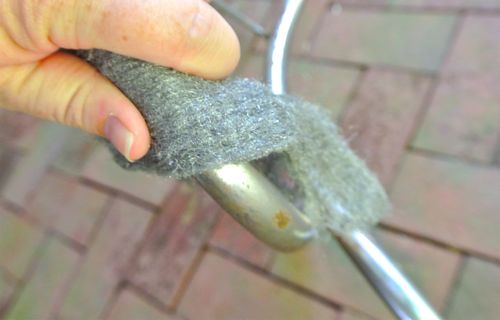
Then, after the large rust spots were gone, I used Fine Steel Wool to rub the entire chair down. After lots of rubbing there were still some problem areas that I hit with the wire brush again. The steel wool removed the thinner rust spots and any dirt and grime. The small grooves especially were filled with rust and were hard to get entirely clean without using both the brush and steel wool.
Lastly, I wiped it all down with a damp cloth to get rid of the dust and dirt.
The Seat
Step 1: “Bye Bye Love” – Remove the Old Vinyl
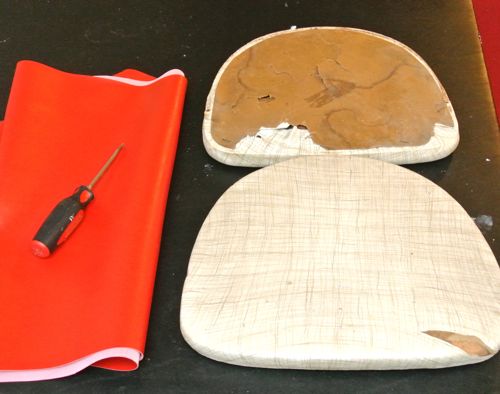
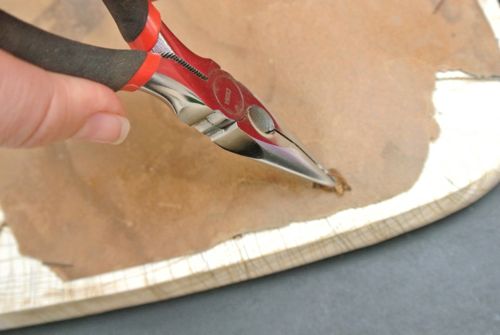
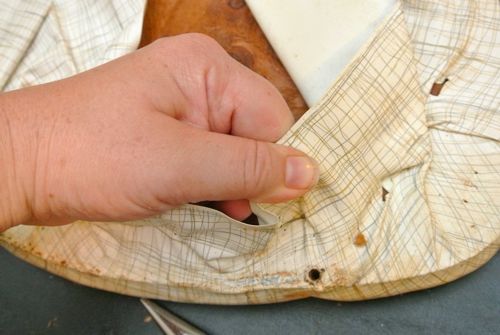
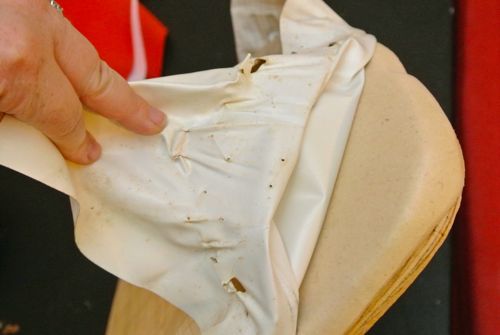
On the bottom of the seat, there was a paper covering to hide the vinyl folds and staples. I removed this first to expose the vinyl folds. Just rip away. First, I used pliers to remove the staples one by one, but boy was that SLOW! Eventually I gave that up and just yanked off the old vinyl, pulling up the staples along with it. After removing the vinyl completely, I used the needle nose pliers to remove any staples still there, “Rip It Up.”
Step 2: Repair the seat
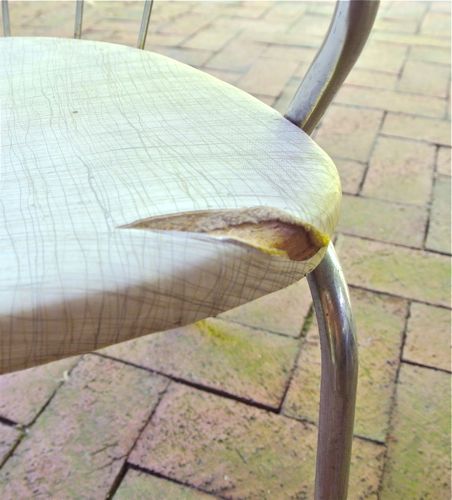
If you are dealing with a torn seat, a simple reupholstering will not do since the new fabric or vinyl will show the imperfection. One of the chairs had a decent size tear in the vinyl that also cut into the padding. Ideally, you can cover tears to padding by simply covering over the padding with fresh foam, stapling it around the back, just as I did with the vinyl (read ahead to see how). I didn’t think this would work (and I was cheap and lazy) since there was such a tight fit against the frame. Instead, I pulled out some good ol’ duct tape and covered the tear, making sure it was nice and smooth.
Step 3: Measure the cushions and account for overlap.
I wanted to keep the vintage feel of the original chairs so I went looking for red vinyl. After going to Hobby Lobby, I ended up finding it at JoAnn’s. If you are doing a similar project, you can also use upholstery fabric, for which there are much more color and design options. I found that Hobby Lobby had trendier fabrics, but JoAnn’s had bunches of vinyl color options. Before heading out measure the cushions, adding an extra 2-4 inches per side. For example, if your cushion is 10×10″, you will need at least 14×14″ of fabric or vinyl. Buying the correct amount of vinyl or fabric is important so you don’t waste your “Money Honey.”

Step 4: Cut the vinyl to size
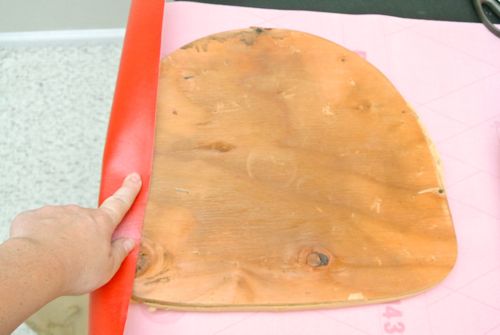
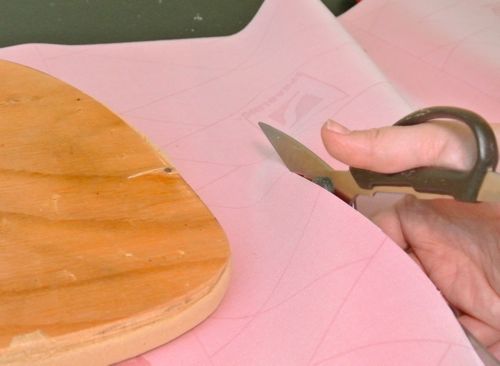
Using the cushion seat at a guide, cut the vinyl to size. Wrap the vinyl around the sides of the seat cushion before cutting to ensure you have enough to staple to the back.
Step 5: Staple the new vinyl
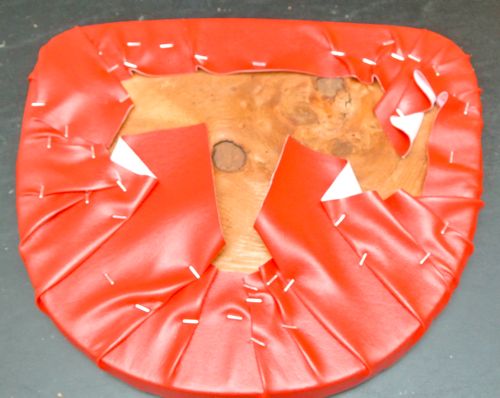
Starting with opposite sides, use a 1/2″, heavy-duty stapler to secure the fabric in place. Keep everything nice and tight (but not too tight) over the cushion. I stapled every few inches so the pull would appear even. Leave the corners open.
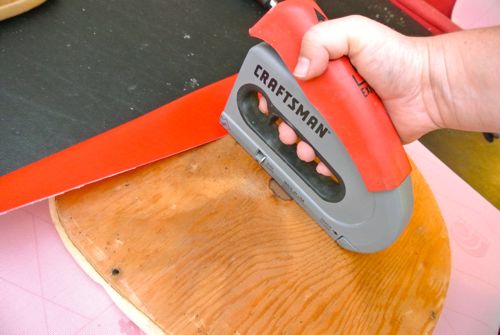
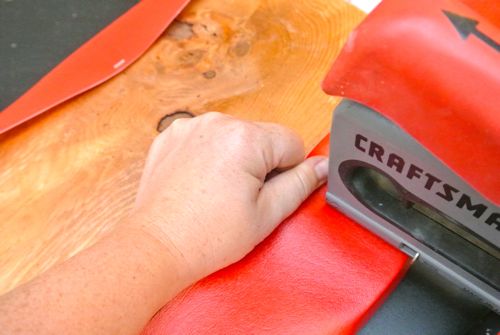
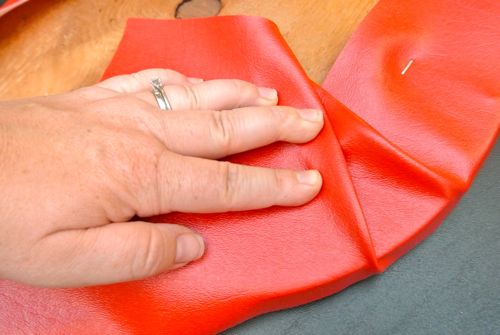
The trickiest part of reupholstering chairs is the corners because it’s tough to prevent wrinkles. I used several, overlapping pleats to keep everything smooth. Vinyl is great because there is some give. I was able to pull a little more in order to diminish the wrinkle. Cut away any excess vinyl after you finish stapling.
Step 6: Affix backing (optional)
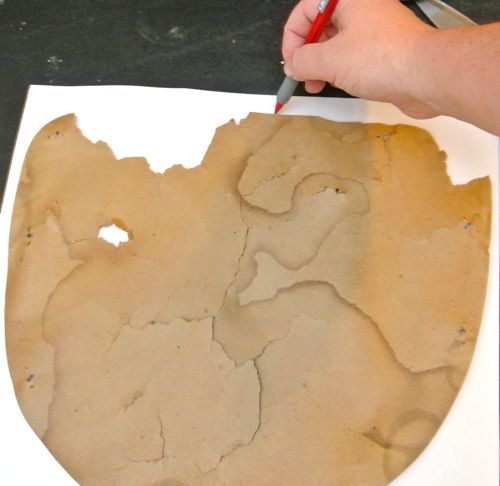
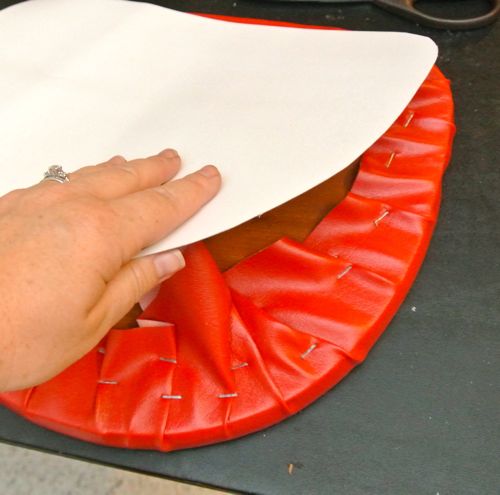
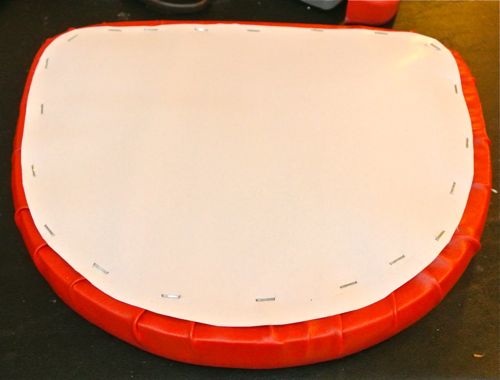
I’m sure they sell backing but again call me cheap and lazy, I found some thin cardboard from the packaging of our bedroom comforter and used that. I traced the old backing (or what was left of it), cut it out, and then stapled it to the underside of the seat cushion. While this is not necessary, it does look very nice and polished!
Step 6: Refasten the cushion to the frame
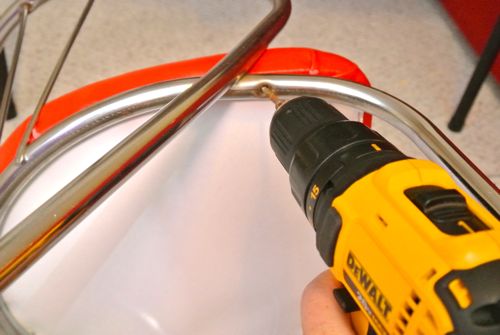
“Great Balls of Fire” I used a power tool. No lie, I almost gave up but only had to call Ethan once when I couldn’t figure out how to turn it on, but I muscled through. I usually stick to my glue gun and staple gun, but was pretty proud of myself this time. I used a drill driver to fasten the seat to the frame using the original (although a little bit rusty) screws.
“I Only Have Eyes For You”
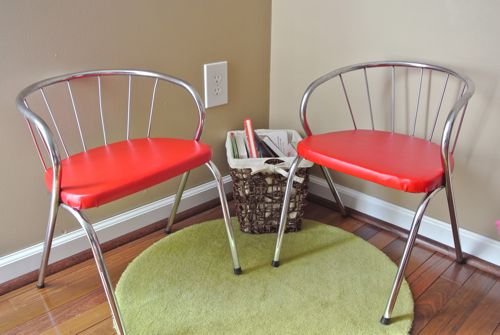
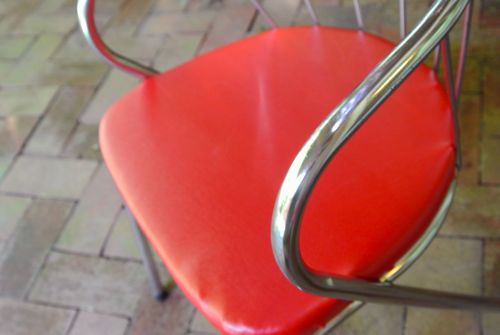
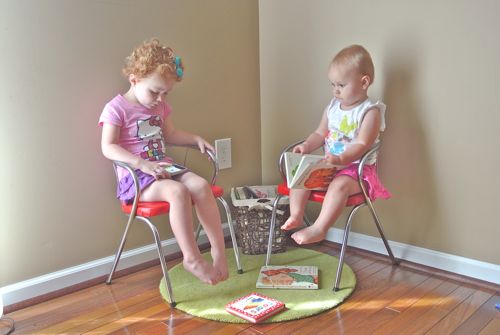
What do you think? How many 50’s song titles did you find? Where would you put these darling chairs?
As Always, thanks for reading!

Do you like free gift cards?!? Our 5th Annual Before and After Series supporting Habitat for Humanity is up and running. Enter your home project now!
Also, don’t forget to check out our weekly Link-up Parties on Fridays, where you can submit your own DIY projects and crafts!


Cute! And a win with no painting.
Thanks! I was SO glad to not need to paint them, and I think they will look better in the long run. 🙂
Great find and great job!
Thanks, dad!
Love the little chairs! Perfect for the girls!
Thanks, carol!
Jocie, these are great !!!!! You did a fantastic job!! I love them and I love oldies music thanks to my dad growing up and I love the little hidden titles 🙂 such a cute touch.
Again, great job and thanks for pointing out how easy some of this is to do.
so glad you like them! thanks for helping me get them!
Yay, these look awesome! I have several sets of chairs I have gotten from yardsales and done various things with. I have a stool for my husbands garage that currently has a tear so that duct tape tip is great! I was thinking I would need to buy new foam.
I love yard sale finds! let me know how the duct tape works!
What darling little chairs for your darling little girls. I’m sure they’ll get loads of use out of them in the years to come. Maybe someday their little girls will love to sit and read in them too!
How cute! Thanks for another great post!
These are great! So much better and sharp in the red.
I really like this style of chair. So simple to refresh too and looks like your girls have a nice new reading corner.
Those chairs are just the cutest! And I love the red coverings!